Channels lising page
All videos archived of Bitluni

GQwTPH67YqY | 31 Aug 2025
Going to therapy is a sign of strength, not weakness. My paid partner BetterHelp makes therapy simple, with 10% off your first month to help you get started: https://betterhelp.com/bitluni (ad) This project shows step by step how I tested different methods to modulate data onto analog tape. Using Microcesettes the analog audio quality was quite limited. A method used by Commodore in the 80ies worked well enough to store C64 games. The ch32v208 RISC-V handled the encoding and decoding of the analog data. A DIY PCB controlled the device and processed the analog streams. Open source code for this project can be found here: Project code: https://github.com/bitluni/CDCTape Tools and parts (affiliate links): RISC-V CH32V208: https://aliexpress.bitluni.net/ch32v208 LinkE RISC-V Programmer: https://aliexpress.bitluni.net/LinkE Low Temp Solder Paste: https://aliexpress.bitluni.net/lowTempPaste Flux: https://aliexpress.bitluni.net/flux Tweezer set: https://aliexpress.bitluni.net/tweezers Soldering iron TS80P: https://aliexpress.bitluni.net/TS80P Preheating Station: https://aliexpress.bitluni.net/heatingStation Ultrasonic Cleaner: https://aliexpress.bitluni.net/cleaner Github Sponsors: https://github.com/sponsors/bitluni Patreon: https://www.patreon.com/bitluni Channel membership: https://www.youtube.com/channel/UCp_5PO66faM4dBFbFFBdPSQ/join Paypal: https://paypal.me/bitluni bitluni live: https://www.youtube.com/@bitluniLive Twitch: https://www.twitch.tv/bitluni Mastodon: https://chaos.social/@bitluni Discord: https://link.bitluni.net/discord #Commodore64 #RetroTech #Electronics #DIY #C64

HRfbQJ6FdF0 | 05 Jul 2025
Take back your personal data with Incogni! Use code BITLUNI at the link below and get 60% off an annual plan: https://incogni.com/BITLUNI (sponsor) Code & Designs: https://github.com/bitluni/Supercluster2 Tools and parts (affiliate links): RISC-V CH32V208: https://aliexpress.bitluni.net/ch32v208 CH32V003: https://aliexpress.bitluni.net/ch32v003 LinkE RISC-V Programmer: https://aliexpress.bitluni.net/LinkE CH32V003 with LinkE: https://aliexpress.bitluni.net/ch32003Linke Vertical Connector: https://aliexpress.bitluni.net/vertm2 Low Temp Solder Paste: https://aliexpress.bitluni.net/lowTempPaste Flux: https://aliexpress.bitluni.net/flux Thermal Camera Infiray T2S+: https://aliexpress.bitluni.net/t2splus Tweezer set: https://aliexpress.bitluni.net/tweezers Soldering iron TS80P: https://aliexpress.bitluni.net/TS80P Preheating Station: https://aliexpress.bitluni.net/heatingStation Ultrasonic Cleaner: https://aliexpress.bitluni.net/cleaner Github Sponsors: https://github.com/sponsors/bitluni Patreon: https://www.patreon.com/bitluni Channel membership: https://www.youtube.com/channel/UCp_5PO66faM4dBFbFFBdPSQ/join Paypal: https://paypal.me/bitluni bitluni live: https://www.youtube.com/@bitluniLive Twitch: https://www.twitch.tv/bitluni Mastodon: https://chaos.social/@bitluni Twitter: @bitluni Discord: https://link.bitluni.net/discord

yxVQkL01FD4 | 03 May 2025
...and it's controlled from the browser over PCIe. What started as an experiment may become a template for some ridiculous PC hardware Try AISLER at https://aisler.net with coupon "boardluni" for 5€ off! Or "0.8mm" for 20€ off on your first order on 0.8mm 4-layer boards (sponsor) Pixel Pump: https://link.bitluni.net/pixelPump (sponsor) PCB & Code: https://github.com/bitluni/Mdot2Matrix Tools and parts (affiliate links): RISC-V CH32V208: https://aliexpress.bitluni.net/ch32v208 LinkE RISC-V Programmer: https://aliexpress.bitluni.net/LinkE SMD Leds (incl. pink): https://aliexpress.bitluni.net/smdLed Low Temp Solder Paste: https://aliexpress.bitluni.net/lowTempPaste Flux: https://aliexpress.bitluni.net/flux Thermal Camera Infiray T2S+: https://aliexpress.bitluni.net/t2splus Tweezer set: https://aliexpress.bitluni.net/tweezers Ultrasonic Cleaner: https://aliexpress.bitluni.net/cleaner Soldering iron TS80P: https://aliexpress.bitluni.net/TS80P Preheating Station: https://aliexpress.bitluni.net/heatingStation Github Sponsors: https://github.com/sponsors/bitluni Patreon: https://www.patreon.com/bitluni Channel membership: https://www.youtube.com/channel/UCp_5PO66faM4dBFbFFBdPSQ/join Paypal: https://paypal.me/bitluni bitluni live: https://www.youtube.com/@bitluniLive Twitch: https://www.twitch.tv/bitluni Mastodon: https://chaos.social/@bitluni Discord: https://link.bitluni.net/discord 0:00 intro 0:41 M.2 1:52 CH382 PCIe interface 3:07 circuit design 4:18 PCB design 5:50 assembly 6:42 first tests 8:03 second try 8:50 first blink 10:20 UART isp 11:30 results

bdo3djJrw9o | 28 Feb 2025
Check out https://brilliant.org/bitluni/ for a 30 day free trial or a 20% discount for an annual subscription (sponsor) My fake CRT TV wasn't fast enough so I switched to a off-the-shelf galvo.. or two... because everything went wrong. Maybe because I'm a slop... or maybe because I like to explore and extend the borders of my knowledge. Almost three months later it's finally working. Kudos to "chat" for helping on https://youtube.com/@bitluniLive . atomic14's video: https://www.youtube.com/watch?v=LXDwGygCokU Project files: ... are coming tomorrow as I need some sleep. Parts (affiliate): Laser galvo: https://aliexpress.bitluni.net/galvo Github Sponsors: https://github.com/sponsors/bitluni Patreon: https://www.patreon.com/bitluni Channel membership: https://www.youtube.com/channel/UCp_5PO66faM4dBFbFFBdPSQ/join Paypal: https://paypal.me/bitluni bitluni live: https://www.youtube.com/@bitluniLive Twitch: https://www.twitch.tv/bitluni Mastodon: https://chaos.social/@bitluni Twitter: @bitluni Discord: https://link.bitluni.net/discord #laser #vector #maker
9qPc_I1V6go | 26 Nov 2024
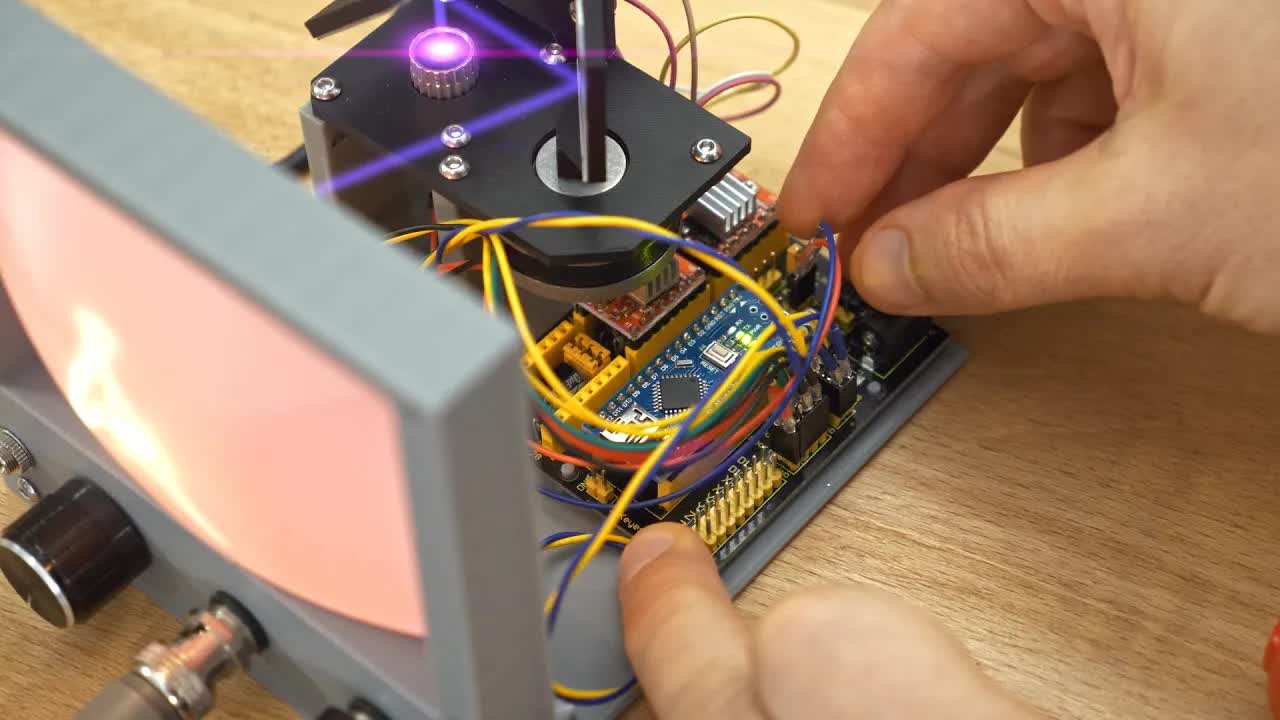
Check out https://brilliant.org/bitluni/ for a 30 day free trial or a 20% discount for an annual subscription (sponsor) This vintage mini TV is mimicking a CRT TV but inside hidden is a UV laser projecting on a glowing 3D printing material. It's a fun 3D printing weekend project to explore simple physics. Project files: https://github.com/bitluni/LaserCRT Tools: (affiliate): 3D Printer bambulab X1 Carbon (black friday sale): https://link.bitluni.net/x1c Got glowing PLA from bambulab, too: https://link.bitluni.net/filament Parts (affiliate): Arduino Nano CNC Set ($5): https://aliexpress.bitluni.net/nanoCNC Precise Stepper Motors: https://aliexpress.bitluni.net/fineSteppers 2-4 Pin Connectors Wired: https://aliexpress.bitluni.net/dupontWires Knob Encoder: https://aliexpress.bitluni.net/digitalEncoder Flip Switch: https://aliexpress.bitluni.net/flipSwitch BNC Terminals: https://aliexpress.bitluni.net/bnc Variable Power Supply: https://aliexpress.bitluni.net/kjsPSU Square nuts: https://aliexpress.bitluni.net/squreNuts M3 Bolts: https://aliexpress.bitluni.net/m3Bolts ESP32 Mini KIT: https://aliexpress.bitluni.net/ESP32mini Purple Laser Pointer: https://ebay.bitluni.net/UVLaser Github Sponsors: https://github.com/sponsors/bitluni Patreon: https://www.patreon.com/bitluni Channel membership: https://www.youtube.com/channel/UCp_5PO66faM4dBFbFFBdPSQ/join Paypal: https://paypal.me/bitluni bitluni live: https://www.youtube.com/@bitluniLive Twitch: https://www.twitch.tv/bitluni Mastodon: https://chaos.social/@bitluni Twitter: @bitluni Discord: https://link.bitluni.net/discord #laser #3dprinting #maker
R-wbfP1pmVw | 09 Nov 2024
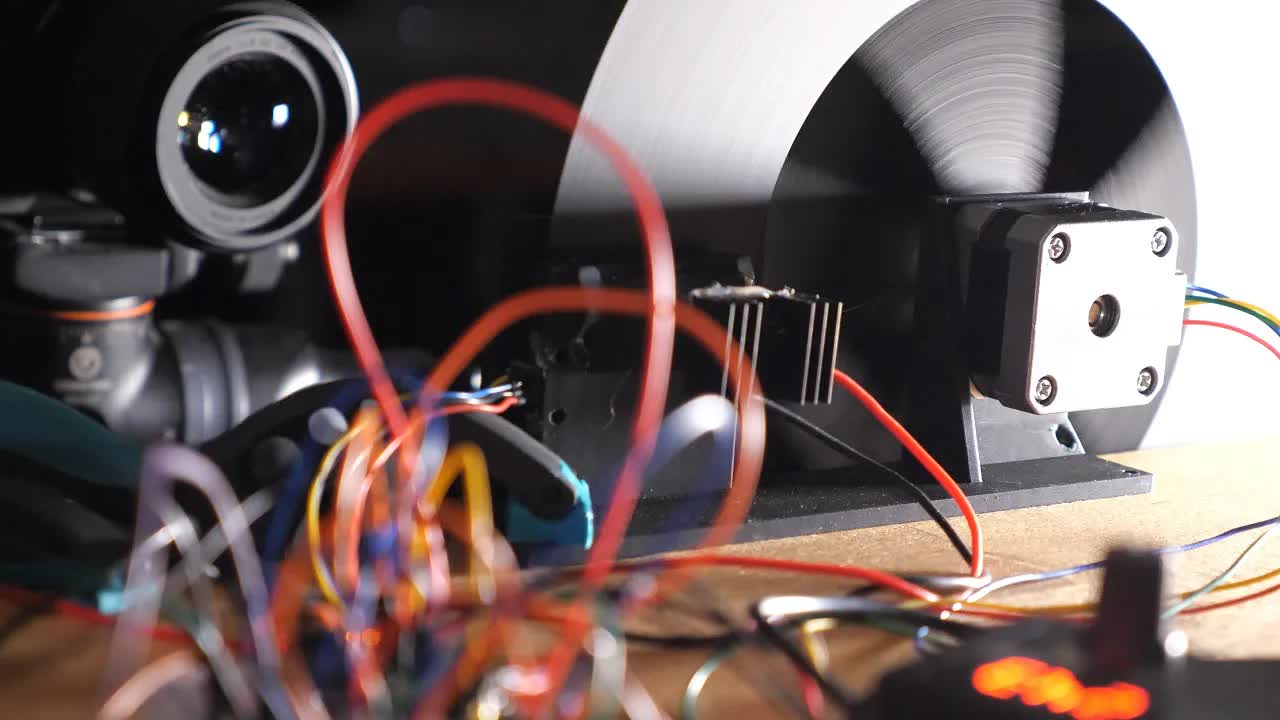
This mechanical TV is based of the Nipkow disk televisor that was considered the first broadcast TV. Assembled from basic 3D-printed parts it can be made as a weekend project. The electrical hardware needed is very commonly available so it can be built for under $50. Sponsor links (affiliate): Check out the Bambu Lab Black Friday Campaign: https://link.bitluni.net/bambulabBlackFriday 3D Printer X1C combo: https://link.bitluni.net/x1c Filaments: https://link.bitluni.net/filament Project files including code and models: https://github.com/bitluni/MechanicalTV Used parts (affiliate): Nema 17 stepper motors: https://aliexpress.bitluni.net/nema17 Photoelectric Encoder: https://aliexpress.bitluni.net/encoder N298L driver board: https://aliexpress.bitluni.net/N298L UV Power Leds: https://aliexpress.bitluni.net/UVLEDs A4988 Driver: https://aliexpress.bitluni.net/A4988 Variable Power Supply: https://aliexpress.bitluni.net/kjsPSU 5.5mm Barrel Jack: https://aliexpress.bitluni.net/screwBarrel I used the TinyPico and the TinyS3 in my tests: https://unexpectedmaker.com/shop.html#!/TinyPICO/p/577111313 https://unexpectedmaker.com/shop.html#!/TinyS3/p/577100101 Github Sponsors: https://github.com/sponsors/bitluni Patreon: https://www.patreon.com/bitluni Channel membership: https://www.youtube.com/channel/UCp_5PO66faM4dBFbFFBdPSQ/join Paypal: https://paypal.me/bitluni bitluni live: https://www.youtube.com/@bitluniLive Twitch: https://www.twitch.tv/bitluni Mastodon: https://chaos.social/@bitluni Twitter: @bitluni Discord: https://link.bitluni.net/discord #bambulab #bambulabX1 #maker

L2J_eNgjxio | 13 Oct 2024
Led tiles are cool and those bulky addressable WS2812D LEDs have a nice retro touch. What started as a LED wall tile ended up as a magnet gadget in the end that likes to socialize with its friends. Try AISLER at https://aisler.net with coupon "boardluni" for 5€ off! Or "hi_aisler" for 10€ off on your first order (sponsor) My board there: https://aisler.net/p/OQZEYCKE Project files: https://github.com/bitluni/magnetMatrix6x6 Parts & tools (affiliate): Magnet Connectors: https://aliexpress.bitluni.net/magnetConnectors WS2812D 5 & 8mm: https://aliexpress.bitluni.net/ws2812d Tweezers: https://aliexpress.bitluni.net/tweezers Flux: https://aliexpress.bitluni.net/flux Soldering Mat: https://aliexpress.bitluni.net/mat Ultrasonic Cleaner: https://aliexpress.bitluni.net/cleaner 3D Printer Bambu Lab X1 Carbon: https://link.bitluni.net/x1c Github Sponsors: https://github.com/sponsors/bitluni Patreon: https://www.patreon.com/bitluni Channel membership: https://www.youtube.com/channel/UCp_5PO66faM4dBFbFFBdPSQ/join Paypal: https://paypal.me/bitluni bitluni live: https://www.youtube.com/@bitluniLive Twitch: https://www.twitch.tv/bitluni Mastodon: https://chaos.social/@bitluni Twitter: @bitluni Discord: https://link.bitluni.net/discord #arduino #diy #led
8wMKw4m6-Rc | 16 Sep 2024
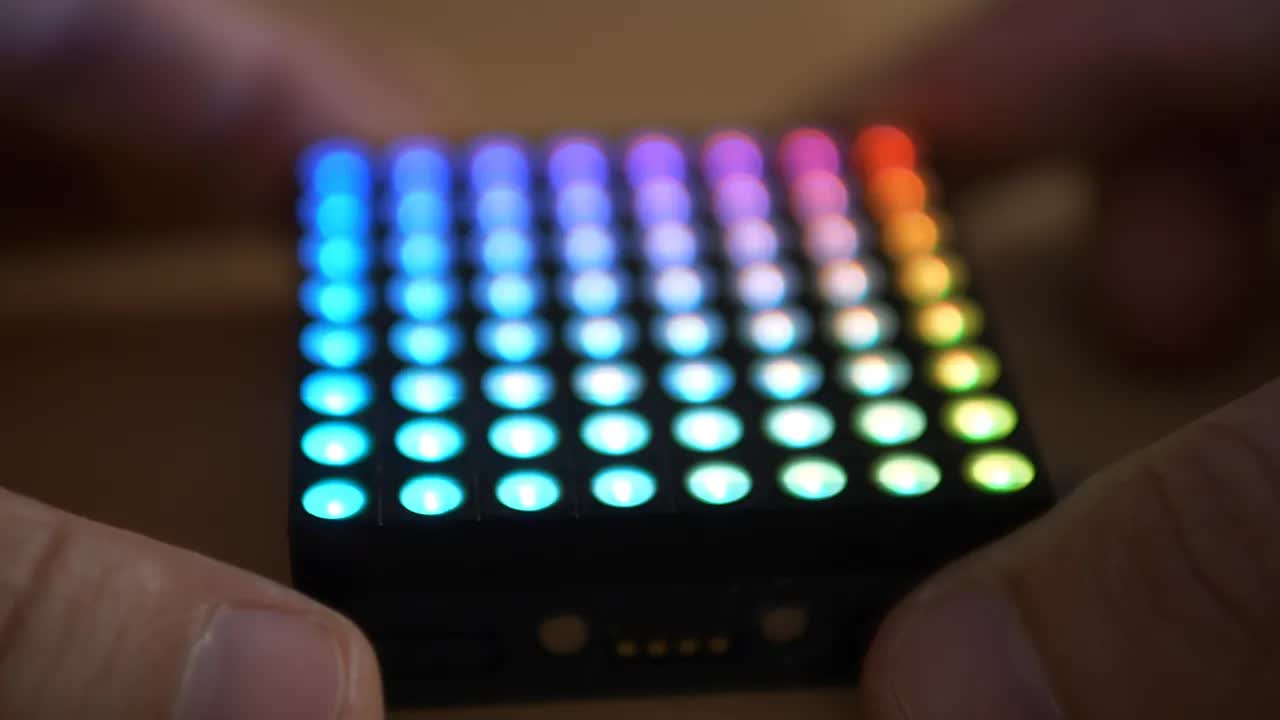
5pcs 6-20 layer PCBs with free Via-in-Pad from $2 , Sign up here to Get $60 Coupons:https://jlcpcb.com/?from=bitluni (ad) This is a little story about my journey making a super fast RGB LED matrix thingy. code: https://github.com/bitluni/MagnetMatrix Tools & Parts (affiliate): RISC-V CH32V208: https://aliexpress.bitluni.net/ch32v208 RISC-V CH32V208 Dev Board: https://aliexpress.bitluni.net/ch32v208dev LinkE RISC-V Programmer: https://aliexpress.bitluni.net/LinkE MiniWare TS80P: https://aliexpress.bitluni.net/TS80P Miniware Hot Plate: https://aliexpress.bitluni.net/hotPlate Tweezers: https://aliexpress.bitluni.net/tweezers Flux: https://aliexpress.bitluni.net/flux Soldering Mat: https://aliexpress.bitluni.net/mat Ultrasonic Cleaner: https://aliexpress.bitluni.net/cleaner 64x64 RGB Matrix Display: https://aliexpress.bitluni.net/matrix6464 Github Sponsors: https://github.com/sponsors/bitluni Patreon: https://www.patreon.com/bitluni Channel membership: https://www.youtube.com/channel/UCp_5PO66faM4dBFbFFBdPSQ/join Paypal: https://paypal.me/bitluni bitluni live: https://www.youtube.com/@bitluniLive Twitch: https://www.twitch.tv/bitluni Mastodon: https://chaos.social/@bitluni Twitter: @bitluni Discord: https://link.bitluni.net/discord #rgb #riscv
FzqS0cqd0xE | 23 Aug 2024
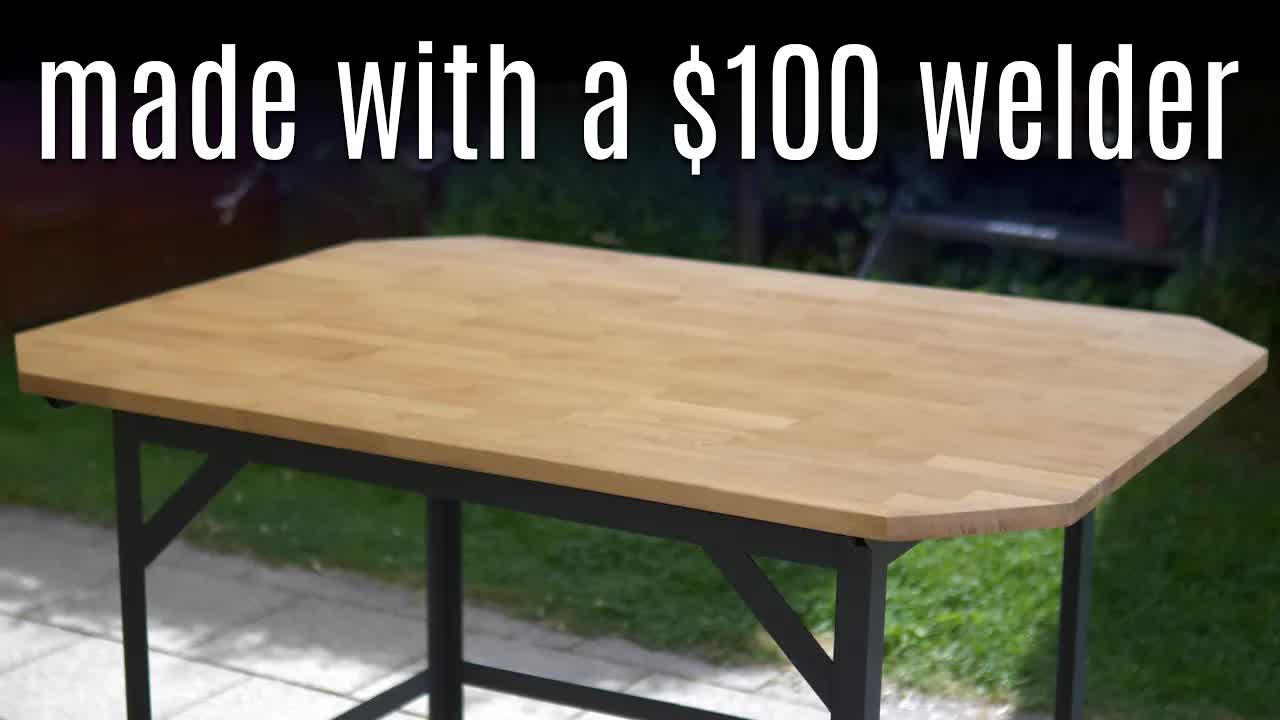
I'm done welding on the floor. This table has some tricks up its sleeve. The table top folds up to reveal a welding table. This way it also fits easily through any door. Best way to do a welder review. Mecpow Welder (sponsored): Amazon: https://amzn.to/3AlFi8D Mecpow website: https://bit.ly/3AmgkpE Github Sponsors: https://github.com/sponsors/bitluni Patreon: https://www.patreon.com/bitluni Channel membership: https://www.youtube.com/channel/UCp_5PO66faM4dBFbFFBdPSQ/join Paypal: https://paypal.me/bitluni bitluni live: https://www.youtube.com/@bitluniLive Twitch: https://www.twitch.tv/bitluni Mastodon: https://chaos.social/@bitluni Twitter: @bitluni Discord: https://link.bitluni.net/discord
oz9Ys7CR7cw | 27 Jul 2024
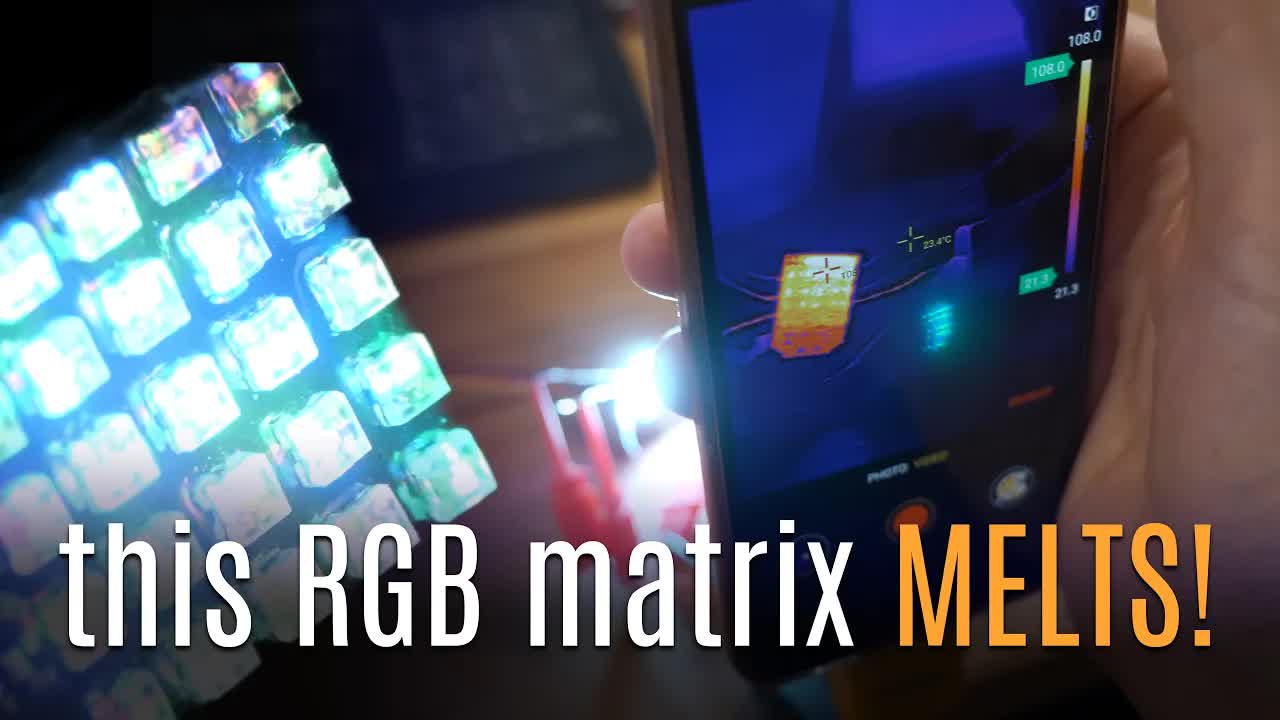
Free Assembly for 1-6 Layer PCBs at JLCPCB, 3D Printing from $0.3, Sign up to Get $60 Coupons here: https://jlcpcb.com/?from=bitluni (Sponsor) I designed this matrix 5 years ago and finally took some time to assemble and test it. All went wrong but I manage to make it work anyways. ...and it's bright! Pixel Pump: Pixel Pump: https://link.bitluni.net/pixelPump (Sponsor) code: https://github.com/bitluni/sao1c Maker Faire Hannover: https://maker-faire.de/hannover/ Meetup@Musikkabinett: https://pretix.eu/smmkgmbh/meet2024/redeem?voucher=BITLUNI-10 Tools and parts (affiliate links): Thermal Camera Infiray T2S+ /w focus lens: https://aliexpress.bitluni.net/t2splus Preheating Station: https://aliexpress.bitluni.net/heatingStation Low Temp Solder Paste: https://aliexpress.bitluni.net/lowTempPaste Flux: https://aliexpress.bitluni.net/flux Soldering Mat: https://aliexpress.bitluni.net/mat SK6805 RGB LEDs: https://aliexpress.bitluni.net/sk6805 Clampmeter: https://amazon.bitluni.net/clamp Tweezers: https://aliexpress.bitluni.net/tweezers Github Sponsors: https://github.com/sponsors/bitluni Patreon: https://www.patreon.com/bitluni Channel membership: https://www.youtube.com/channel/UCp_5PO66faM4dBFbFFBdPSQ/join Paypal: https://paypal.me/bitluni bitluni live: https://www.youtube.com/@bitluniLive Twitch: https://www.twitch.tv/bitluni Mastodon: https://chaos.social/@bitluni Twitter: @bitluni Discord: https://link.bitluni.net/discord
aKvq-eQnwNM | 31 May 2024
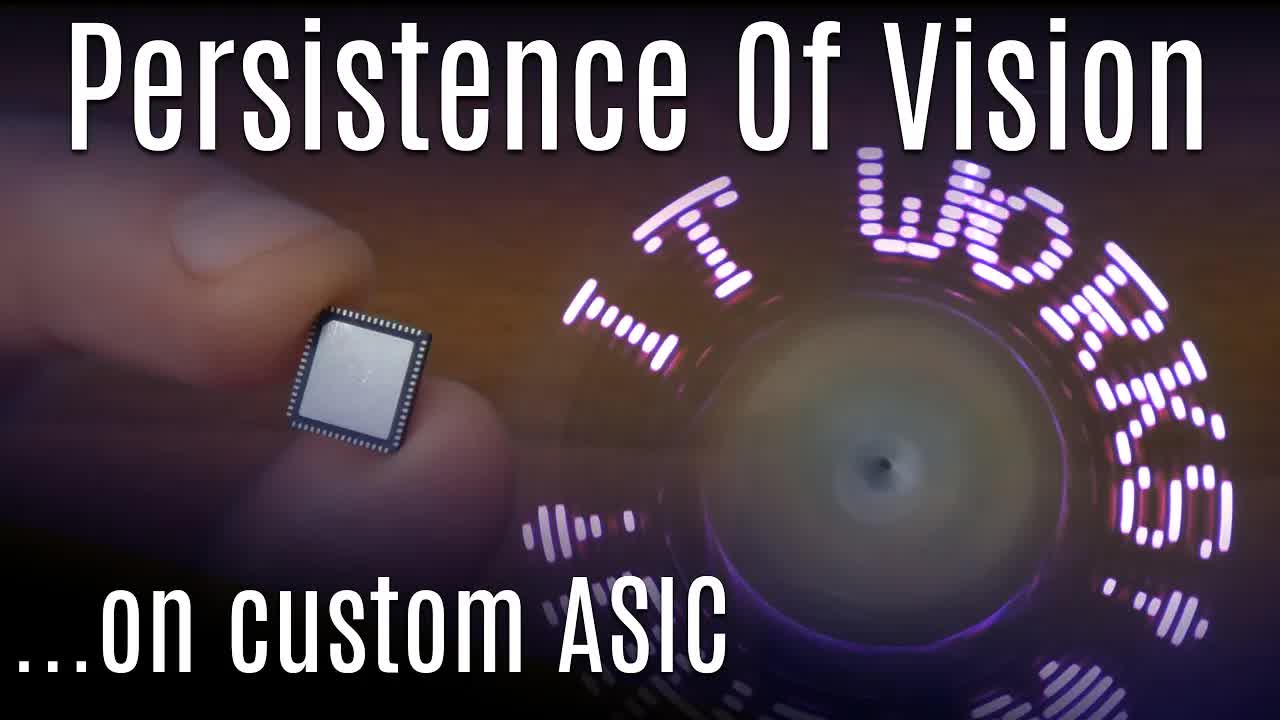
Anyone can make custom chips now with Tiny Tapeout and ChipIgnite. I put several project on one of those shuttles and one of them is a POV controller to display text and graphics in mid air. Try AISLER at https://aisler.net with coupon "boardluni" for 5€ off! Or "hi_aisler" for 10€ off on your first order (sponsor) My board there: https://aisler.net/bitluni/playground/tmpr9m732yz Pixel Pump: https://link.bitluni.net/pixelPump (sponsor) Tiny Tapeout: https://tinytapeout.com/ ChipIgnite Shuttle https://efabless.com/chipignite FPGA Verilog Lessons https://learn.lushaylabs.com/ FPGAs (affiliate links): Tang Nano 9K FPGA: https://aliexpress.bitluni.net/tang9k Tang Primer 20K FPGA: https://aliexpress.bitluni.net/primer20k Tools (affiliate links): Pixel Pump: https://link.bitluni.net/pixelPump MiniWare TS80P: https://aliexpress.bitluni.net/TS80P Preheating Station: https://aliexpress.bitluni.net/heatingStation Miniware Hot Plate: https://aliexpress.bitluni.net/hotPlate Github Sponsors: https://github.com/sponsors/bitluni Patreon: https://www.patreon.com/bitluni Channel membership: https://www.youtube.com/channel/UCp_5PO66faM4dBFbFFBdPSQ/join Paypal: https://paypal.me/bitluni bitluni live: https://www.youtube.com/@bitlunilive Twitch: https://www.twitch.tv/bitluni Mastodon: https://chaos.social/@bitluni Twitter: @bitluni Discord: https://link.bitluni.net/discord #ASIC #Verilog #Electronics
lh93FayWHqw | 05 May 2024
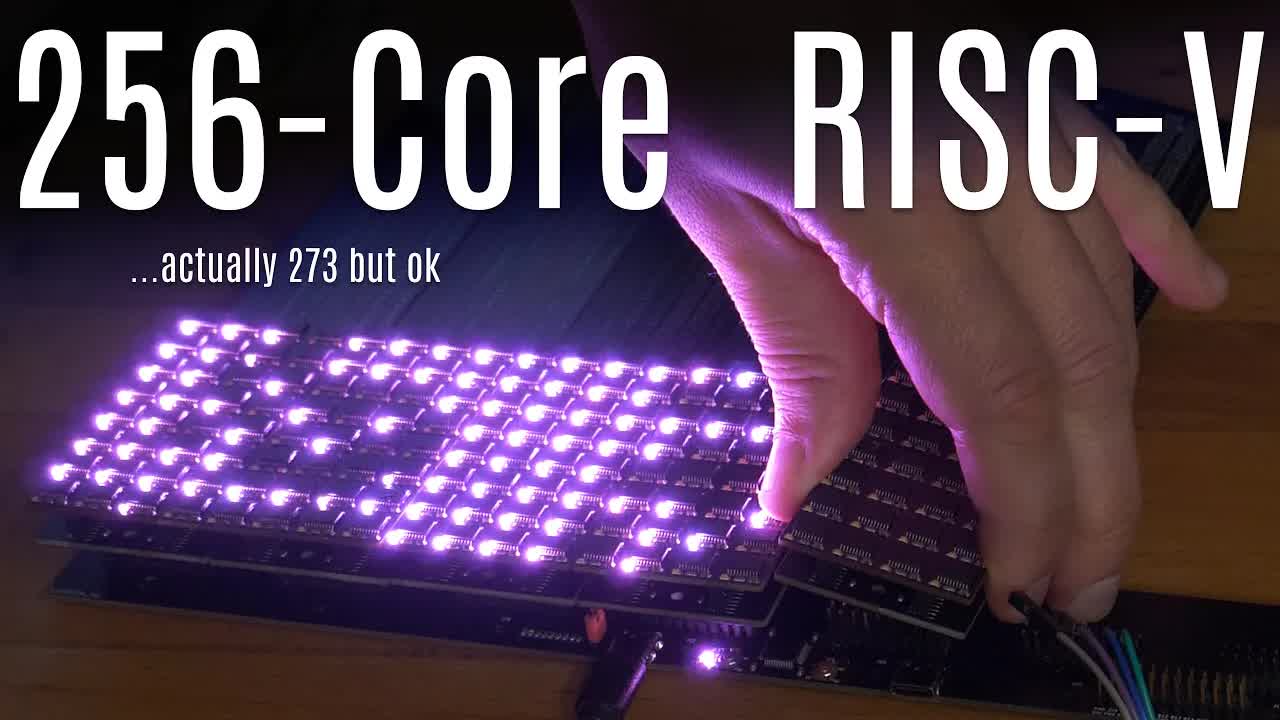
Free Assembly for 1-6 Layer PCBs at JLCPCB, 3D Printing from $0.3, Sign up to Get $60 Coupons here: https://jlcpcb.com/?from=bitluni (Sponsor) This new cluster build escalated quickly. Especially with the bugs I built in but here are some specs: 256x RISC-V 48MHz 17x RISC-V 144MHz 640x GPIO 256x ADC 17x 8-Bit bus Combined single core clock rate would be 14.7GHz not that impressive but also not too shabby. 0:00 Supercluster recap 0:41 Intro 1:41 PCB Design and BU 2:36 JLCPCB 3:30 Assembly 5:14 First tests 5:48 BUS protocol fix 8:28 BUS tests 9:53 Conclusion Tools and parts (affiliate links): Preheating Station: https://aliexpress.bitluni.net/heatingStation Flux: https://aliexpress.bitluni.net/flux Syringe Pusher: https://aliexpress.bitluni.net/pusher Low Temp Solder Paste: https://aliexpress.bitluni.net/lowTempPaste Tweezers: https://aliexpress.bitluni.net/tweezers Edge Connectors: https://aliexpress.bitluni.net/edgeConn CH32V003: https://aliexpress.bitluni.net/ch32v003 CH32V203: https://aliexpress.bitluni.net/ch32v203 Scope Siglent SDS1104-E: https://amazon.bitluni.net/siglent4 Digital Probe Siglent SLA1016: https://amazon.bitluni.net/siglent16 Github Sponsors: https://github.com/sponsors/bitluni Patreon: https://www.patreon.com/bitluni Channel membership: https://www.youtube.com/channel/UCp_5PO66faM4dBFbFFBdPSQ/join Paypal: https://paypal.me/bitluni bitluni live: https://www.youtube.com/@bitlunilive Twitch: https://www.twitch.tv/bitluni Mastodon: https://chaos.social/@bitluni Twitter: @bitluni Discord: https://link.bitluni.net/discord
UPd5qPuhOCs | 26 Mar 2024
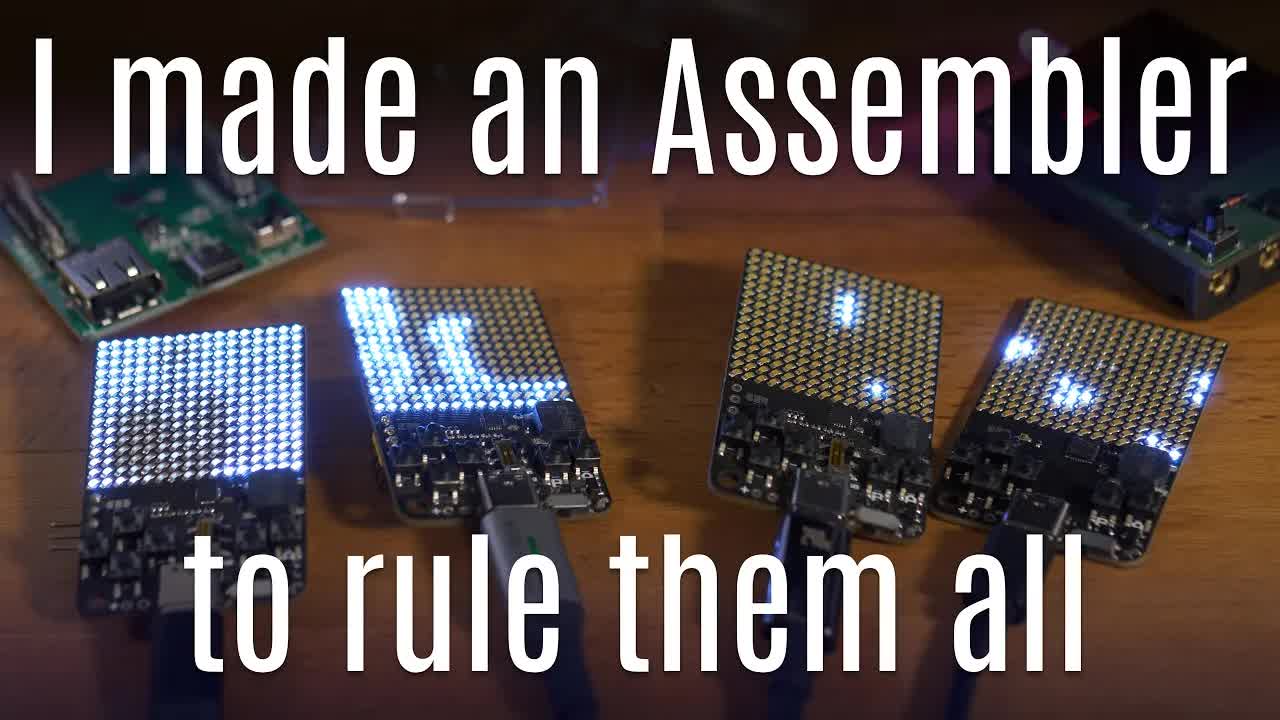
Free Assembly for 1-6 Layer PCBs at JLCPCB, 3D Printing from $0.3, Sign up to Get $60 Coupons here: https://jlcpcb.com/?from=bitluni (Sponsor) I redesigned my mini game to use the new CH32X035 chip. It supports full speed USB mass storage now, got an LDR for new features and runs an interpreter that I developed on livestream. Unbelievably productive week I would say THE CODE: https://github.com/bitluni/luniASM Links (affiliated): CH32X035 dev board: https://aliexpress.bitluni.net/CH32X035 CH32X035 bare ICs: https://aliexpress.bitluni.net/qfn035 Tools: Miniware Hot Plate: https://aliexpress.bitluni.net/hotPlate Github Sponsors: https://github.com/sponsors/bitluni Patreon: https://www.patreon.com/bitluni Channel membership: https://www.youtube.com/channel/UCp_5PO66faM4dBFbFFBdPSQ/join Paypal: https://paypal.me/bitluni 0:00 Intro 0:52 CH32X035 MCU 1:43 Mass Storage Device 2:04 PCB redesign & LDR 2:52 JLC Assembly 3:33 Case design 3:52 3D print order 4:04 Chip placement 4:42 Case mistakes 5:48 Programming the MCU 6:21 The Plan 6:59 luniASM 8:32 Results bitluni live: https://www.youtube.com/@bitlunilive Twitch: https://www.twitch.tv/bitluni Mastodon: https://chaos.social/@bitluni Twitter: @bitluni Discord: https://link.bitluni.net/discord

DdF_nzMW_i8 | 19 Mar 2024
This amazing project show how simple it can be to make a custom chip. Ok, it might not be the best example but it's a world first. Try AISLER at https://aisler.net with coupon "boardluni" for 5 bucks off! (sponsor) Tiny Tapeout: https://tinytapeout.com/ FPGA Verilog Lessons https://learn.lushaylabs.com/ Tools and Parts (affiliate links): FPGAs: Tang Nano 9K FPGA: https://aliexpress.bitluni.net/tang9k Tang Primer 20K FPGA: https://aliexpress.bitluni.net/primer20k Tang Nano 4K FPGA: https://aliexpress.bitluni.net/tang4k Tools: Pixel Pump: https://link.bitluni.net/pixelPump MiniWare TS80P: https://aliexpress.bitluni.net/TS80P Miniware Hot Plate: https://aliexpress.bitluni.net/hotPlate 0:00 Intro 2:20 Tiny Tapeout 3:00 Caravel full of treasures 4:24 My contribution 6:35 Project PCB 7:53 PCB Manufacturing 9:00 PCB assembly 11:41 3rd attempt 13:18 Hardware test 13:50 Firmware 15:21 Results Github Sponsors: https://github.com/sponsors/bitluni Patreon: https://www.patreon.com/bitluni Channel membership: https://www.youtube.com/channel/UCp_5PO66faM4dBFbFFBdPSQ/join Paypal: https://paypal.me/bitluni bitluni live: https://www.youtube.com/@bitlunilive Twitch: https://www.twitch.tv/bitluni Mastodon: https://chaos.social/@bitluni Twitter: @bitluni Discord: https://link.bitluni.net/discord #ASIC #Verilog #Electronics
OW_Sk_dbQm8 | 10 Feb 2024
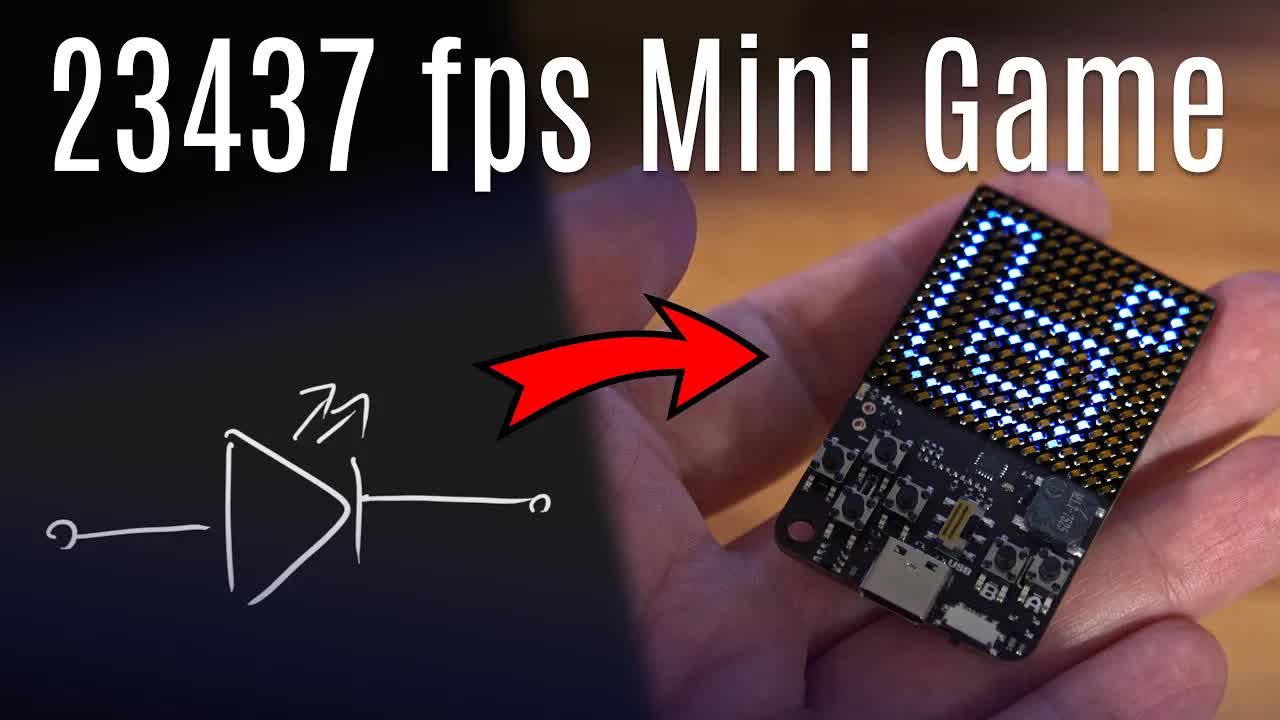
JLCPCB 1-20 layer PCB from $2, PCBA from $0, Sign up to Get $54 Coupons here: https://jlcpcb.com/?from=bitluni Available for FR-4, Flex PCB, Rogers,PTFE Teflon, Copper Core and Aluminum. (Sponsor) This video show a little game console that I designed around the CH32V003 risc-V microcontroller. The interesting part is that it drives the 240 LED screen directly from 16 pins. The way tri-state buffers work allows to utilize the third state to drive many LEDs with only few pins. On top of that the video explains some of the design considerations of this little project and how get is cheaply manufactured. WCH CH32X035 Microcontroller: https://aliexpress.bitluni.net/CH32X035 (affiliate link) psychogenic made a ki-cad scripting plugin that can generate beautiful charlieplex schematics: https://github.com/psychogenic/kicad-skip https://github.com/psychogenic/kicad-skip/blob/main/src/skip/examples/charlieplex.py 0:00 Megaplex intro 0:41 Bad Apple Demo 1:29 Charlieplexing 6:48 Games 7:38 Schematics 9:42 PCB Design 10:27 JLC PCB Assembly 12:40 CR and LIR Batteries 13:54 USB and Improvements 14:47 Support Github Sponsors: https://github.com/sponsors/bitluni Patreon: https://www.patreon.com/bitluni Channel membership: https://www.youtube.com/channel/UCp_5PO66faM4dBFbFFBdPSQ/join Paypal: https://paypal.me/bitluni bitluni live: https://www.youtube.com/@bitlunilive Twitch: https://www.twitch.tv/bitluni Mastodon: https://chaos.social/@bitluni Twitter: @bitluni Discord: https://link.bitluni.net/discord
ub4lSa_CRRo | 24 Jan 2024
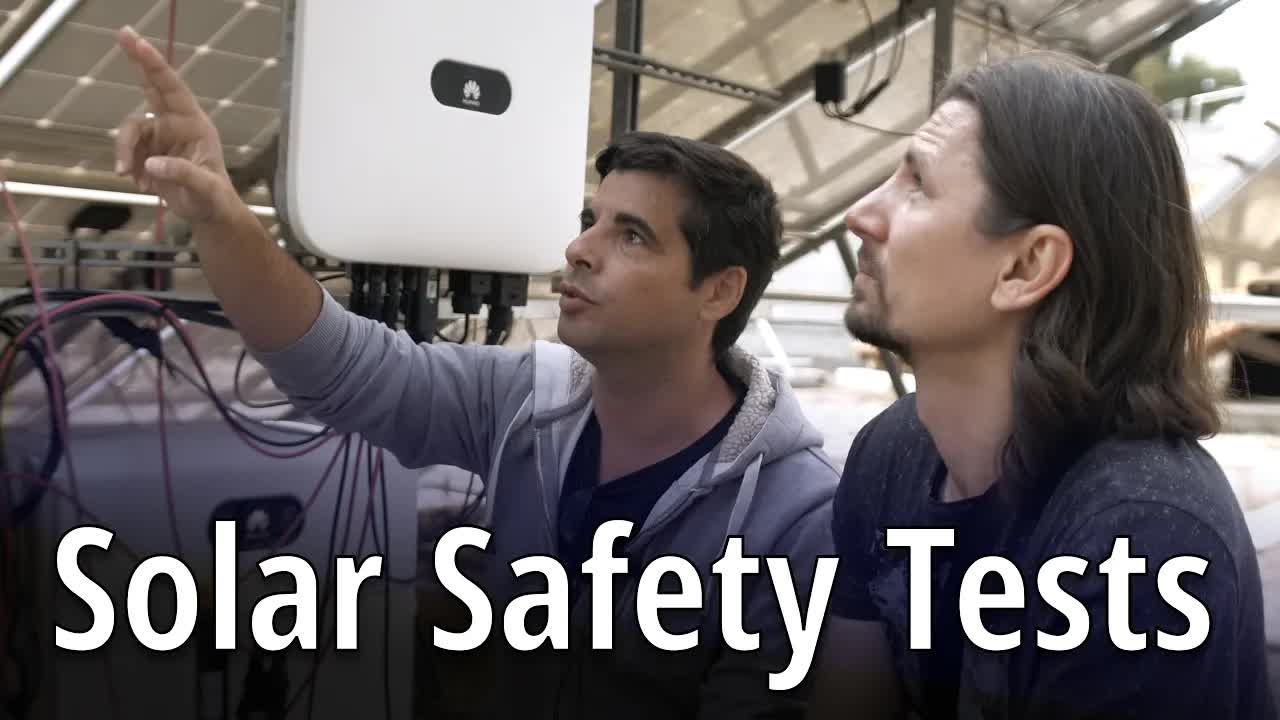
I got the opportunity to attend some solar safety tests on Cyprus. The tests showed some cutting edge safety technology that prevent rooftop fires. On top of that I organized some unexpected efficiency testing and was surprised about the results. The conducted tests AFCI and RSD. Huawei FusionSolar: https://solar.huawei.com/en 0:00 Intro 1:21 Test plan 1:45 Arc Fault Interrupter tests 4:10 Detection methods 5:07 Rapid Shutdown tests 7:02 Test facility tour 9:55 AFCI high voltage 11:03 Optimizer work principle 11:54 Optimizer test 15:35 Conclusion Github Sponsors: https://github.com/sponsors/bitluni Patreon: https://www.patreon.com/bitluni Channel membership: https://www.youtube.com/channel/UCp_5PO66faM4dBFbFFBdPSQ/join Paypal: https://paypal.me/bitluni bitluni live: https://www.youtube.com/@bitlunilive Twitch: https://www.twitch.tv/bitluni Mastodon: https://chaos.social/@bitluni Twitter: @bitluni Discord: https://link.bitluni.net/discord
QLKF9hpZLPc | 18 Dec 2023
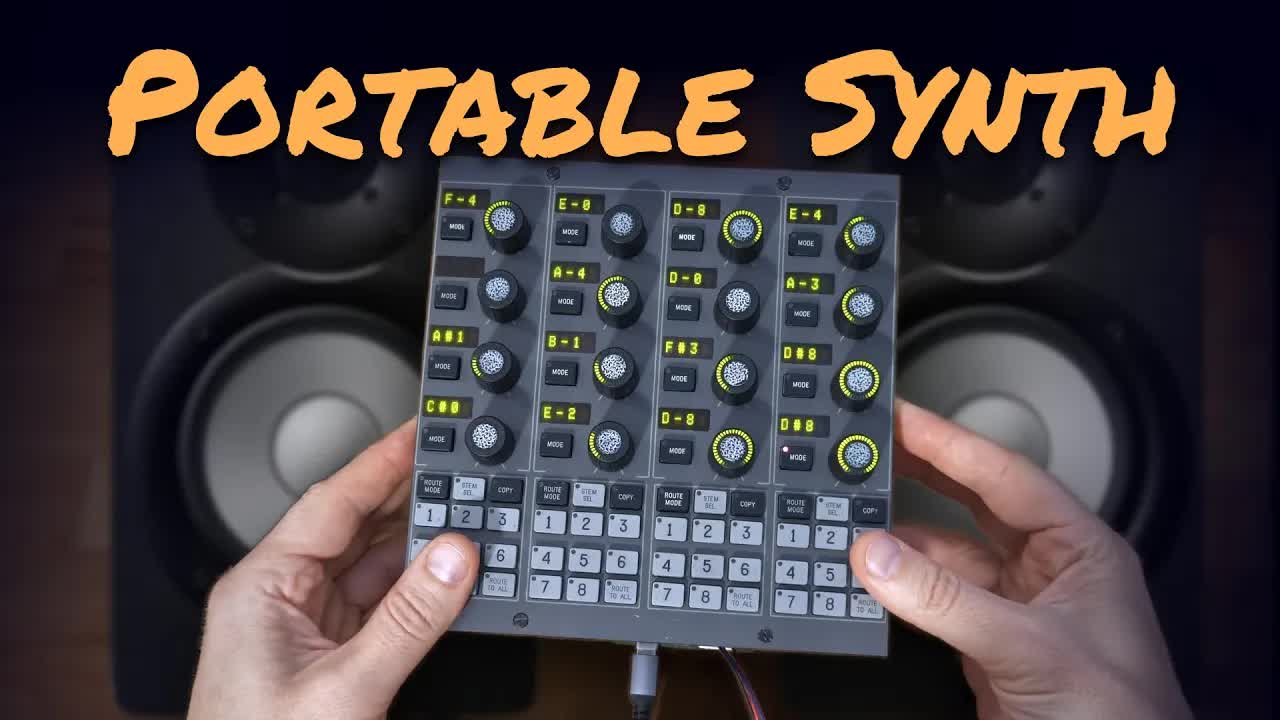
I upgraded a scrapyard controller panel from the 90ies with an esp32s3 audio board to make a synth/sequencer/mod-player and had a lot of fun. Try coupon code "boardluni" at https://aisler.net (sponsor) Sprite_tm panel driver: https://github.com/Spritetm/mn812_module 0:00 Intro 0:17 Scrapyard find 1:01 Reverse engineering 1:56 Board design 3:28 PCB Assembly 4:33 First test 5:24 Sigma-delta audio 5:55 Audio amplifier 6:52 Sequencer dev 7:52 MOD-Player 8:37 Conclusion MODs (rather butchered than) played: Steffen Nicolaisen - Submariners Rob Hubbard - Zoids Wouter van Leeuwen - Haste Links to parts and tools (affiliate links): Preheating Station ($50): https://aliexpress.bitluni.net/heatingStation Tweezer set ($8): https://aliexpress.bitluni.net/tweezers Low Temp Solder Paste ($3): https://aliexpress.bitluni.net/lowTempPaste SMD Resistor Set ($9): https://aliexpress.bitluni.net/RSet Electrolytic Capacitor Set ($14): https://aliexpress.bitluni.net/elecCaps SMD Ceramic Capacitor Set ($17): https://aliexpress.bitluni.net/smdCaps Colorful Pin Header: https://aliexpress.bitluni.net/pinHeader Colorful Pin Socket: https://aliexpress.bitluni.net/pinSocket My camera and lens (4k 60fps): https://amazon.bitluni.net/gh5 Zoom H6 Audio Recorder: https://amazon.bitluni.net/h6 plz share :-) Github Sponsors: https://github.com/sponsors/bitluni Patreon: https://www.patreon.com/bitluni Channel membership: https://www.youtube.com/channel/UCp_5PO66faM4dBFbFFBdPSQ/join Paypal: https://paypal.me/bitluni Twitter: @bitluni reddit: u/bitluni Discord: https://discord.gg/MT5RbJt #electronics #maker #synth
2SmTXU0SHBo | 18 Oct 2023
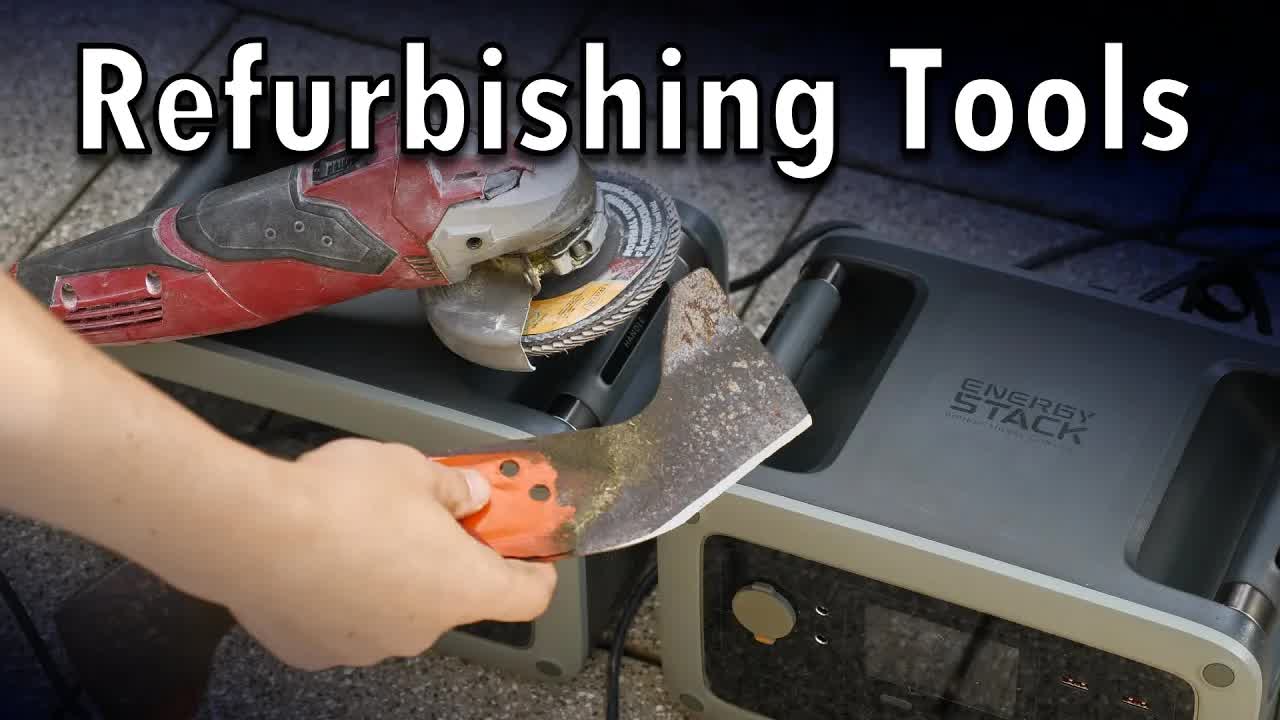
On the pinch refurbishing old AC gardening tools is a viable method for saving money. Running them using an extension cord is a pain so made a backpack with two Baseus batteries to reach every spot in my jungle. Battery Pack (sponsor): Get $80 off with code: DEDE80 (valid until 2023/10/31) https://s.click.aliexpress.com/e/_okrY3hB Links to parts and tools (affiliate links): InfiRay Thermal Camera P2 Pro ($20 coupon "bitluni123"): https://aliexpress.bitluni.net/infiray https://amazon.bitluni.net/infiray My camera and lens (4k 60fps): https://amazon.bitluni.net/gh5 Zoom H6 Audio Recorder: https://amazon.bitluni.net/h6 plz share :-) Github Sponsors: https://github.com/sponsors/bitluni Patreon: https://www.patreon.com/bitluni Channel membership: https://www.youtube.com/channel/UCp_5PO66faM4dBFbFFBdPSQ/join Paypal: https://paypal.me/bitluni Twitter: @bitluni reddit: u/bitluni Discord: https://discord.gg/MT5RbJt 0:00 Intro 0:34 Lawnmower 1:35 Battery plan 2:55 Lawnmower fail 3:35 Hovercraft mower 4:02 Hedge trimmer 4:33 Madness 6:06 Backpack conclusion 6:50 Review DC in 7:23 Solar panel connectors 8:57 Charging, USB, Sine, UPS 11:10 Micro inverter hack 12:22 Conclusion #electronics #maker
8G9xXG5tv-0 | 24 Sep 2023
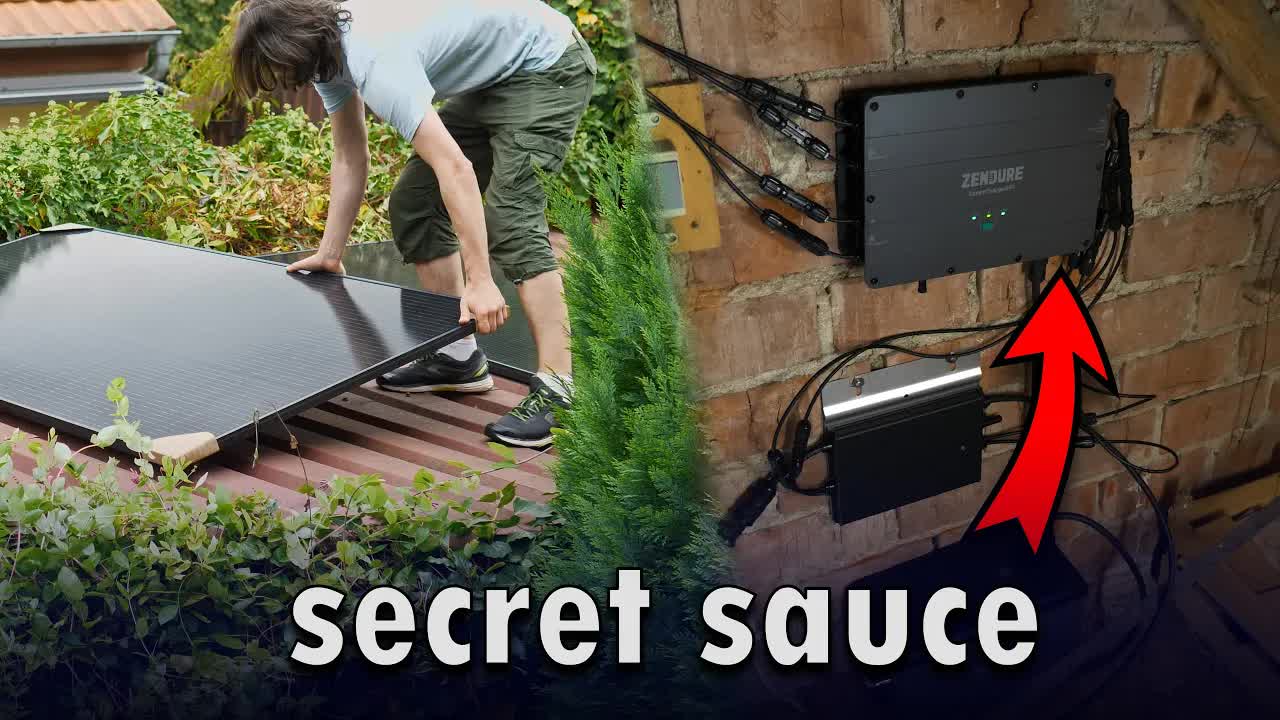
In this video we extend a home solar system aka "Balkonkraftwerk" with a battery buffer that allows saving excess solar power during the day and releasing it later to evenly cover your needs. Check out Zendure SolarFlow (sponsor): Website DE: https://bit.ly/44Ombhe Website EU: https://bit.ly/3PtxHtC Amazon: https://amzn.to/45D01PT If you are interested in hourly power prices in Europe check out my referral link to Tibber so we both get a bonus: https://invite.tibber.com/93r6fom3 plz share :-) Paypal: https://paypal.me/bitluni Patreon: https://www.patreon.com/bitluni Github Sponsors: https://github.com/sponsors/bitluni Channel membership: https://www.youtube.com/channel/UCp_5PO66faM4dBFbFFBdPSQ/join Twitter: @bitluni reddit: u/bitluni Discord: https://discord.gg/MT5RbJt #battery #solar
brF2VzYtLnw | 24 Sep 2023
Nope... just moved. But it's an update of how it went. Pure chaos... Github Sponsors: https://github.com/sponsors/bitluni Patreon: https://www.patreon.com/bitluni Channel membership: https://www.youtube.com/channel/UCp_5PO66faM4dBFbFFBdPSQ/join Paypal: https://paypal.me/bitluni Twitter: @bitluni reddit: u/bitluni Discord: https://discord.gg/MT5RbJt #renovation #maker
muuhgrige5Q | 27 Jun 2023
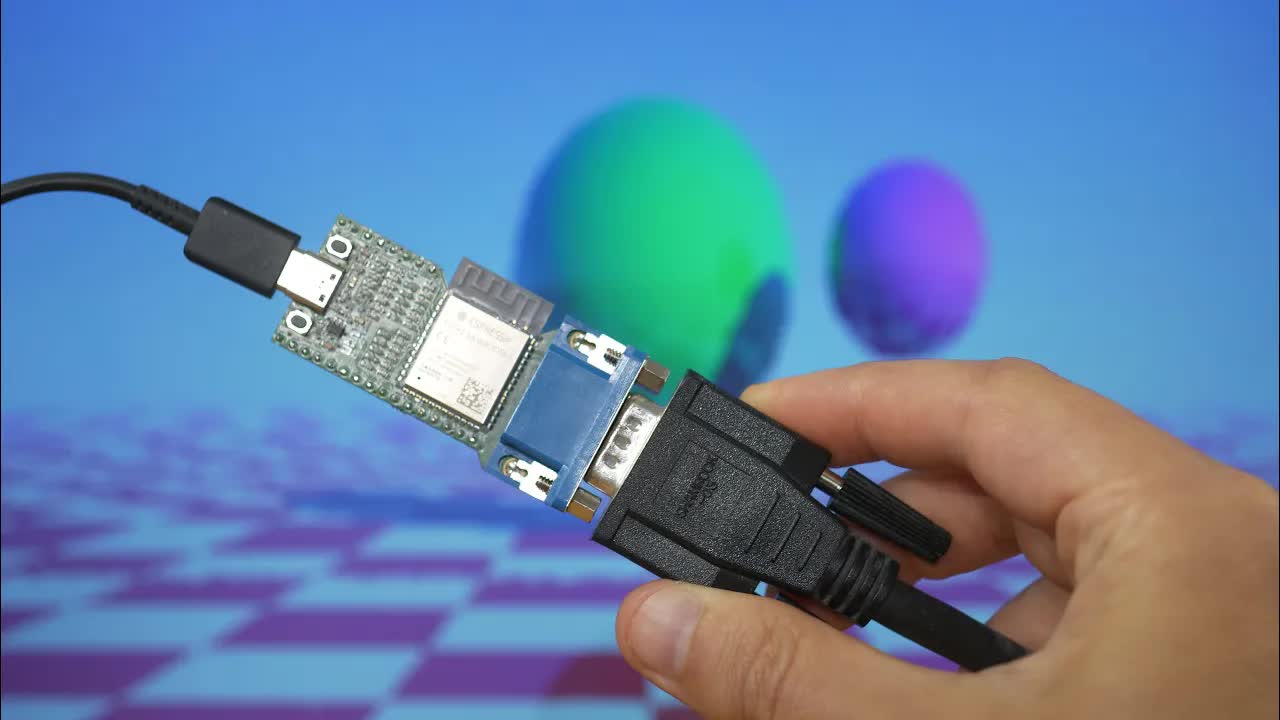
It was time for a new VGA board and with a new peripheral we can get amazing resolution and color fidelity. Let me take you on a journey how a new product comes to life. (ad) Check out my sponsor Aisler at http://aisler.net and get 5€ off with the coupon code "boardluni". Link to details how to use the manual bridges https://community.aisler.net/t/bridges-and-frames Please follow me for updates where to get the new board! Materials and Tools (affiliate links): ESP32 S3 Modules: https://aliexpress.bitluni.net/s3modules ESP32 S3 N8R8 Dev Board: https://aliexpress.bitluni.net/s3devBoard Carvera CNC: https://link.bitluni.net/makera Preheating Station: https://aliexpress.bitluni.net/heatingStation Ultrasonic Cleaner: https://aliexpress.bitluni.net/cleaner Soldering Mat: https://aliexpress.bitluni.net/mat Tweezers: https://aliexpress.bitluni.net/tweezers Low Temp Solder Paste: https://aliexpress.bitluni.net/lowTempPaste Flux: https://aliexpress.bitluni.net/flux Colorful Pin Header: https://aliexpress.bitluni.net/pinHeader SMD Resistor Set: https://aliexpress.bitluni.net/RSet THT Resistors: https://aliexpress.bitluni.net/resistors THT Capacitors Ceramic: https://aliexpress.bitluni.net/caps Electrolytic Capacitor Set: https://aliexpress.bitluni.net/elecCaps Breadboard Set: https://aliexpress.bitluni.net/breadboardSet Pink (and other) LEDs: https://aliexpress.bitluni.net/pink SMD Leds (incl. pink): https://aliexpress.bitluni.net/smdLed My camera and lens (4k 60fps): https://amazon.bitluni.net/gh5 Zoom H6 Audio Recorder: https://amazon.bitluni.net/h6 plz share :-) Live Channel: https://youtube.com/@bitluniLive Github Sponsors: https://github.com/sponsors/bitluni Patreon: https://www.patreon.com/bitluni Channel membership: https://www.youtube.com/channel/UCp_5PO66faM4dBFbFFBdPSQ/join Paypal: https://paypal.me/bitluni Twitter: @bitluni reddit: u/bitluni Discord: https://discord.gg/MT5RbJt #electronics #maker

grCqUBDBAX0 | 21 May 2023
I tested the plan to utilize hourly ETEX power market prices to minimize my power costs. As power storage I tested the Oukitel ABEARL P5000 Power Station. The 120V MPPT solar inverter turned out to be the MVP. Oukitel ABEARL P5000: https://amazon.bitluni.net/5kWh (ad) Tibber referral link 50€ bonus: https://link.bitluni.net/tibber Spreadsheet: https://link.bitluni.net/batterySheet Links to parts and tools (affiliate links): 700W Grid tie inverter: https://aliexpress.bitluni.net/gridTieShop My camera and lens (4k 60fps): https://amazon.bitluni.net/gh5 Drone DJI Mini 3 pro: https://amazon.bitluni.net/drone Zoom H6 Audio Recorder: https://amazon.bitluni.net/h6 plz share :-) Github Sponsors: https://github.com/sponsors/bitluni Patreon: https://www.patreon.com/bitluni Channel membership: https://www.youtube.com/channel/UCp_5PO66faM4dBFbFFBdPSQ/join Paypal: https://paypal.me/bitluni Twitter: @bitluni reddit: u/bitluni Discord: https://discord.gg/MT5RbJt #electronics #balkonkraftwerk
RrzWvwFPEqc | 02 May 2023
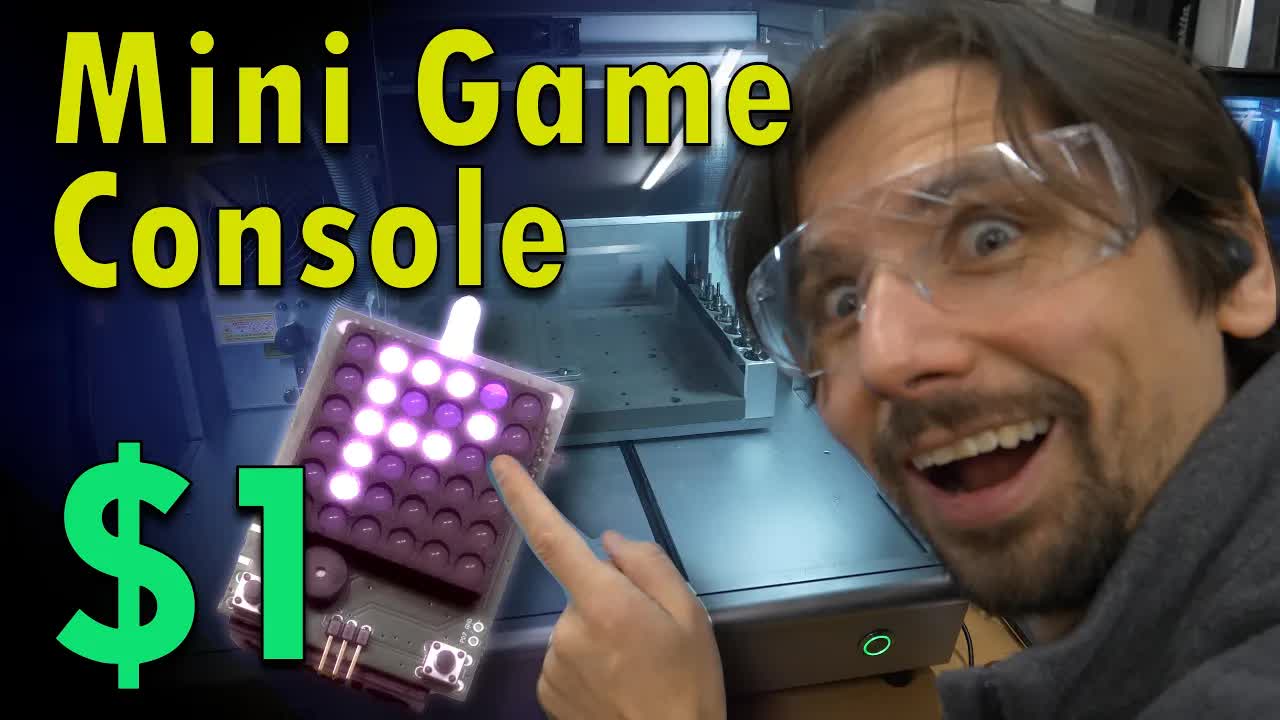
I needed to try the Carvera desktop CNC and test the capabilities but reviews are boring so I made a mini game console instead. Carvera 20% off (ad): https://www.makera.com?sca_ref=3309349.64VGwHrbPc el cheapo will be available "soon" Links to parts and tools (affiliate links): Pink (and other) LEDs: https://aliexpress.bitluni.net/pink CH32V003: https://aliexpress.bitluni.net/ch32v003 CH32V003 with LinkE: https://aliexpress.bitluni.net/ch32003Linke bitluni live: https://www.youtube.com/@bitluniLive/streams My camera and lens (4k 60fps): https://amazon.bitluni.net/gh5 Zoom H6 Audio Recorder: https://amazon.bitluni.net/h6 plz share :-) Github Sponsors: https://github.com/sponsors/bitluni Patreon: https://www.patreon.com/bitluni Channel membership: https://www.youtube.com/channel/UCp_5PO66faM4dBFbFFBdPSQ/join Paypal: https://paypal.me/bitluni Twitter: @bitluni reddit: u/bitluni Discord: https://discord.gg/MT5RbJt #electronics #maker #cnc
6QRKpd28NEE | 15 Apr 2023
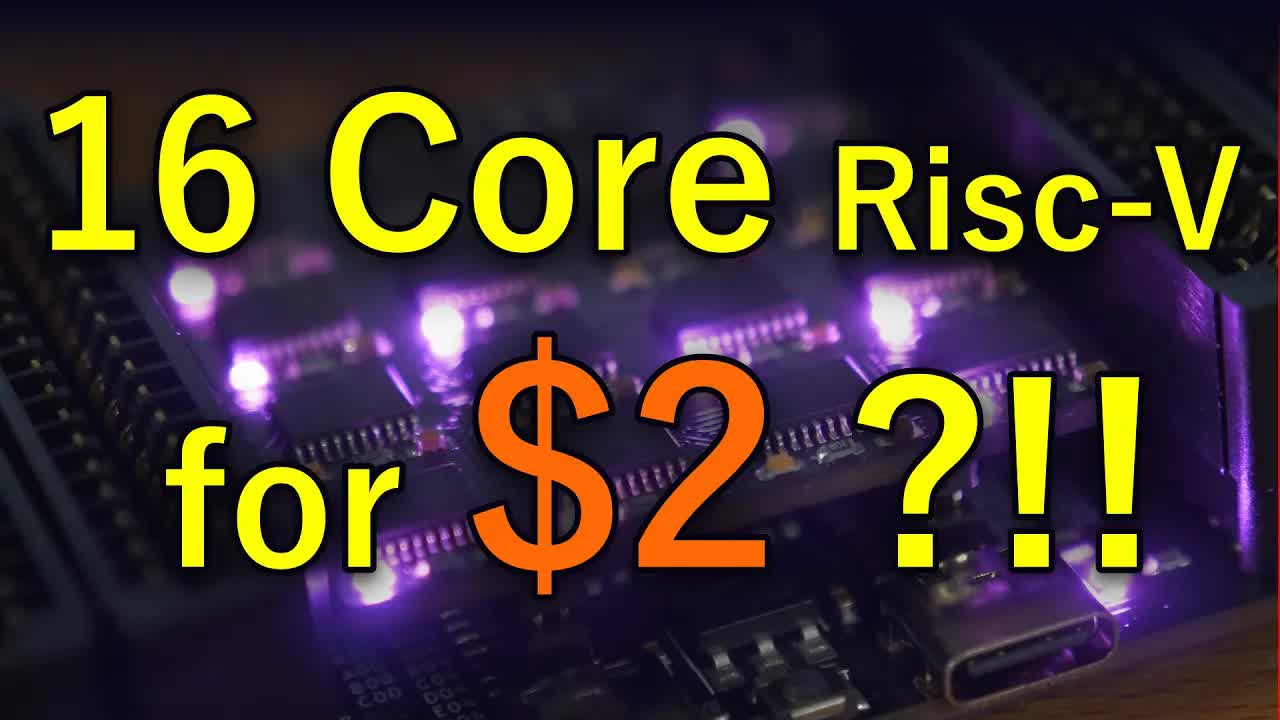
Sponsor: JLCPCB 1-20 layer PCB from $2, PCBA from $0, Sign up to Get $54 Coupons here: https://jlcpcb.com/?from=bitluni Available for Flex, Rogers,PTFE Teflon, Copper Core, Aluminum and FR-4 I couldn't resist to make a RISC-V Supercluster. The CH32V003 MCUs are only 10 cents each so I couldn't resist to put 16 of those on one PCB. That comes with all sorts of challenges. But it's only a little practice for what's going to come... Parts & tools(affiliate links): CH32V003: https://aliexpress.bitluni.net/ch32v003 Edge Connectors: https://aliexpress.bitluni.net/edgeConn Preheating Station (only $50 shipped): https://aliexpress.bitluni.net/heatingStation My camera and lens (4k 60fps): https://amazon.bitluni.net/gh5 Zoom H6 Audio Recorder: https://amazon.bitluni.net/h6 0:00 Intro cheap Risc-V 0:50 Cluster design 2:20 PCB Ordering and part management 3:26 My first 4-Layer PCBs 3:50 Assembly 4:55 Blind design gone wrong 5:44 Sometime we are lucky 6:44 Open drain bus protocol 7:27 First blink program 8:22 to be continued... plz share :-) Paypal: https://paypal.me/bitluni Github Sponsors: https://github.com/sponsors/bitluni Patreon: https://www.patreon.com/bitluni Channel membership: https://www.youtube.com/channel/UCp_5PO66faM4dBFbFFBdPSQ/join Twitter: @bitluni reddit: u/bitluni Discord: https://discord.gg/MT5RbJt #electronics #riscv

ZE447r1mFXM | 13 Sep 2022
Energy prices are skyrocketing and I don't want to pay this so I combined the The Anker power pack wit my small solar panels to recharge my electric car for free. It's automated now without voiding the warranty to cycle charge it bit by bit. Check out the portable power station by Anker (ad): Order on Amazon: https://ankerfast.club/3cemqwD Order on anker.com: https://ankerfast.club/3pARlGs Get your PCBs at Aisler with the coupon code "boardluni" (ad): https://aisler.net Code: https://github.com/bitluni/LDRScanerButtonPusher Links to parts and tools (affiliate links): AC EV Charger: https://aliexpress.bitluni.net/EvCharger Miniware Hot Plate: https://aliexpress.bitluni.net/hotPlate My camera and lens (4k 60fps): https://amazon.bitluni.net/gh5 Zoom H6 Audio Recorder: https://amazon.bitluni.net/h6 plz share :-) Github Sponsors: https://github.com/sponsors/bitluni Patreon: https://www.patreon.com/bitluni Channel membership: https://www.youtube.com/channel/UCp_5PO66faM4dBFbFFBdPSQ/join Paypal: https://paypal.me/bitluni Twitter: @bitluni Discord: https://discord.gg/MT5RbJt 0:00 Intro 1:00 Charging from grid tie 3:05 Battery to EV 3:55 Solar to battery 5:48 The plan 7:14 Making a microcontroller 8:18 LDR display detection and actuators 9:35 Prototype success 10:37 Review: Testing all my tools 11:56 Uninterruptable Power supply mode 12:50 Final test: Solar to Battery to EV cycle 13:43 kthxbye #electronics #maker #PowerStation, #AnkerPowerHouse

Evao3XUUAOY | 28 Aug 2022
In this part I reversed the working principle of my DIY sonar scanner the phased arrays are now receivers. I show how that works and what electronics I designed to tackle the challenge. You liked STEM and here is another bit of that for you. Please enjoy and share with a friend! Give my sponsor Aisler a try: https://aisler.de They manufacture locally and are still competitive! Scanner code: https://github.com/bitluni/SonarScannerV2 Browser based simulator: https://www.shadertoy.com/view/NttyW8 (janky and only UHD but ship it!) Links to parts and tools (affiliate links): Miniware Hot Plate: https://aliexpress.bitluni.net/hotPlate Flux: https://aliexpress.bitluni.net/flux Syringe Pusher: https://aliexpress.bitluni.net/pusher My camera and lens (4k 60fps): https://amazon.bitluni.net/gh5 Merch: https://merch.bitluni.net/ Github Sponsors: https://github.com/sponsors/bitluni Patreon: https://www.patreon.com/bitluni Channel membership: https://www.youtube.com/channel/UCp_5PO66faM4dBFbFFBdPSQ/join Paypal: https://paypal.me/bitluni Twitter: @bitluni Discord: https://discord.gg/MT5RbJt 0:00 Intro 0:12 Recap & motivation 0:51 Sound simulation 2:34 ADC Design 3:11 Aisler PCB assembly 4:09 BGA montage 4:42 ADC serial interface 5:07 Coding challenge 5:59 RMT tricks 7:03 Final tests #electronics #maker
yzRHAdS9FLY | 14 Aug 2022
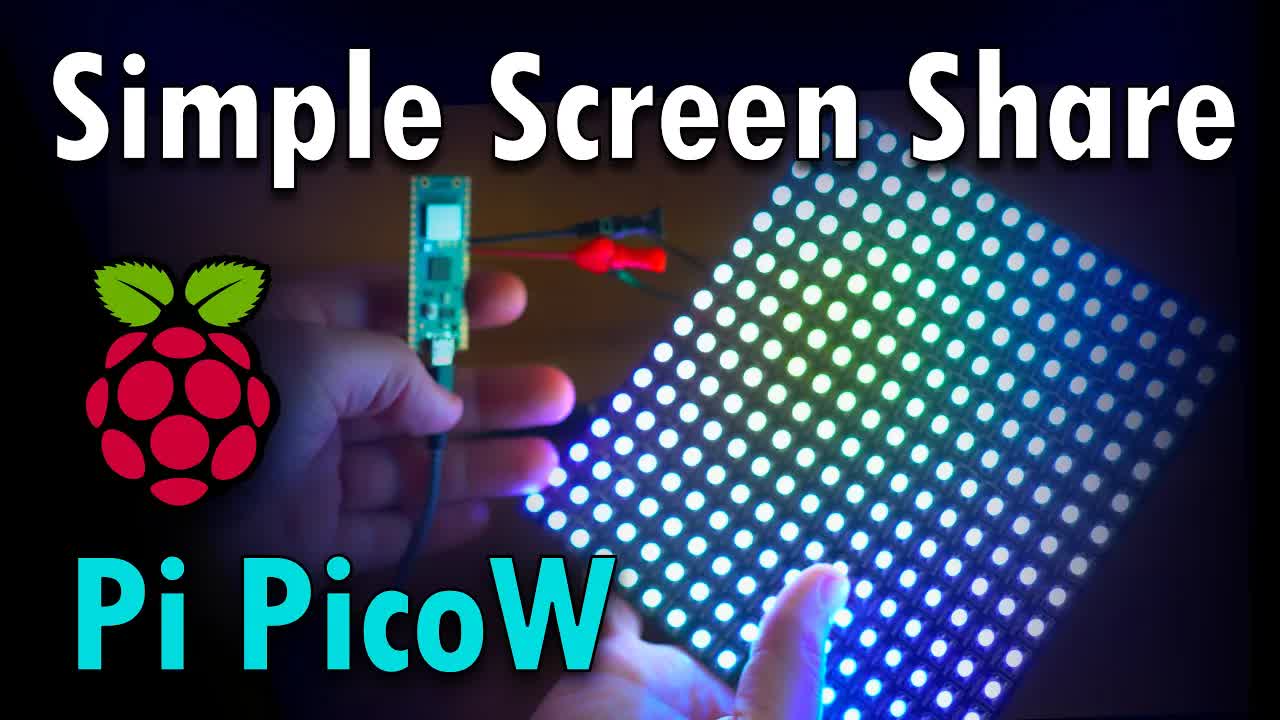
My first take on MicroPython and the new Raspberry Pi Pico W. Had some struggle wit the lacking ram but at the end a simple screen share worked which allows you to project anything shown on your PC screen to a nice LED Matrix display wirelessly. The case with back projection screen is printed in one Piece. It's a super simple project to make on a weekend. I have better Websocket versions coming so subscribe to not miss that. Code & models: https://github.com/bitluni/PicoWMatrixSceenShare Written Tutorial: https://bitluni.net/screen-sharing-matrix Parts (affiliate links): Flexible RGB LED Matrix: https://aliexpress.bitluni.net/flexRGB Raspberry PI Pico W: https://link.bitluni.net/picoW Mini Probes: https://aliexpress.bitluni.net/miniProbes 5.5mm Barrel Jack: https://aliexpress.bitluni.net/barrelJack 5.5mm Barrel Jack with terminal: https://aliexpress.bitluni.net/screwBarrel I used this variable power supply. It's cool but noisy: https://aliexpress.bitluni.net/kjsPSU Raspberry blog post: https://www.raspberrypi.com/news/how-to-run-a-webserver-on-raspberry-pi-pico-w/ MicroWebSrv: https://github.com/jczic/MicroWebSrv Tools (affiliate links): Clampmeter: https://amazon.bitluni.net/clamp Equipment (affiliate links): My camera and lens (4k 60fps): https://amazon.bitluni.net/gh5 Zoom H6 Audio Recorder: https://amazon.bitluni.net/h6 plz share :-) Github Sponsors: https://github.com/sponsors/bitluni Patreon: https://www.patreon.com/bitluni Channel membership: https://www.youtube.com/channel/UCp_5PO66faM4dBFbFFBdPSQ/join Paypal: https://paypal.me/bitluni Twitter: @bitluni reddit: u/bitluni Discord: https://discord.gg/MT5RbJt #electronics #led #micropython

ovi6vKOdMhw | 28 Jul 2022
A simple 3d printed propulsion for SUPs using a battery drill Sponsor FreeinSUP coupons and links: For EU: Coupon code: FS35BL: 35€ off (min order 269€) FS70BL: 70€ off (min order 538€) Product link: blue kayak 10': https://www.freeinsup.de/FSK-305SB21-BL red kayak 10'6": https://www.freeinsup.de/FSK-320SR21-BL For US and CA: Coupon code: BITLUNI (10% off on any products) Product link: https://bit.ly/3HzUlLs Check out the FreeinSUP channel: https://www.youtube.com/channel/UC83CWBoSjhqZNtz1eZCZD9A 3D Models: https://bitluni.net/sup/prop.blend Links to parts and tools (affiliate links): My camera and lens (4k 60fps): https://amazon.bitluni.net/gh5 Drone DJI Mini 3 pro: https://amazon.bitluni.net/drone plz share :-) Github Sponsors: https://github.com/sponsors/bitluni Patreon: https://www.patreon.com/bitluni Channel membership: https://www.youtube.com/channel/UCp_5PO66faM4dBFbFFBdPSQ/join Paypal: https://paypal.me/bitluni Twitter: @bitluni reddit: u/bitluni Discord: https://discord.gg/MT5RbJt #electronics #maker #diy

_N6Dt34rLOY | 24 Jul 2022
This project has no purpose except to have some fun with my friends. I have missed Alex & Dave and meeting in Berlin was fun. We met in the xHain https://x-hain.de/ and were able to convert that old particle board IKEA sofa to a mad bull ride machine. You can find more info on the custom firmware for the controller here: https://github.com/lucysrausch/hoverboard-firmware-hack https://github.com/EFeru/hoverboard-firmware-hack-FOC And this is the online compiler: https://pionierland.de/hoverhack/ Thx @tinyledmatrix & @Davedarko Chapters: 0:00 Intro 0:35 Parts 1:08 Battery refurb attempt 1:52 Electric bike battery 2:25 Hacking of the gyro boards (..attempt) 2:57 Sofa hardware 3:50 Custom controller firmware 4:24 First test 5:24 Sofa mark II test 6:05 Final form plz share :-) Github Sponsors: https://github.com/sponsors/bitluni Patreon: https://www.patreon.com/bitluni Channel membership: https://www.youtube.com/channel/UCp_5PO66faM4dBFbFFBdPSQ/join Paypal: https://paypal.me/bitluni Twitter: @bitluni reddit: u/bitluni Discord: https://discord.gg/MT5RbJt #electronics #maker
Ij1ueSv7saw | 17 Jun 2022
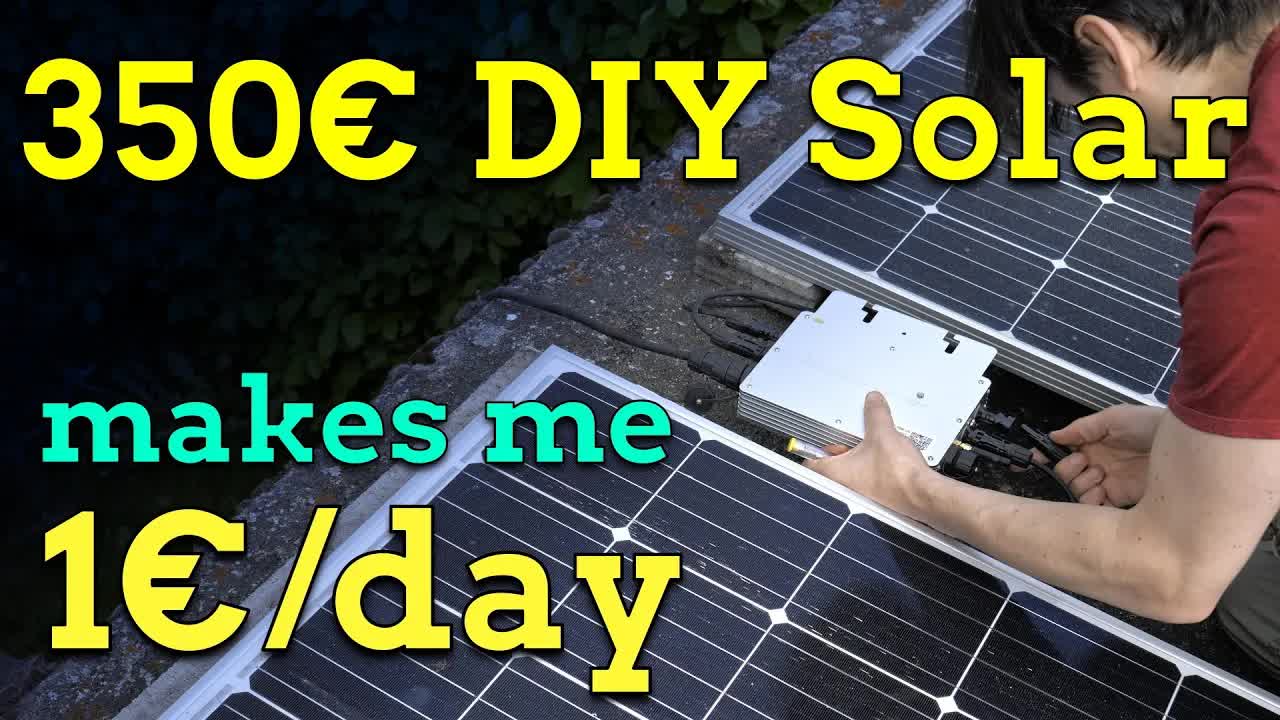
I needed an upgrade for my solar setup since the utility bills got outrageous. The cheap grid tie inverter is easy to setup and saves me 1€/day now. I tested the microinverter and it's working fine making 3kWh/day with two 300W panels. The highest output I measured with my clamp meter at was 2A AC which corresponds to about 520Watts. That's nice because I didn't spend a penny for the mount. The app allows to control the output so you can limit it if you need. New merch is here! https://merch.bitluni.net/shop In Germany the inverter can't exceed 600W so be cautious: https://www.vde.com/de/fnn/arbeitsgebiete/tar/tar-niederspannung/erzeugungsanlagen-steckdose Links to parts and tools (affiliate links): - The shop for the 700W inverters I got with app: https://aliexpress.bitluni.net/gridTieShop - Micro Inverter with plug and no app 600/700W: https://aliexpress.bitluni.net/gridTieInverter - The same Inverter on Amazon EU for 200€ https://amazon.bitluni.net/gridTie700 - Flexible Solar Panels: https://aliexpress.bitluni.net/flexSolarPanel Drone DJI Mini 3 pro: https://amazon.bitluni.net/drone Camera and lens (4k 60fps): https://amazon.bitluni.net/gh5 Zoom H6 Audio Recorder: https://amazon.bitluni.net/h6 plz share :-) Github Sponsors: https://github.com/sponsors/bitluni Patreon: https://www.patreon.com/bitluni Channel membership: https://www.youtube.com/channel/UCp_5PO66faM4dBFbFFBdPSQ/join Paypal: https://paypal.me/bitluni Twitter: @bitluni Discord: https://discord.gg/MT5RbJt #solar #diy #microinverter
KNjdy0BIPbk | 08 May 2022
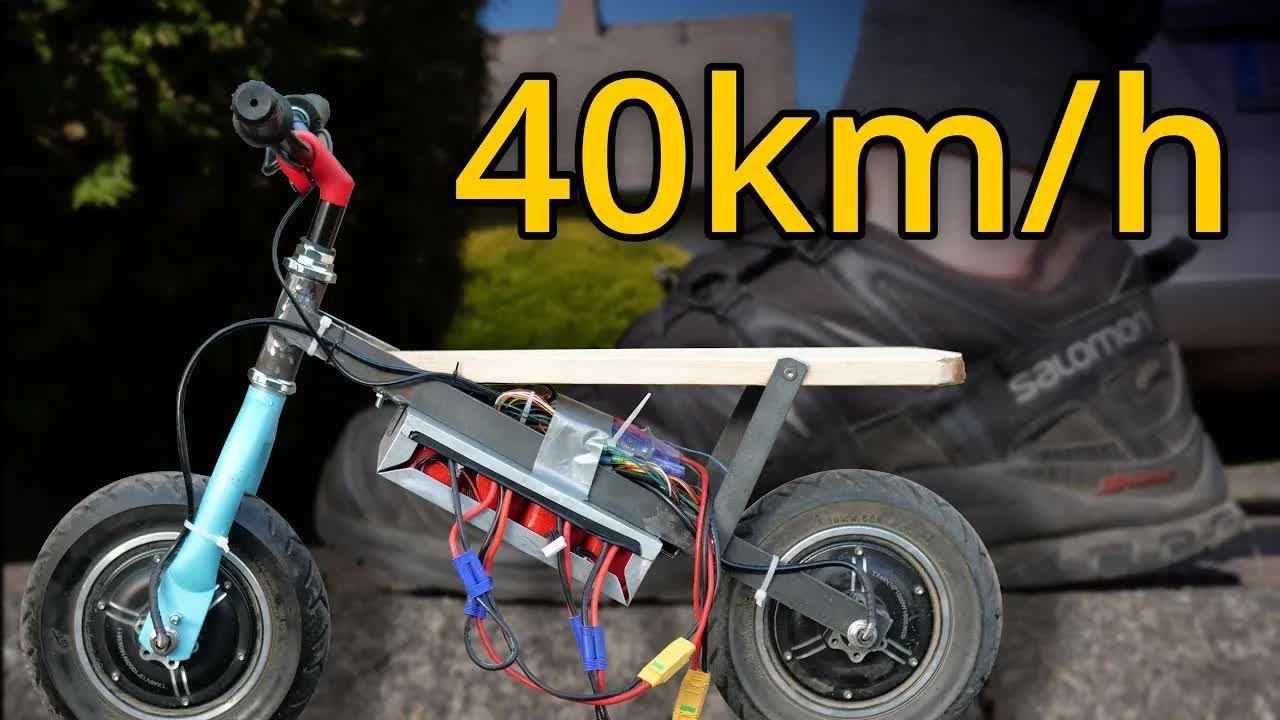
I was bored! All my other projects end up dragging so I decided to build a pocket bike and give me a time limit and concentrate on the most important parts. A pocket bike is basically a mini electric motorcycle. This one even has a dual drive which makes it not only more expensive than needed but also insanely quick. I still didn't find out the top speed. Unfortunately I didn't have enough time to brakes. Keep it safe peepz, I'm a lunatic. Here some details about the bike: It consists of two 1000W 48V BLDC motors. Two VESC-like controllers. 4x6S 6.2Ah LiPo two batteries in series for each motor. Here some links to the parts (affiliate links): 1000W Hub Motor: https://aliexpress.bitluni.net/1kWmotor Tires: https://aliexpress.bitluni.net/10InchTire Speed controller: https://aliexpress.bitluni.net/vesc Charger: https://ebay.bitluni.net/chargerDuo 6S LiPo Batteries: - Ebay: https://ebay.bitluni.net/lipo6S - Aliexpress: https://aliexpress.bitluni.net/lipo6S Throttle ($1.29 lol): https://aliexpress.bitluni.net/throttle My camera and lens (4k 60fps): https://amazon.bitluni.net/gh5 plz share :-) Github Sponsors: https://github.com/sponsors/bitluni Patreon: https://www.patreon.com/bitluni Channel membership: https://www.youtube.com/channel/UCp_5PO66faM4dBFbFFBdPSQ/join Paypal: https://paypal.me/bitluni Twitter: @bitluni reddit: u/bitluni Discord: https://discord.gg/MT5RbJt #electric #motorcycle #diy
z4uxC7ISd-c | 19 Feb 2022
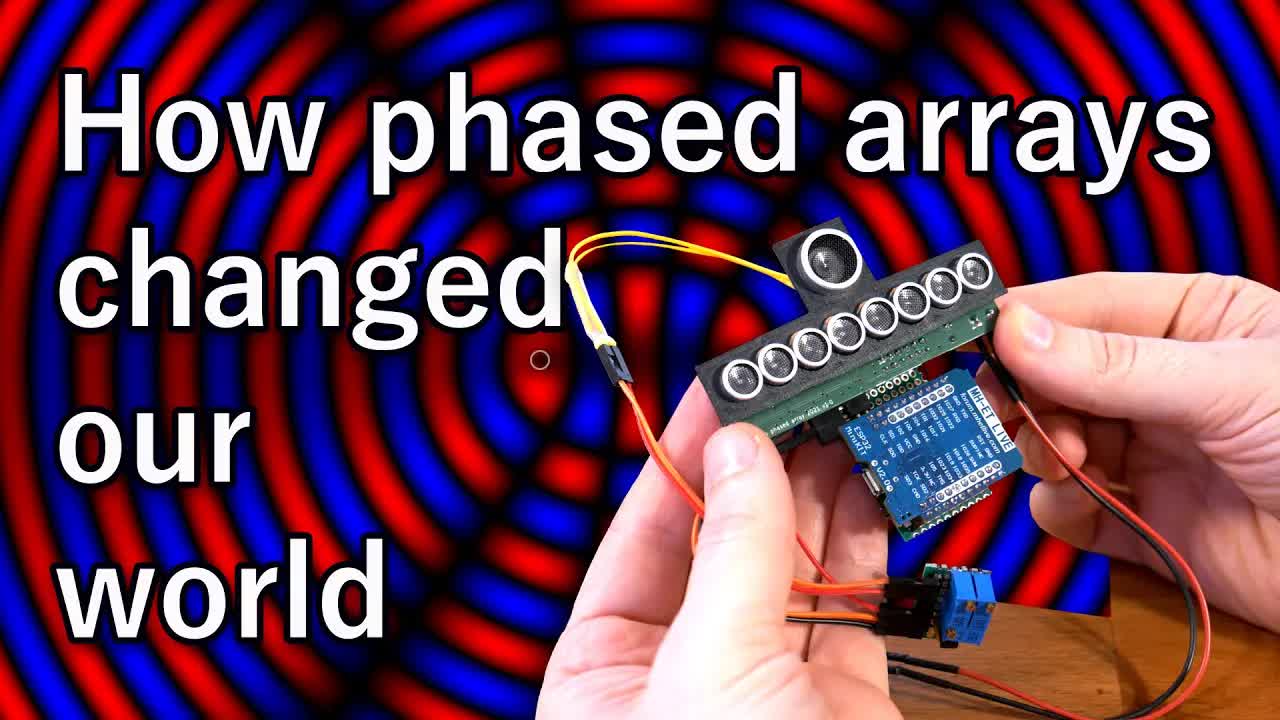
Starlink, Medical Ultrasound, 5G and my DIY sonar scanner have one thing in common: Phased arrays. Phased what..? My practical experiments convey the physics behind the manipulation of waves in a playful manner. The result is a real DIY sonar scanner. Check it out! Give my sponsor Aisler a try: https://aisler.de My board: https://aisler.net/p/QYYBVKUH Browser based simulator: https://www.shadertoy.com/view/NdXfDl Scanner code: https://github.com/bitluni/SonarScannerV1 Links to parts and tools (affiliate links): 4 Channel Mosfet Switch: https://aliexpress.bitluni.net/4chMosfet Solenoid: https://aliexpress.bitluni.net/solenoid Soldering iron: https://aliexpress.bitluni.net/TS80P Miniware Hot Plate: https://aliexpress.bitluni.net/hotPlate Flux: https://aliexpress.bitluni.net/flux Syringe Pusher: https://aliexpress.bitluni.net/pusher Variable Power Supply: https://aliexpress.bitluni.net/kjsPSU Arduino Nano clone: https://aliexpress.bitluni.net/nano ESP32 Mini KIT: https://aliexpress.bitluni.net/ESP32mini Mini Breadboards: https://aliexpress.bitluni.net/miniBreadBoard My camera and lens (4k 60fps): https://amazon.bitluni.net/gh5 Github Sponsors: https://github.com/sponsors/bitluni Patreon: https://www.patreon.com/bitluni Channel membership: https://www.youtube.com/channel/UCp_5PO66faM4dBFbFFBdPSQ/join Paypal: https://paypal.me/bitluni Twitter: @bitluni Discord: https://discord.gg/MT5RbJt 0:00 Intro 0:32 Ultrasonic sensor basics 1:52 Phased arrays 2:26 Water wave experiment 3:11 Phase simulation 5:02 Starlink 5:44 Medical ultrasound 6:07 Mechanical phased array experiment 7:55 Ultrasound array design 8:20 Sponsor: Aisler 8:58 Array assembly 9:57 Software 10:38 Visualization CNC experiment 12:29 Sonar build and results Media sources: • Hackaday Supercon - HunterScott : Why Phased Arrays are Cool ... https://www.youtube.com/watch?v=ytBmoL2wZLw • Wikipedia - Phased array: https://en.m.wikipedia.org/wiki/Phased_array • Hearing frequencies: https://anatomypubs.onlinelibrary.wiley.com/doi/10.1002/ar.a.20117 • Demi, L. Practical Guide to Ultrasound Beam Forming https://doi.org/10.3390/app8091544 • Starlink auto-adjust - Simon Miller https://youtu.be/KtjUsPCl5-M • Starlink Teardown: DISHY DESTROYED! Ken Keiter https://youtu.be/iOmdQnIlnRo • Antennas - Matthias Groeneveld on Pexels • Starlink Tracker 1: https://starlink.sx/ • Starlink Tracker 2: https://satellitemap.space/ • Starlink cats - Aaron Taylor https://twitter.com/Tippen22/status/1476985855981993984 #electronics #maker

8DvH6FiS3sg | 07 Nov 2021
I got a flip dot display from the viewer and the chat let me build an oscilloscope out of that within a livestream. We were successful and I continued to design a driver board to make it nice... Sponsor: https://aisler.net/ Project files: https://github.com/bitluni/FlippyFlip My live streaming channel: https://www.youtube.com/channel/UC8rQKO2XhPnvhnyV1eALa6g Links to parts and tools (affiliate links): ESP32 Mini Microcontroller ($8): https://aliexpress.bitluni.net/ESP32mini PWM Expansion ($3.5) : https://aliexpress.bitluni.net/pwm Variable Power Supply ($12): https://aliexpress.bitluni.net/kjsPSU Soldering iron MiniWare TS80P ($90): https://aliexpress.bitluni.net/TS80P My camera and lens (4k 60fps): https://amazon.bitluni.net/gh5 Zoom H6 Audio Recorder: https://amazon.bitluni.net/h6 0:00 Intro 1:59 First prototype 6:35 PCB design 8:14 Assembly fun 10:42 Results, Case and Done Patreon: https://www.patreon.com/bitluni Paypal: https://paypal.me/bitluni Channel membership: https://www.youtube.com/channel/UCp_5PO66faM4dBFbFFBdPSQ/join Github Sponsors: https://github.com/sponsors/bitluni Tindie store: https://www.tindie.com/stores/bitluni Twitter: @bitluni reddit: u/bitluni Discord: https://link.bitluni.net/discord Music: Jeremy Blake - Powerup! Quincas Moreira - Sparse Clouds #electronics #flipdot #diy
HEM04lS2R-Y | 16 Aug 2021
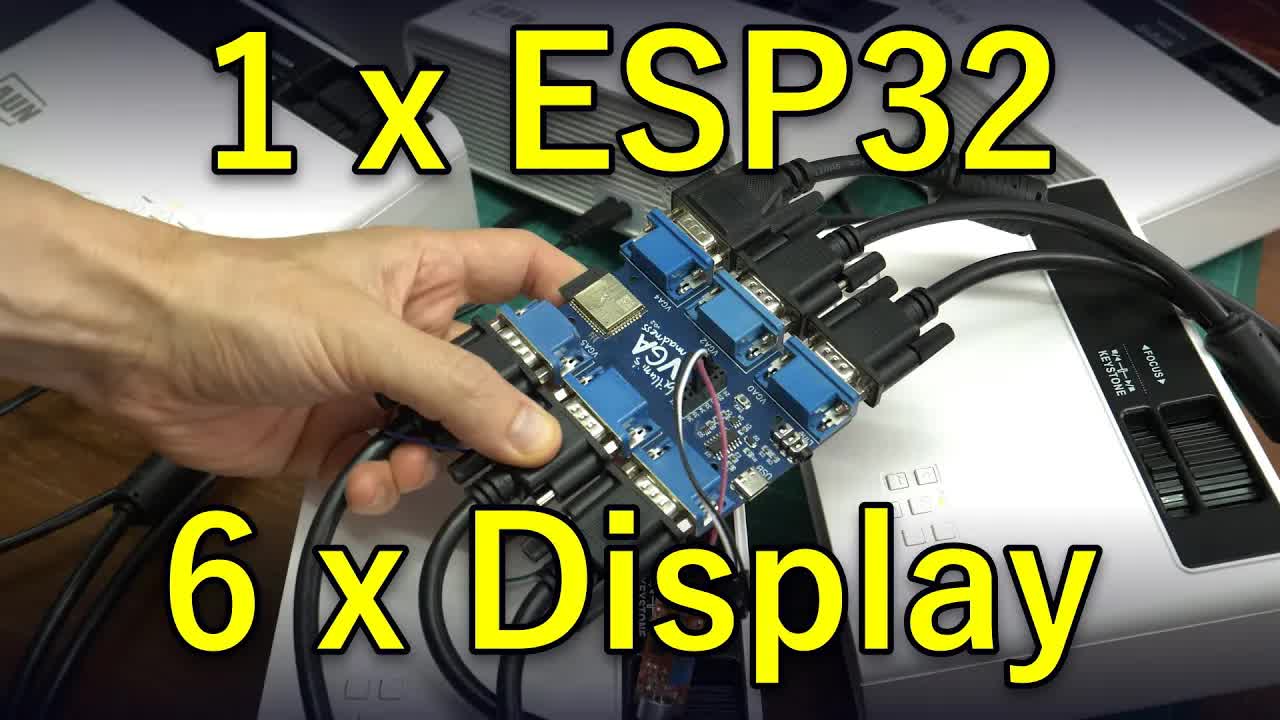
Sponsor: $2 for 1-4 Layer PCBs, sign up to get $18 new user coupons: https://jlcpcb.com/IYB This is a summary on the development of my 6 VGA display microcontroller board. The main CPU is the ESP32 which has enough RAM to run six 640x400 mono displays at the same time. The modified VGA Library by Martin-Laclaustra can be found here: https://github.com/bitluni/ESP32Lib/tree/development Links to parts and tools (affiliate links): LED Projector: https://aliexpress.bitluni.net/projector The seller of my mini CNC Mill: https://aliexpress.bitluni.net/miniMill My camera and lens (4k 60fps): https://amazon.bitluni.net/gh5 Zoom H6 Audio Recorder: https://amazon.bitluni.net/h6 plz share :-) Tindie store: https://www.tindie.com/stores/bitluni Github Sponsors: https://github.com/sponsors/bitluni Patreon: https://www.patreon.com/bitluni Channel membership: https://www.youtube.com/channel/UCp_5PO66faM4dBFbFFBdPSQ/join Paypal: https://paypal.me/bitluni Dogecoin: DLhdK867hZCvuPqmpgviZqgfvUTdSiRfoU bitluni coins: https://bitclout.com/u/bitluni/buy Twitter: @bitluni reddit: u/bitluni Discord: https://discord.gg/MT5RbJt Music: Jeremy Blake - Powerup! #electronics #esp32 #pcb
NP7_cPEDocI | 25 Apr 2021
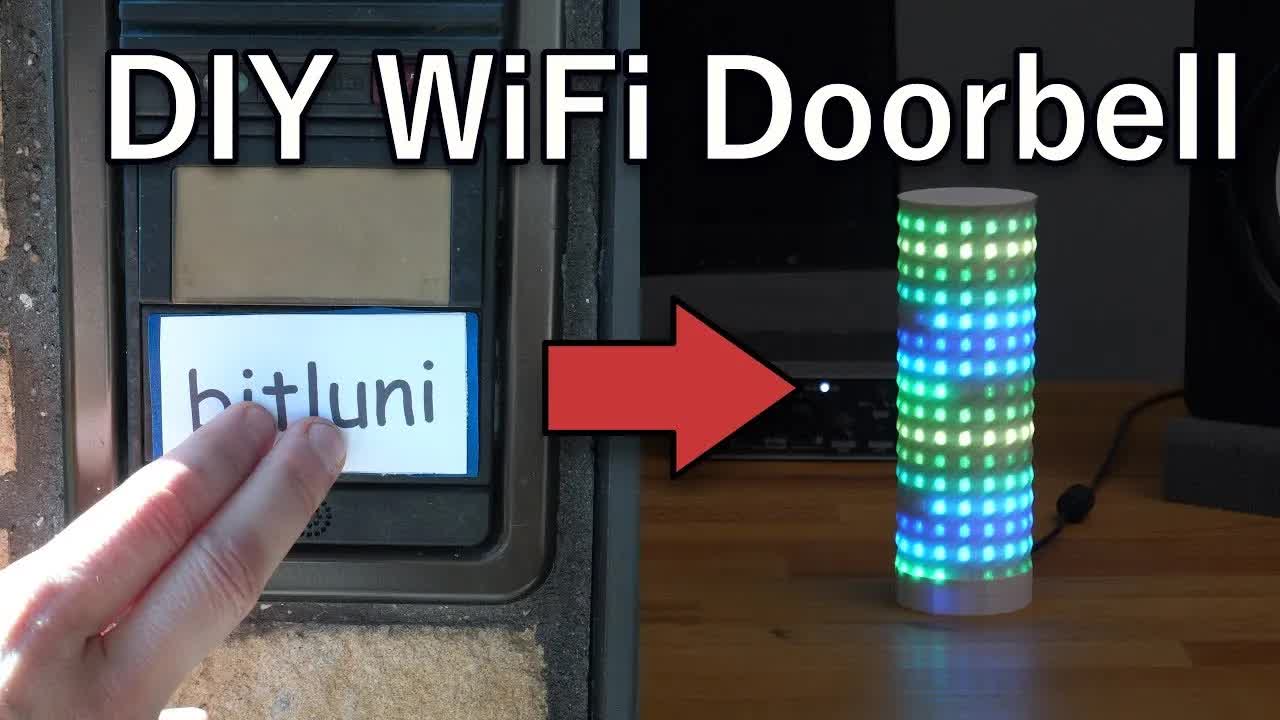
In this video we upgrade a basic doorbell to send notifications over WiFi. With some power harvesting no battery is required. An optional Node-RED server translates the signal and activates a visual notification remotely. This not only helps if the bell isn't audible but can also be use for hearing disabled people. Code and Noder-RED flow can be found here: https://github.com/bitluni/Doorbell Links to parts and tools (affiliate links): ESP8266 D1 Mini ($3.50): https://aliexpress.bitluni.net/d1mini Flexible RGB LED Matrix ($12.20): https://aliexpress.bitluni.net/flexRGB AC to DC PSU with Barrel Jack: https://aliexpress.bitluni.net/ACtoDCBarrel Small DC-DC Converter: https://aliexpress.bitluni.net/smallDC2DC Electrolytic Capacitors: https://aliexpress.bitluni.net/elco Zener Diode Set ($4): https://aliexpress.bitluni.net/zener Full Bridge Rectifiers: https://aliexpress.bitluni.net/fbr LED Projector ($72): https://aliexpress.bitluni.net/projector My camera and lens (4k 60fps): https://amazon.bitluni.net/gh5 Zoom H6 Audio Recorder: https://amazon.bitluni.net/h6 plz share :-) Tindie store: https://www.tindie.com/stores/bitluni Github Sponsors: https://github.com/sponsors/bitluni Patreon: https://www.patreon.com/bitluni Channel membership: https://www.youtube.com/channel/UCp_5PO66faM4dBFbFFBdPSQ/join Paypal: https://paypal.me/bitluni Dogecoin: DLhdK867hZCvuPqmpgviZqgfvUTdSiRfoU bitclout: https://bitclout.com/u/bitluni Twitter: @bitluni reddit: u/bitluni Discord: https://discord.gg/MT5RbJt Music: Jeremy Blake - Powerup! Wayne Jones - Brain Trust Quincas Moreira - Sparse Clouds #electronics #maker #iot

58BhY_qYF4Y | 01 Apr 2021
This is a tutorial how to dill a hole. Learn from an expert tips and tricks making stuff! Use coupon code "April Fools" Links to parts and tools (affiliate links): Makita Brushless Drill: https://amazon.bitluni.net/makitaBL Makita Hammer Drill: https://amazon.bitluni.net/makitaHammer My camera and lens (4k 60fps): https://amazon.bitluni.net/gh5 Zoom H6 Audio Recorder: https://amazon.bitluni.net/h6 plz share :-) Tindie store: https://www.tindie.com/stores/bitluni Github Sponsors: https://github.com/sponsors/bitluni Patreon: https://www.patreon.com/bitluni Channel membership: https://www.youtube.com/channel/UCp_5PO66faM4dBFbFFBdPSQ/join Paypal: https://paypal.me/bitluni Twitter: @bitluni reddit: u/bitluni Discord: https://discord.gg/MT5RbJt Music: Jeremy Blake - Powerup! #tutorial #maker #drill
ktgbtoCD58I | 07 Mar 2021
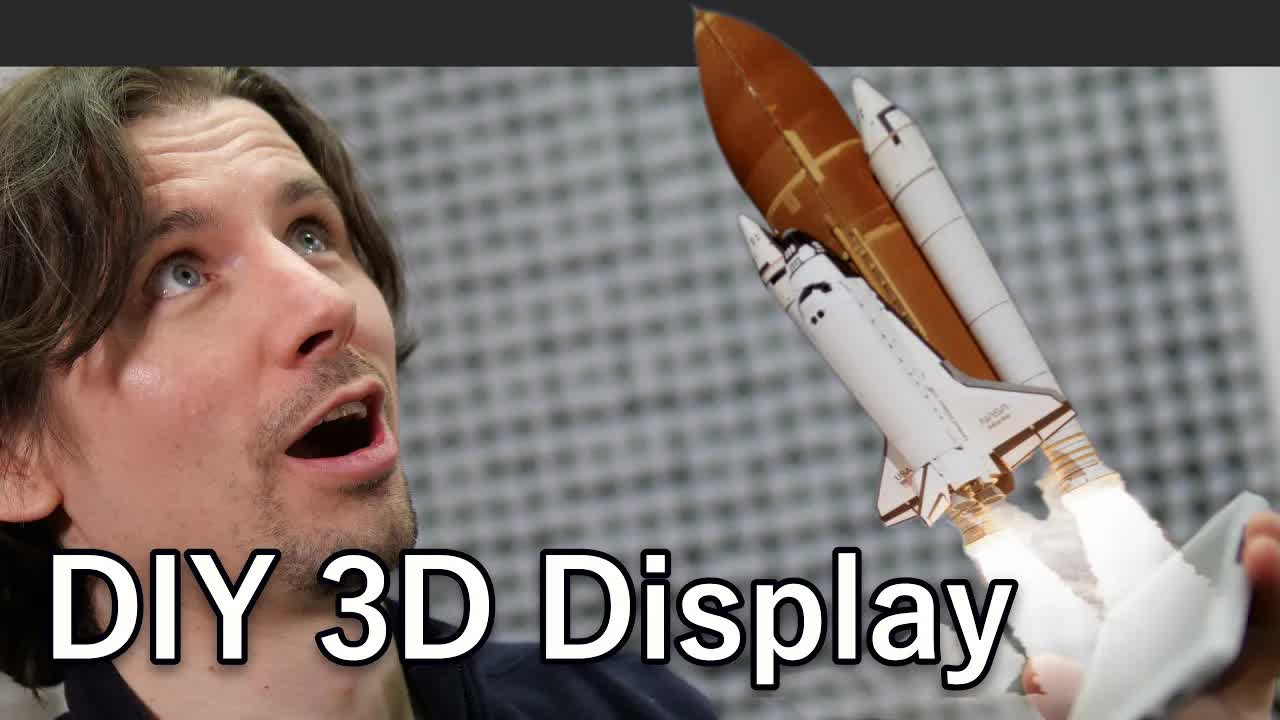
This project demonstrated how basic display can be converted to display stereoscopic images that don't require any extra glasses. A simple lenticular lens can be 3D Printed using a resin based printer and placed on top the display. Several images are interleaved but only one is visible from a each viewing angle. Since the eyes look from different angles two different images can be displayed creating a stereoscopic image. Additional Information: https://en.wikipedia.org/wiki/Fresnel_lens https://en.wikipedia.org/wiki/Lenticular_lens https://en.wikipedia.org/wiki/Refraction https://en.wikipedia.org/wiki/List_of_refractive_indices 3D movie shown https://www.youtube.com/watch?v=80oR2Rpni00 Code bits used for this video: https://github.com/bitluni/LenticularExperiments Links to parts and tools (affiliate links): Anycubic Photon Mono 3D Printer ($200): https://aliexpress.bitluni.net/photonMono Resin ($20): https://aliexpress.bitluni.net/AnycubicResin 200-560nm Protective Glasses ($7.20): https://aliexpress.bitluni.net/laserGlasses UV Laser Pointer ($4.30): https://aliexpress.bitluni.net/UVLaser 405nm Curing Light: https://aliexpress.bitluni.net/curingLight Lenticular Lens Sheets: https://aliexpress.bitluni.net/lenticular My camera and lens (4k 60fps): https://amazon.bitluni.net/gh5 Zoom H6 Audio Recorder: https://amazon.bitluni.net/h6 plz share :-) Tindie store: https://www.tindie.com/stores/bitluni Github Sponsors: https://github.com/sponsors/bitluni Patreon: https://www.patreon.com/bitluni Channel membership: https://www.youtube.com/channel/UCp_5PO66faM4dBFbFFBdPSQ/join Paypal: https://paypal.me/bitluni Twitter: @bitluni reddit: u/bitluni Discord: https://discord.gg/MT5RbJt Music: Jeremy Blake - Powerup! Andrew Langdon - Keys #hologram #3dprinting #maker
W0fqwLYsuS4 | 14 Feb 2021
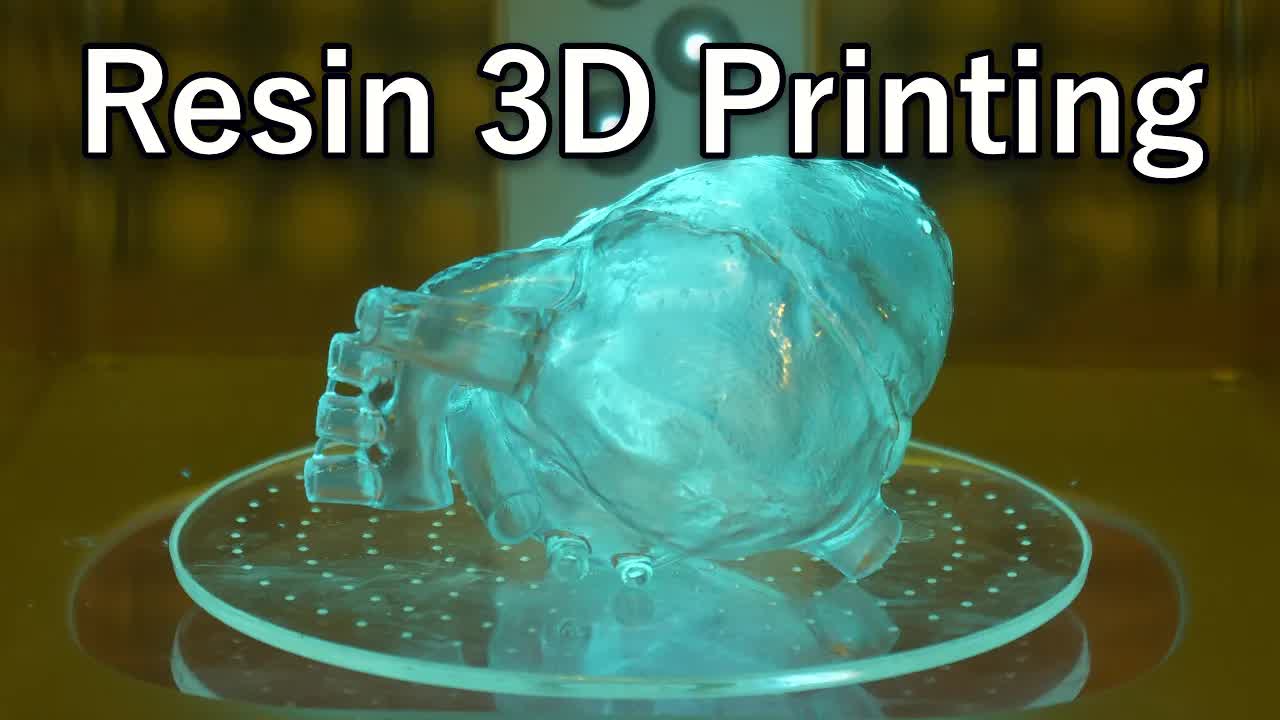
It's time to share my experience I made with my new ANYCUBIC 3D printers. These are monochromatic TFT based resin printers really surprised me with the level of detail and print speed. The best part is that I can print transparent stuff that is suitable to be used as optics. I'did quite some experiments and am happy to share it here with you. Anycubic sponsors the hardware so check out their special offers: Mono: https://bit.ly/3mbVj45 Mono SE: https://bit.ly/3ncKZdC Wash and cure 2.0:https://bit.ly/2KgEMi1 Links to parts and tools (affiliate links): My camera and lens (4k 60fps): https://amazon.bitluni.net/gh5 Zoom H6 Audio Recorder: https://amazon.bitluni.net/h6 plz share :-) Tindie store: https://www.tindie.com/stores/bitluni Github Sponsors: https://github.com/sponsors/bitluni Patreon: https://www.patreon.com/bitluni Channel membership: https://www.youtube.com/channel/UCp_5PO66faM4dBFbFFBdPSQ/join Paypal: https://paypal.me/bitluni Twitter: @bitluni reddit: u/bitluni Discord: https://discord.gg/MT5RbJt Music: Jeremy Blake - Powerup! Andrew Langdon - Follow Me Dan Henig - Orange Foot Andrew Langdon - Keys #maker #3dprinting
enSusqJBnFk | 23 Dec 2020
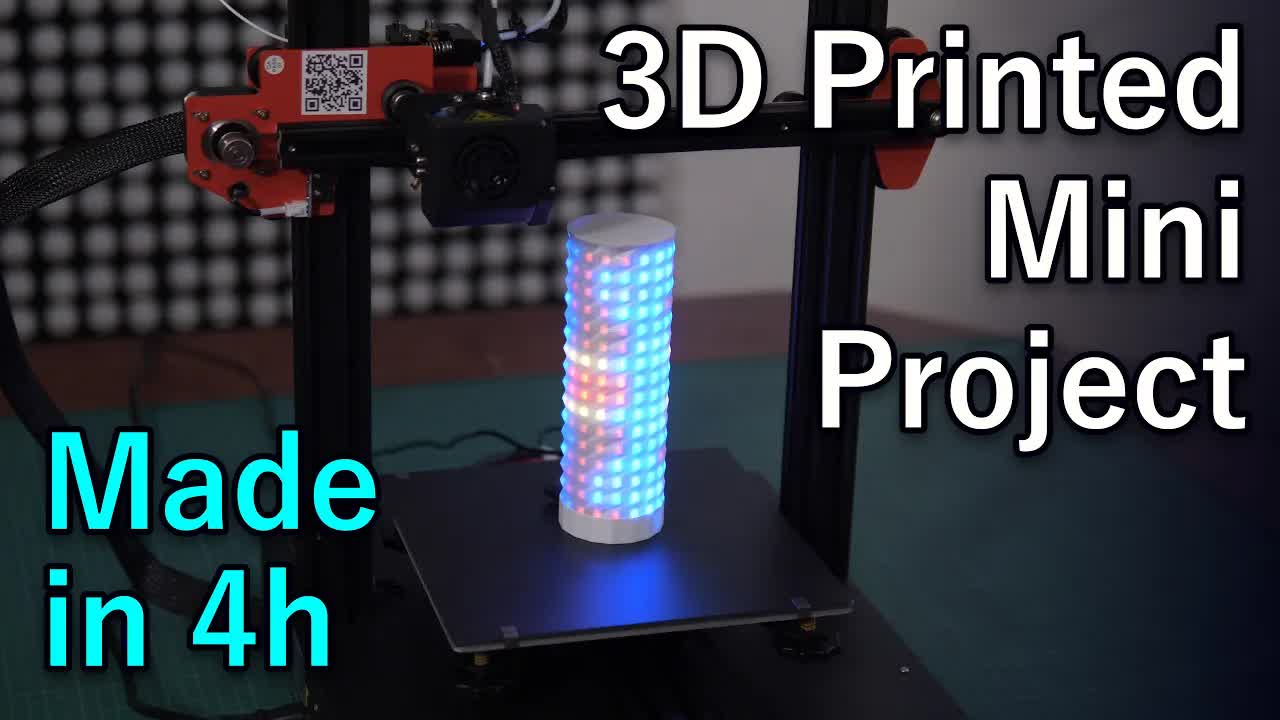
This video shows a short test of the ANet ET4+ 3D Printer. It provides some cool features that allow continuing after power off and changing the filament mid-print. I tested the filament change to print a functional lamp case for a simple 16x16 pixel RGB LED matrix. The lamp is driven by the ESP8266 and WLED. It can be controlled over WiFi and used for several IoT purposes. Build instructions: https://bitluni.net/led-matrix-lamp The Youth-Center: http://www.juze-graben-neudorf.de/ The ANet Pritners (all free & fast shipping from local stock) ET4: $151 https://aliexpress.bitluni.net/ANetET4 ET4 Pro: $191 https://aliexpress.bitluni.net/ANetET4Pro ET5: $266 (EU & Russia) https://link.bitluni.net/ANetET5 A8 Plus: $161 https://aliexpress.bitluni.net/AnetA8 Links to the parts (affiliate links): Flexible RGB LED Matrix ($13): https://aliexpress.bitluni.net/flexRGB ESP8266 D1 Mini: https://aliexpress.bitluni.net/d1mini Power Supply: https://aliexpress.bitluni.net/ACtoDCBarrel 5.5mm Barrel Jack: https://aliexpress.bitluni.net/barrelJack 5.5mm Barrel Jack solderless: https://aliexpress.bitluni.net/screwBarrel My camera and lens (4k 60fps): https://amazon.bitluni.net/gh5 Zoom H6 Audio Recorder: https://amazon.bitluni.net/h6 plz share :-) Tindie store: https://www.tindie.com/stores/bitluni Github Sponsors: https://github.com/sponsors/bitluni Patreon: https://www.patreon.com/bitluni Channel membership: https://www.youtube.com/channel/UCp_5PO66faM4dBFbFFBdPSQ/join Paypal: https://paypal.me/bitluni Twitter: @bitluni reddit: u/bitluni Discord: https://discord.gg/MT5RbJt Music: Jeremy Blake - Powerup! Quincas Moreira - Sparse Clouds Aaron Lieberman - My Peeps Corbyn Kites - Birds Lish Grooves - Pitch #electronics #LED #3dprinting
WlkMbNnIECM | 13 Sep 2020
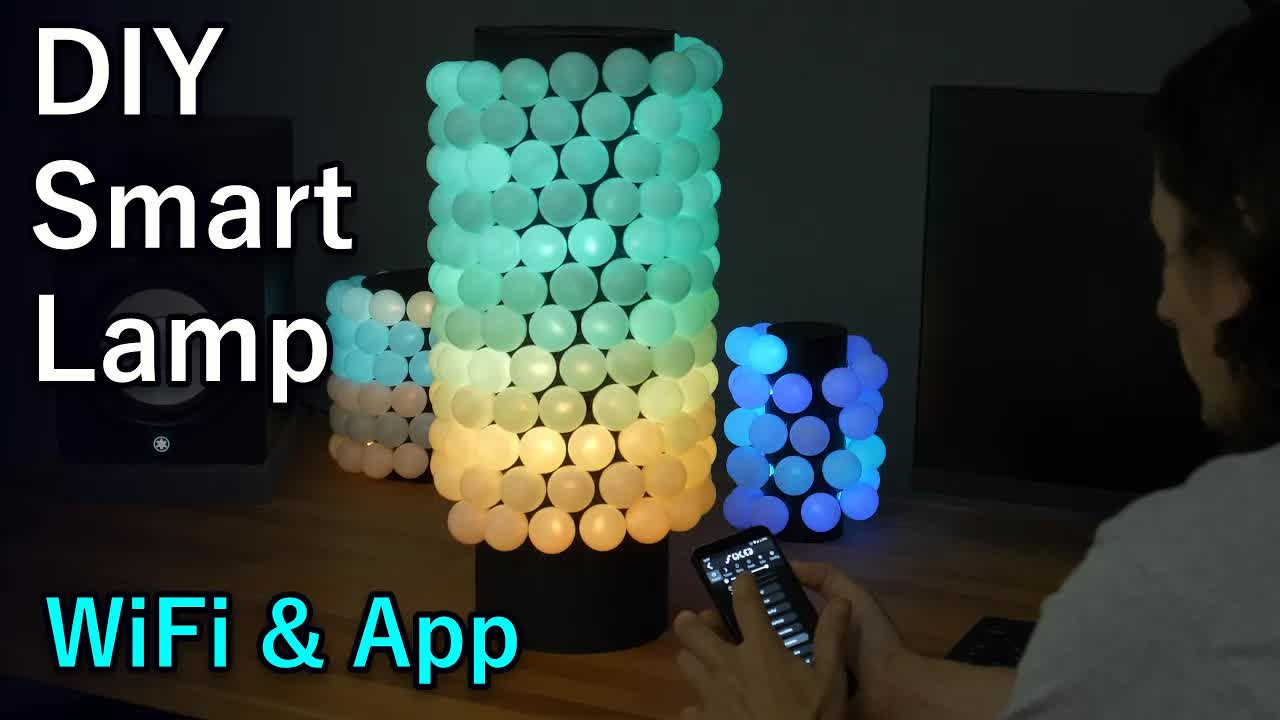
This LED lamp is a quick project that can be done within a day. Only a few cheap components are needed to create a nice looking ambient lamp. No programming is needed, only the WLED firmware is uploaded to a micro controller via a simple tool. A 3D-Printed version simplifies the build process a lot but the cardboard version is also quickly made and can be made huge in size. WLED is open source and provides many IoT interfaced including a web front end and an app that allows to control all the lamps in the local WIFI. Build Instructions: https://bitluni.net/pingponglamp 3D Files: https://www.thingiverse.com/thing:4595868 WLED homepage: https://github.com/Aircoookie/WLED Links to parts and tools (affiliate links): RGB LED Strip $10: https://aliexpress.bitluni.net/ws2812b RGBW Strip $20/5m: https://aliexpress.bitluni.net/sk6812strip Ping Pong Balls $9 (150pcs): https://aliexpress.bitluni.net/pingPong ESP32 Mini KIT $7: https://aliexpress.bitluni.net/ESP32mini ESP8266 D1 Mini $4: https://aliexpress.bitluni.net/d1mini WAGO Nuts: https://amazon.bitluni.net/wago AC to DC PSU with Barrel Jack: https://aliexpress.bitluni.net/ACtoDCBarrel 5.5mm Barrel Jack $3 10pcs: https://aliexpress.bitluni.net/barrelJack 5.5mm Barrel Jack with terminal $0.90 : https://aliexpress.bitluni.net/screwBarrel Cheap Battery Soldering Iron $8: https://aliexpress.bitluni.net/AAIron My trusty multimeter: https://amazon.bitluni.net/clamp My camera and lens (4k 60fps): https://amazon.bitluni.net/gh5 Zoom H6 Audio Recorder: https://amazon.bitluni.net/h6 Check out @DrZzs for more WLED related content. plz share :-) Tindie store: https://www.tindie.com/stores/bitluni Github Sponsors: https://github.com/sponsors/bitluni Patreon: https://www.patreon.com/bitluni Channel membership: https://www.youtube.com/channel/UCp_5PO66faM4dBFbFFBdPSQ/join Paypal: https://paypal.me/bitluni Twitter: @bitluni reddit: u/bitluni Discord: https://discord.gg/MT5RbJt Music: Jeremy Blake - Powerup! @RedMeansRecording Biz Baz Studio - Action Time Wayne Jones - Brain Trust The Whole Other - The Missing Link Vibe Mountain - Operatic 3 Lish Grooves - Pitch Quincas Moreira - Sparse Clouds @QuincasMoreira Dan Henig - Low Life High Life @sirdannytrolls Andrew Langdon - Keys Late Night Feeler - When We Found The Horizon #iot #maker
EZEMK-C-nSo | 19 Jun 2020
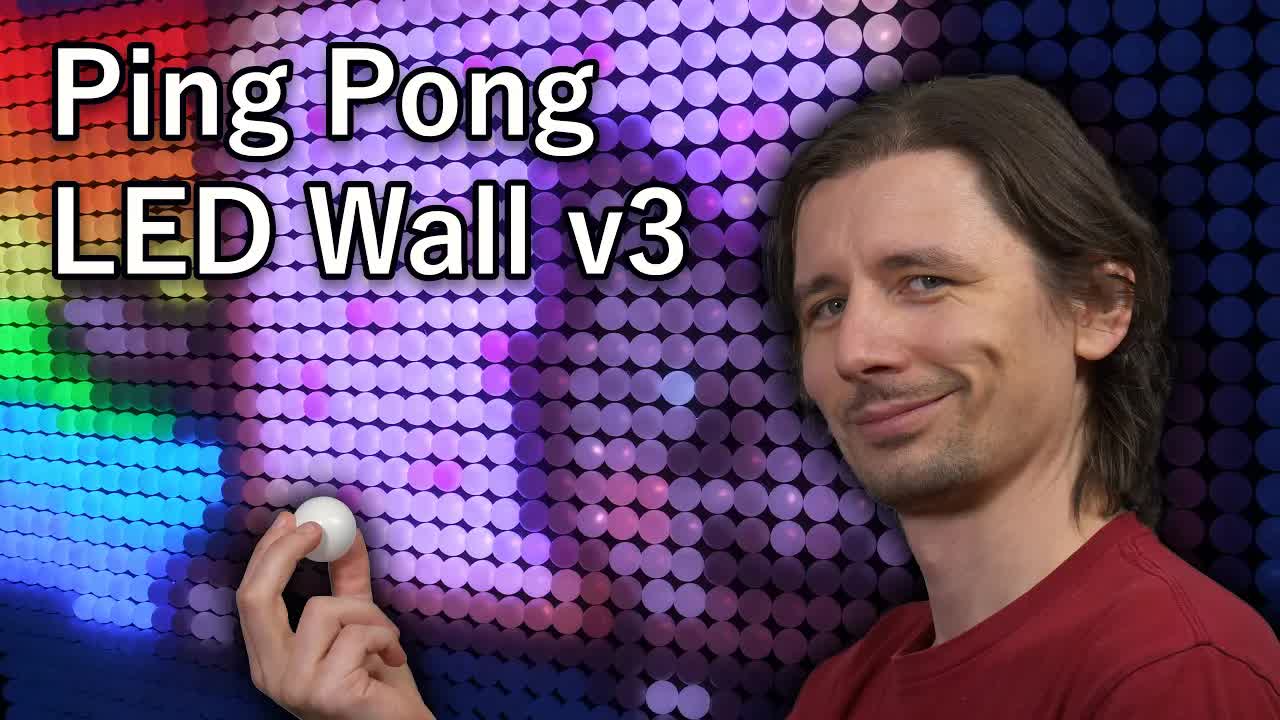
This Ping Pong LED Wall is made of large PCBs sponsored by: PCBWay https://www.pcbway.com/?from=bitluni It consists of 1920 ping pong balls as pixels and is controlled by an ESP32. The parallel data lines allow over 74fps and a camera live feed. The panels are easy to exchange in case of failure and built in bus lines and configurable mounting plates allow to build a display of any shape. My Arduino library provides the LED driver and a graphics interface to draw and display anything. Mike Harrisons talk: https://youtu.be/5SQt1f4PsRU ESP32Lib Arduino library (camera and nyancat are in the exmples): https://github.com/bitluni/ESP32Lib SK6812 Datasheet: http://www.normandled.com/upload/201805/SK6812RGBX-XX%20Datasheet.pdf My store: https://www.tindie.com/stores/bitluni/ Links to parts and tools (affiliate links): ESP32 Cam: https://aliexpress.bitluni.net/espCam ESP32-Cam Programmer: https://link.bitluni.net/camProg RGBW LED Strips: https://aliexpress.bitluni.net/sk6812strip Individual SK6812 RGBW LEDs: https://aliexpress.bitluni.net/sk6812 Ping Pong Balls: https://aliexpress.bitluni.net/pingPong Meanwell HLG-600H-24A Powersuppply: https://amazon.bitluni.net/600H24A 12/24 to 5V Power supplies: https://aliexpress.bitluni.net/24to5 WAGO Nuts/Clamps: https://amazon.bitluni.net/wago KF2510 Connector Set: https://aliexpress.bitluni.net/kf2510 RGB LED chain lights: https://aliexpress.bitluni.net/wiredRgbLeds Clampmeter: https://amazon.bitluni.net/clamp Makita Brushless Drill: https://amazon.bitluni.net/makitaBL My camera and lens (4k 60fps): https://amazon.bitluni.net/gh5 Zoom H6 Audio Recorder: https://amazon.bitluni.net/h6 plz share :-) Tindie store: https://www.tindie.com/stores/bitluni Github Sponsors: https://github.com/sponsors/bitluni Patreon: https://www.patreon.com/bitluni Channel membership: https://www.youtube.com/channel/UCp_5PO66faM4dBFbFFBdPSQ/join Paypal: https://paypal.me/bitluni Twitter: @bitluni reddit: u/bitluni Discord: https://discord.gg/MT5RbJt Music: Jeremy Blake - Powerup! Eveningland - Escape Andrew Langdon - Keys Vibe Mountain - Operatic 3 Wayne Jones - Brain Trust Andrew Langdon - Follow Me Dan Henig - Orange Foot Jingle Punks - Choose Your Path Myuu - Falling Rain #rgb #LED #maker
3Q28rSUzTp4 | 17 May 2020
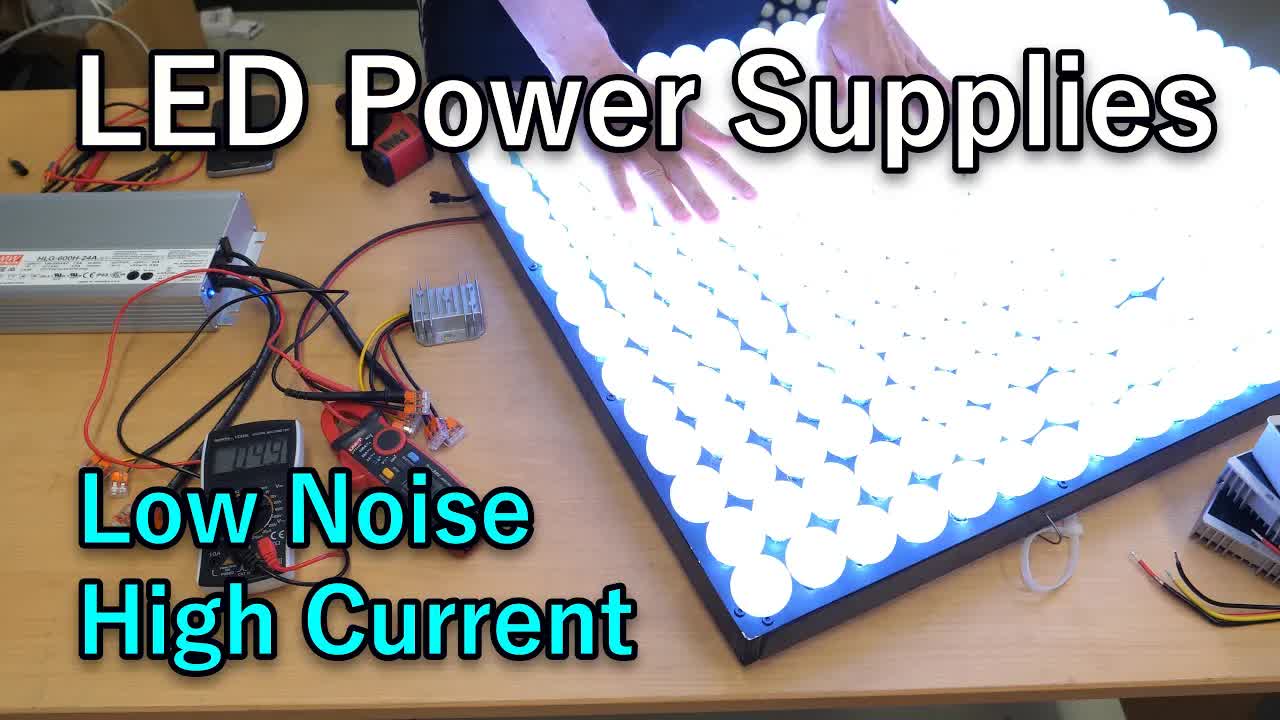
This video shows my tests of some new power concepts for my high current LED Wall projects. I tested a two step solution from AC to 24V DC and then to 5V DC. But also a direct AC to 5V DC solution. All the supplies I'm using are without a fan but a few types produce coil hiss which I also measured. Links to parts and tools (affiliate links): Clampmeter: https://amazon.bitluni.net/clamp Sound Level Meter: https://aliexpress.bitluni.net/sndLvl Infrared Thermometer: https://aliexpress.bitluni.net/irThermo Meanwell HLG-600H-24A: https://amazon.bitluni.net/600H24A WAGO Nuts/Clamps: https://amazon.bitluni.net/wago 12/24 to 5V Power supplies: https://aliexpress.bitluni.net/24to5 Cheap AC to 5/12V DC 12/20A: https://aliexpress.bitluni.net/ACtoDC Cheap alternative AC to 24V 6.25A (I'm using this for my PnP): https://aliexpress.bitluni.net/24Vpsu AC to DC PSU with Barrel Jack: https://aliexpress.bitluni.net/ACtoDCBarrel My camera and lens (4k 60fps): https://amazon.bitluni.net/gh5 Zoom H6 Audio Recorder: https://amazon.bitluni.net/h6 plz share :-) Tindie store: https://www.tindie.com/stores/bitluni Github Sponsors: https://github.com/sponsors/bitluni Patreon: https://www.patreon.com/bitluni Channel membership: https://www.youtube.com/channel/UCp_5PO66faM4dBFbFFBdPSQ/join Paypal: https://paypal.me/bitluni Twitter: @bitluni reddit: u/bitluni Discord: https://discord.gg/MT5RbJt Music: Jeremy Blake - Powerup! #electronics #maker #4k
bUkX3iwr2iE | 26 Apr 2020
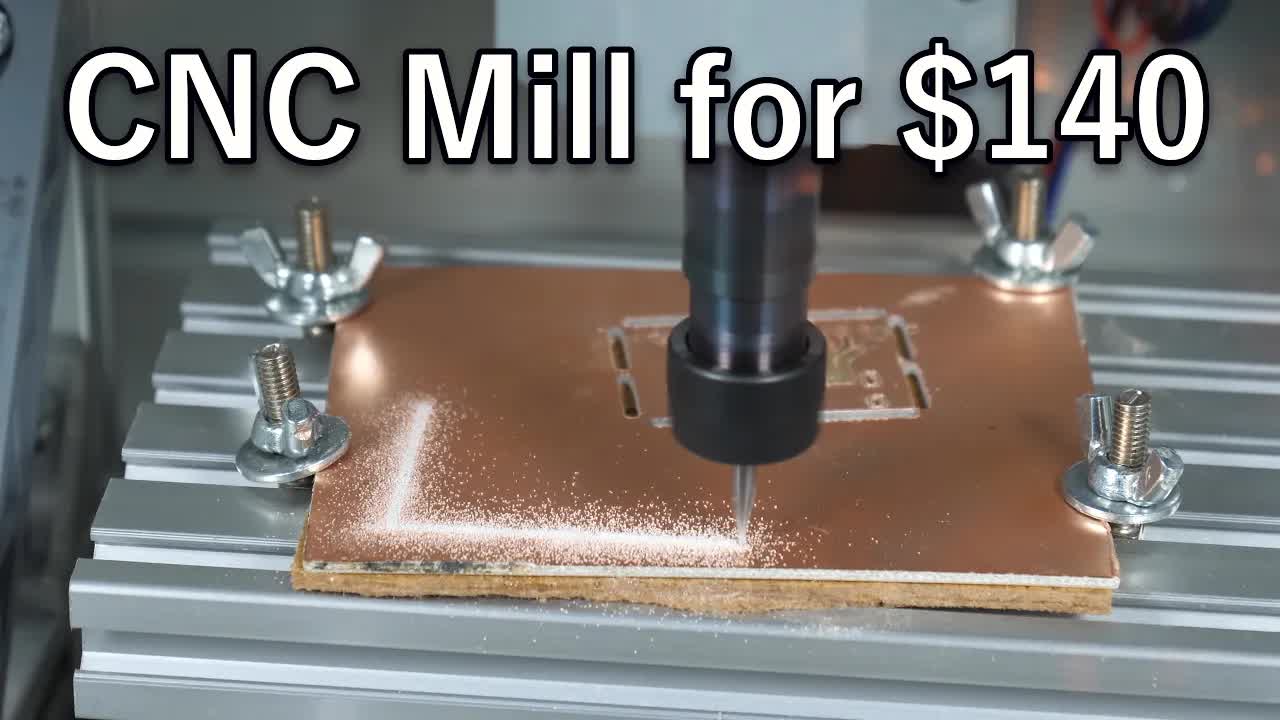
PCB Milling was on my TODO list. So I thought I'll give the cheapest CNC mill a try that isn't made from card board. You would be surprised how far I got within two days of messing around with that. The fun alone was worth every penny of this purchase. Enjoy! Links to parts and tools (affiliate links): Mini CNC Mill $140: https://aliexpress.bitluni.net/miniMill ER11 Chuck with all collets $10.50: https://aliexpress.bitluni.net/er11 Different conical mills $3.80/10: https://aliexpress.bitluni.net/conicalMills Mill Sets $7.70: https://aliexpress.bitluni.net/millSet 50 Mill Set $10: https://aliexpress.bitluni.net/50MillSet Server Cabinet: https://ebay.bitluni.net/serverRack Chainsaw 😂: https://amazon.bitluni.net/chainsaw My camera and lens (4k 60fps): https://amazon.bitluni.net/gh5 plz share :-) Tindie store: https://www.tindie.com/stores/bitluni Github Sponsors: https://github.com/sponsors/bitluni Patreon: https://www.patreon.com/bitluni Channel membership: https://www.youtube.com/channel/UCp_5PO66faM4dBFbFFBdPSQ/join Paypal: https://paypal.me/bitluni Twitter: @bitluni reddit: u/bitluni Discord: https://discord.gg/MT5RbJt Music: Jeremy Blake - Powerup! Wayne Jones - Brain Trust Gunnar Olsen - West Coast Trip Silent Partner - Hold On a Minute Andrew Langdon - Keys Francis Preve - Komputo Quincas Moreira - Grasshopper Dan Henig - Low Life High Life #electronics #maker
U1FCAFfndcw | 12 Apr 2020
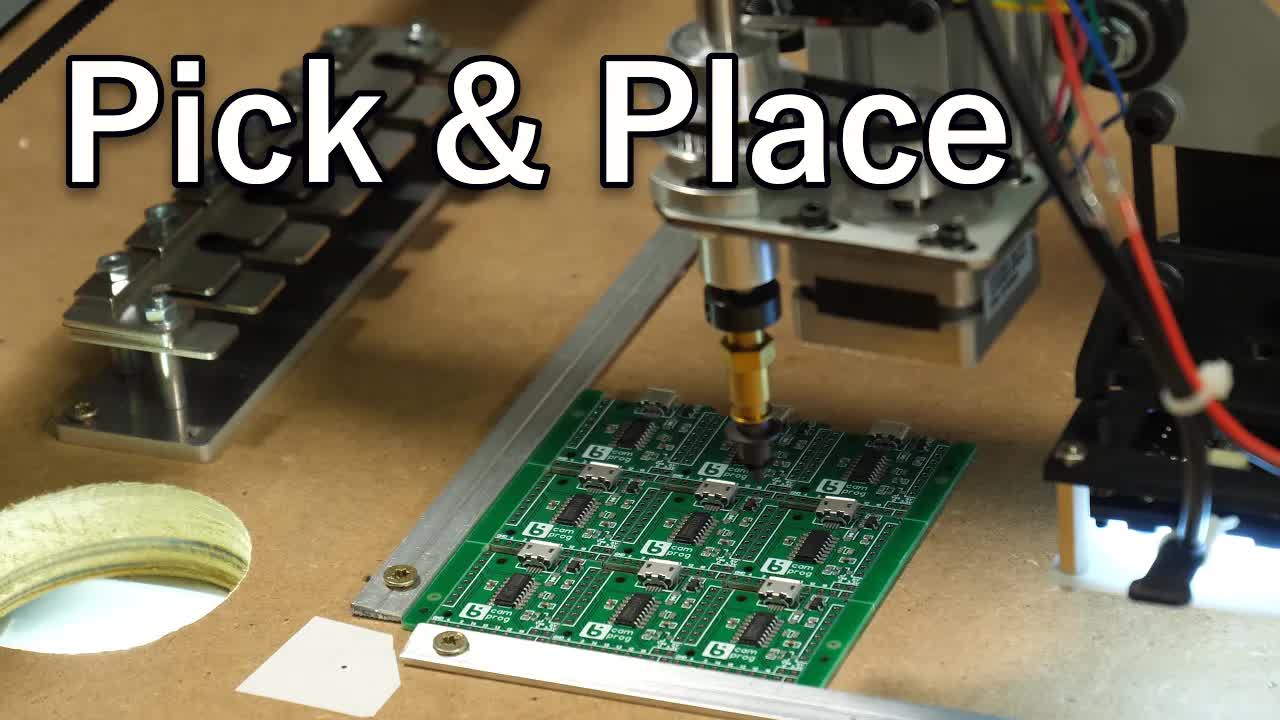
This video shows the whole story of my new Pick & Place machine from the beginnings building the kit, until now when I got my production running. LitePlacer Kit: With the code "Bitluni05" you get 5% off https://link.bitluni.net/liteplacer (Updates on possible shipping restrictions: https://www.liteplacer.com/shop20/ ) Check out Aaaron's channel: https://www.youtube.com/channel/UCY0kJ-Z-811fqTddJ72w-WA All live streams playlist: https://www.youtube.com/watch?v=I6mcy4XuSEg&list=PLjUbKCHhzPEwCrJVsa_2HYnS8y1IUY5fX 3D printed Tray: https://www.thingiverse.com/thing:4279912 Links to parts and tools (affiliate links): Long Torx Set: https://aliexpress.bitluni.net/looooongTorx Thermally Stable Solder Paste: https://link.bitluni.net/chipQuick Links to the parts and tools (affiliate links): 4 Channel Mosfet Switch: https://aliexpress.bitluni.net/4chMosfet 24V Power Supply (fanless): https://aliexpress.bitluni.net/24Vpsu Crappy Reflow Oven: https://ebay.bitluni.net/crapReflowOven Set of Tweezers: https://aliexpress.bitluni.net/tweezers Ultrasonic Cleaner: https://aliexpress.bitluni.net/cleaner My camera and lens (4k 60fps): https://amazon.bitluni.net/gh5 plz share :-) Tindie store: https://www.tindie.com/stores/bitluni Github Sponsors: https://github.com/sponsors/bitluni Patreon: https://www.patreon.com/bitluni Channel membership: https://www.youtube.com/channel/UCp_5PO66faM4dBFbFFBdPSQ/join Paypal: https://paypal.me/bitluni Twitter: @bitluni reddit: u/bitluni Discord: https://discord.gg/MT5RbJt Music: Jeremy Blake - Powerup! Andrew Langdon - Follow Me Dan Henig - Orange Foot Andrew Langdon - Keys #electronics #maker #picknplace

gkiYCo2vbrw | 29 Feb 2020
Giveaway with extra scope for my fans: http://bit.ly/Bit2020 Wave 2020 blog post: https://blogs.keysight.com/blogs/tech.entry.html/2020/01/21/keysight_wave_2020o-cM58.html Live event: https://www.youtube.com/watch?v=TXV2AFiKXfU Keysight channel: https://www.youtube.com/user/KeysightOscilloscope XY-Mode Sketch for the ESP32: https://github.com/bitluni/Wave2020 ESP32 Mini KIT (affiliate link): https://aliexpress.bitluni.net/ESP32mini Consider supporting my lab for some extras and frequent updates: https://github.com/sponsors/bitluni https://www.patreon.com/bitluni https://paypal.me/bitluni Twitter: @bitluni reddit: u/bitluni #electronics #diy #maker
Gn5yixqjmN8 | 29 Feb 2020
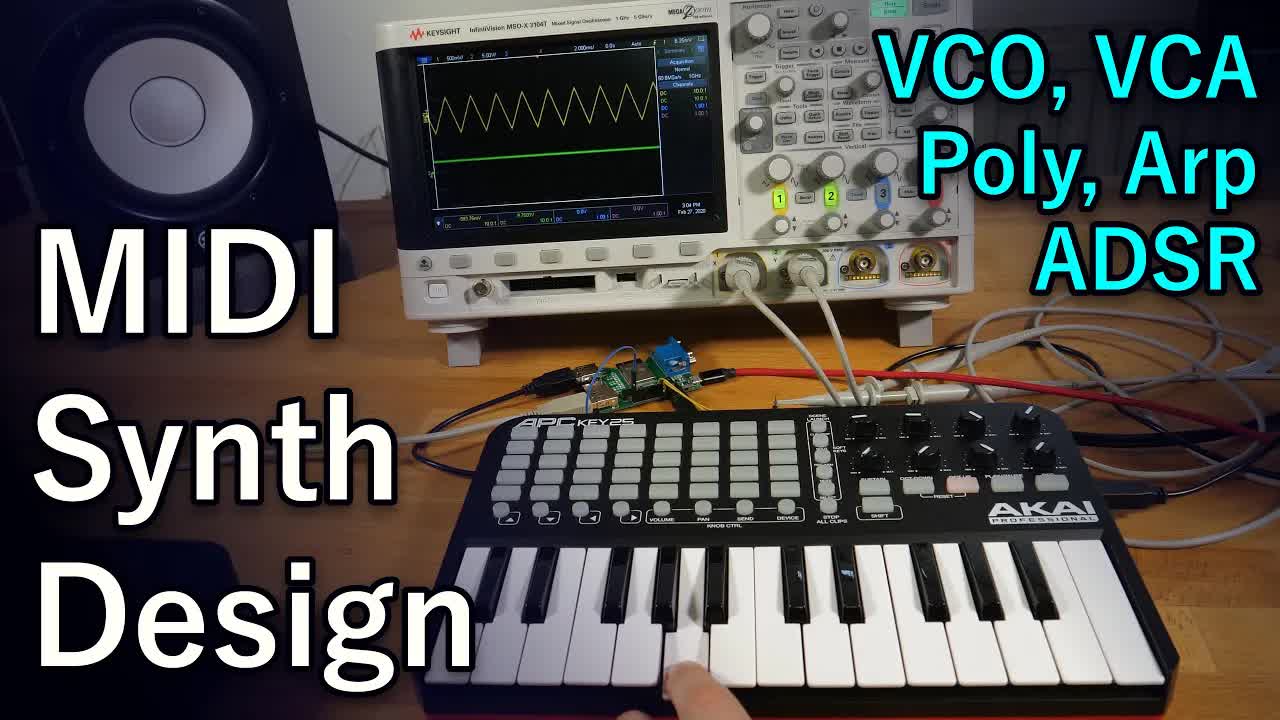
This is an introduction into simple synthesizer concepts and how MIDI can be used to develop a software synthesizer with different oscillators, envelopes and arpeggiators. It is meant to give an overview of modular analog synthesizer designs and make familiar with the names and abbreviations often seen on analog synth equipment. In future this project will evolve to a small portable USB MIDI synth. Check out the first dev video and the nightshift live streams if you are interested in the uncut development process: https://www.youtube.com/watch?v=fJJmRo_G6_s https://www.youtube.com/watch?v=JS8F6Y5iqdg&list=PLP_wPvJgLCYLOhfTkE7zenlZ25veJGHUd These are my favorite (cheap) MIDI devices (affiliate links): Akai Professional APC Key 25: https://amazon.bitluni.net/APCKey25 Akai MIDIMix: https://amazon.bitluni.net/MIDIMix Alesis Q49: https://amazon.bitluni.net/AlesisQ49 My camera and lens (4k 60fps): https://amazon.bitluni.net/gh5 Check out my Tindie store to get some of my creations: https://www.tindie.com/stores/bitluni Consider supporting my lab for some extras and frequent updates: https://github.com/sponsors/bitluni https://www.patreon.com/bitluni https://paypal.me/bitluni Twitter: @bitluni reddit: u/bitluni #MIDI #diy #synthesizer
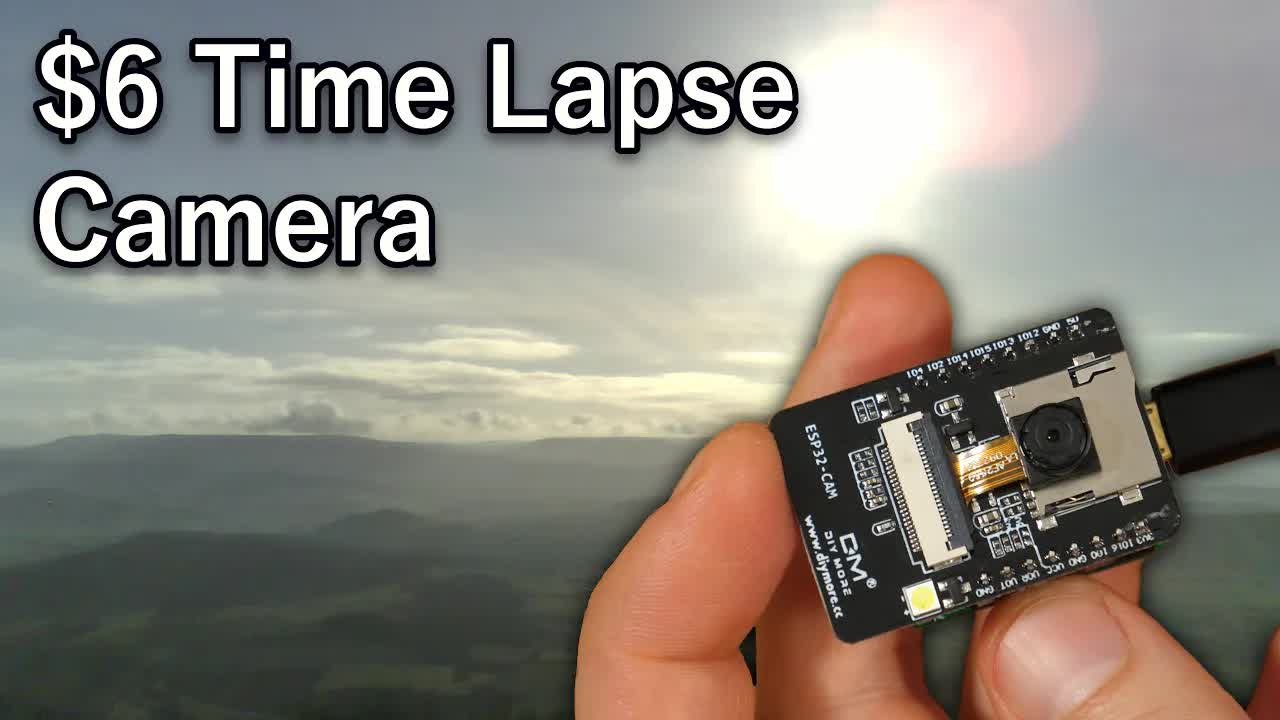
0_pewS4IPN4 | 17 Jan 2020
A $6 ESP32 camera is used to record time-lapse footage. It's controlled over a web interface and stores images to an micro SD card. ffmpeg is used to convert the Jpeg images to an mp4 video. While macro photography doesn't work great due to the fixed focus, landscape photography looks good. Project page with code and information: https://bitluni.net/esp32camtimelapse Links to the parts (affiliate links): ESP32 Cam ($5-8): https://aliexpress.bitluni.net/espCam ESP32-Cam Programmer: https://link.bitluni.net/camProg My main camera and lens I used for the good ones (4k 60fps): https://amazon.bitluni.net/gh5 plz share :-) Check out my Tindie store to get some of my creations: https://www.tindie.com/stores/bitluni Consider supporting my lab for some extras and frequent updates: https://github.com/sponsors/bitluni https://www.patreon.com/bitluni https://paypal.me/bitluni Twitter: @bitluni reddit: u/bitluni #electronics #diy #maker

po3FBdY0GS4 | 05 Jan 2020
This video shows an affordable way to add USB support to maker projects. $2 for 10 PCBs (Any Color): https://jlcpcb.com (sponsor) The CH559 is a 8051 architecture based microcontroller that has built in dual USB Hosts. This allows to interface generic Keyboards, Mice, MIDI devices and in my case gamepads. I added this chip as an add on to my ESP32 based game console to replace the SNES controllers by cheap generic ones. The communications is handled over UART which can be done by both ends in hardware. There still is some work to do but you can try it out already. Have fun! CH559 firmware sources & compiler: https://github.com/atc1441/CH559sdccUSBHost Aarons video: https://youtu.be/Th88RiSmj2w Links to my game using the USB: https://github.com/bitluni/GameWing2USB CH559: https://link.bitluni.net/ch559 Links to the parts (affiliate links): USB SNES Gamepad ($2.70 shipped): USB Fake PS3 Controller ($3.30 shipped): https://aliexpress.bitluni.net/usbPs3 https://aliexpress.bitluni.net/usbSnes Set of Tweezers ($3): https://aliexpress.bitluni.net/tweezers Flux ($3 for two): https://aliexpress.bitluni.net/flux Ultrasonic Cleaner(~$50): https://aliexpress.bitluni.net/cleaner Soldering Mat ($9): https://aliexpress.bitluni.net/mat My camera and lens (4k 60fps): https://amazon.bitluni.net/gh5 plz share :-) Check out my Tindie store to get some of my creations: https://www.tindie.com/stores/bitluni Consider supporting my lab for some extras and frequent updates: https://github.com/sponsors/bitluni https://www.patreon.com/bitluni https://paypal.me/bitluni Twitter: @bitluni reddit: u/bitluni #electronics #diy #maker
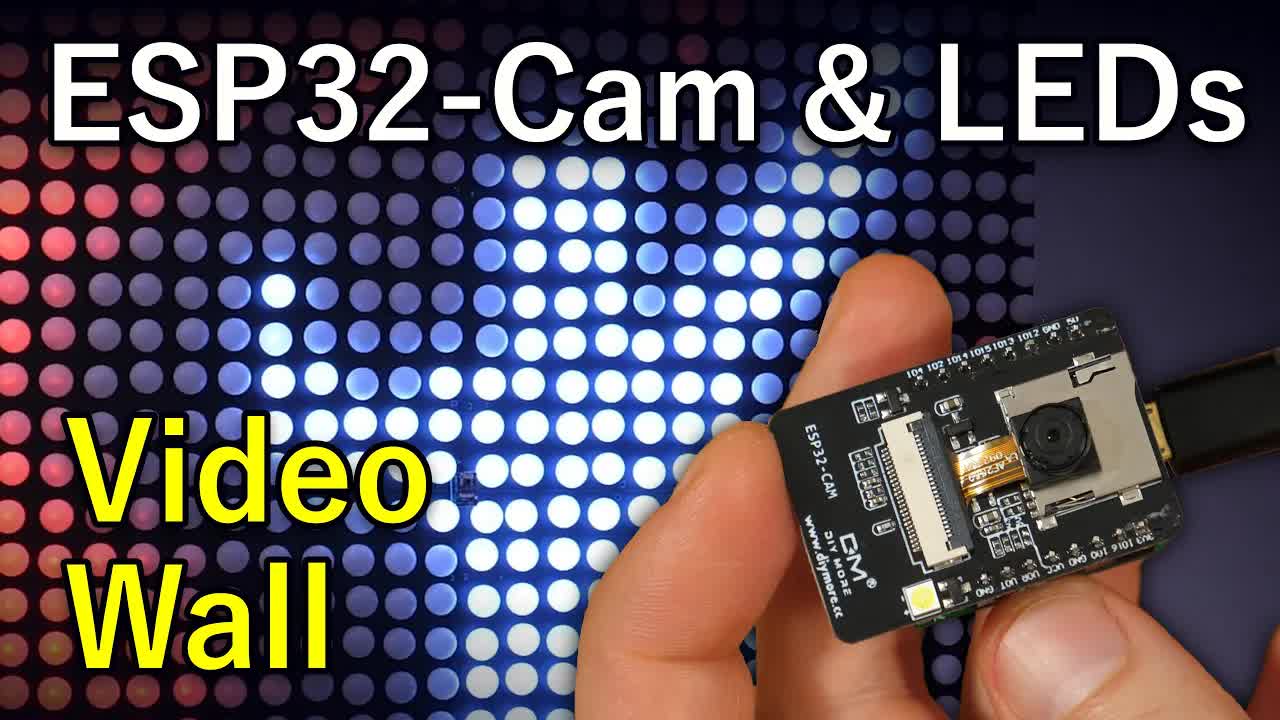
ikhZ34WgObc | 30 Dec 2019
In this video a cheap ESP32 camera is interfaced and used to display real-time video on my huge ping pong LED wall. With some additional video processing nice visuals and interactive animations are created. A custom programming circuit is used to simplify the programming of the ESP32-Cam. code (more on that soon): https://github.com/bitluni/LEDWallCamera Links to the parts (affiliate links): Programmer (as soon it approved by tindie): https://www.tindie.com/products/bitluni/cam-prog/ ESP32 Cam (~$6): https://aliexpress.bitluni.net/espCam Set of Tweezers ($3): https://aliexpress.bitluni.net/tweezers Flux ($3 for two): https://aliexpress.bitluni.net/flux Soldering Mat ($8): https://aliexpress.bitluni.net/mat Ultrasonic Cleaner ($50): https://aliexpress.bitluni.net/cleaner RGB LED chain lights ($8 / 50LEDs): https://aliexpress.bitluni.net/wiredRgbLeds Ping Pong Balls ($8.50 for 150): https://aliexpress.bitluni.net/pingPong My camera and lens (4k 60fps): https://amazon.bitluni.net/gh5 plz share :-) Check out my Tindie store to get some of my creations: https://www.tindie.com/stores/bitluni Consider supporting my lab for some extras and frequent updates: https://github.com/sponsors/bitluni https://www.patreon.com/bitluni https://paypal.me/bitluni Twitter: @bitluni reddit: u/bitluni #electronics #diy #ledwall

Lz23iqxwUcs | 08 Dec 2019
This video shows how to use JLCPCB's cheap assembly service. Sponsor: $2 for 5 PCBs (Any Color): https://jlcpcb.com Since I'm developing boards on a weekly basis I had to test JLC's new service and show how to easily use it with EasyEDA online design tool. The results are surprising and you can get off really cheap using basic components. I hope this quick tutorial will help to handle the limitations and get you first assembled boards from china really cheap. LitePlacer Pick and Place Livestreams (sponsored: coupon code "Bitluni05" to get 5% off): https://www.youtube.com/playlist?list=PLP_wPvJgLCYIWfgby2RtGSNB_QgRIz9iJ EasyEDA PCB Design tutorials: https://www.youtube.com/playlist?list=PLjUbKCHhzPEwqHO_r0BgnN44rGPDsoRD1 Links to the parts (affiliate links): Crappy Reflow Oven: https://ebay.bitluni.net/crapReflowOven Ultrasonic Cleaner: https://aliexpress.bitluni.net/cleaner My camera and lens (4k 60fps): https://amazon.bitluni.net/gh5 plz share :-) Check out my Tindie store to get some of my creations: https://www.tindie.com/stores/bitluni Consider supporting my lab for some extras and frequent updates: https://github.com/sponsors/bitluni https://www.patreon.com/bitluni https://paypal.me/bitluni Twitter: @bitluni reddit: u/bitluni #electronics #diy #maker
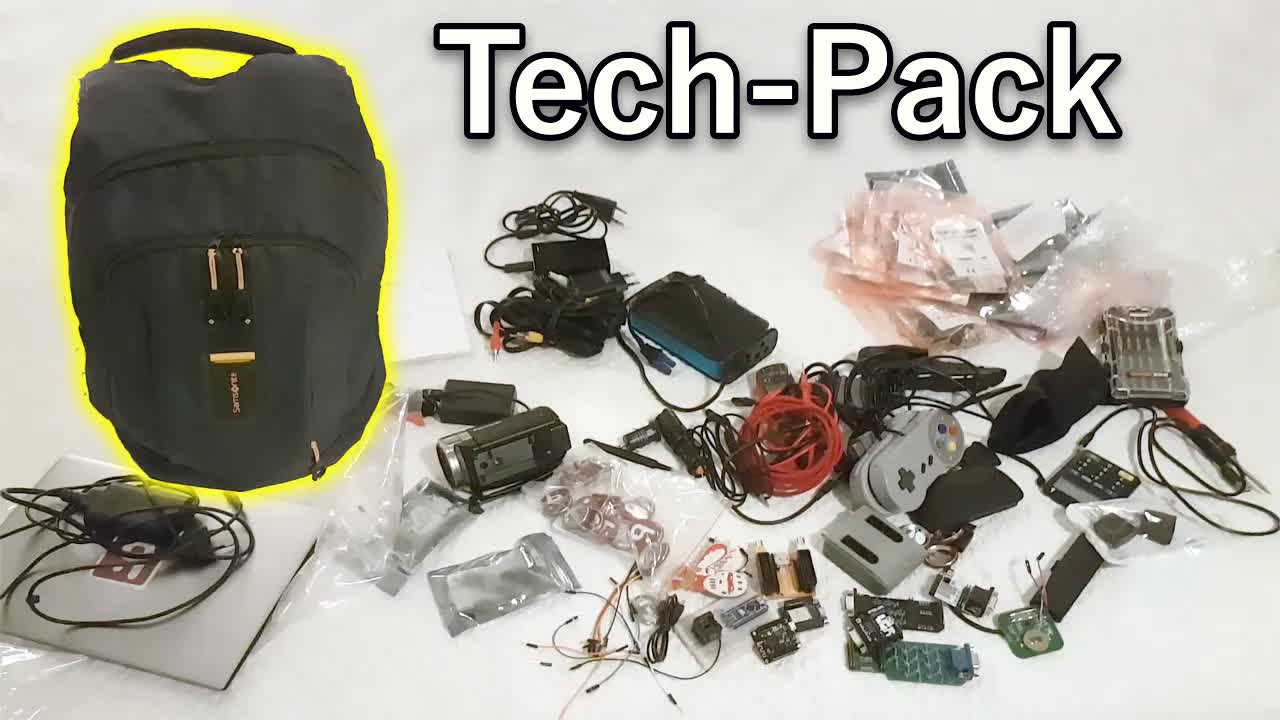
f5zvu4I8PbQ | 17 Nov 2019
I went to California to attend the supercon and brought a backpack full of tech stuff with me. Even though everything is fine, it yet surprised me that airport security didn't complain much. But they took a closer look. If you are wondering. At the supercon a bunch of nerds like me are enjoying making hardware. Links to some of the stuff (affiliate links): Cheap Tripod: https://aliexpress.bitluni.net/cheapTripod Clampmeter: https://amazon.bitluni.net/clamp SNES Game Pad: https://aliexpress.bitluni.net/snesPad Cheap Soldering Iron: https://aliexpress.bitluni.net/cheapIron Set of Tweezers: https://aliexpress.bitluni.net/tweezers Check out my Tindie store to get some of my creations: https://www.tindie.com/stores/bitluni Consider supporting my lab for some extras and frequent updates: https://github.com/sponsors/bitluni https://www.patreon.com/bitluni https://paypal.me/bitluni Twitter: @bitluni reddit: u/bitluni #electronics #supercon
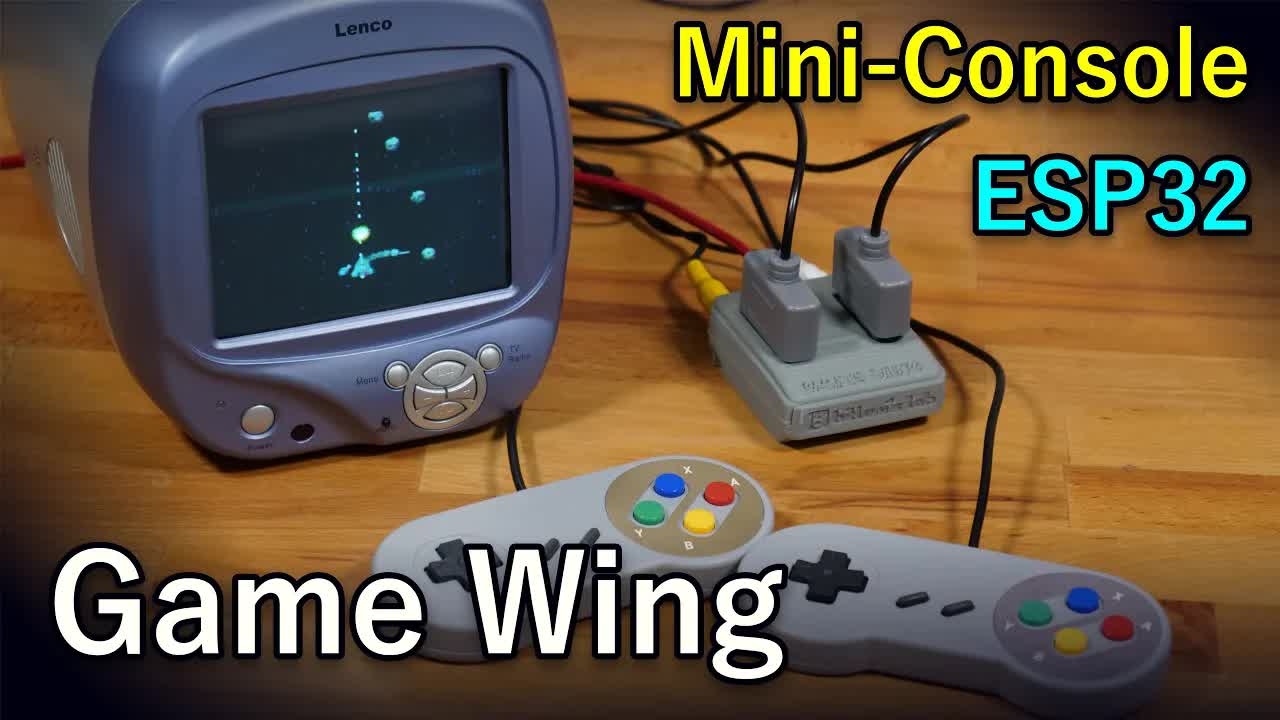
Aw9cLeh3I_Y | 11 Nov 2019
This video shows a self made retro game console. Powered by JLCPCB Prototype for $2(Any Color): https://jlcpcb.com (sponsor) The console is designed as a Feather Wing for the Adafruit Huzzah32 micro controller. It uses I2S and the internal DACs to create a color PAL signal and mono sound. Two SNES controller connectors provide the input to make it simple console. The SD card slot should provide the possibility to additional game data. The 3D printed case resembles an old fashion Super Nintendo console. A simple PCB is designed and soldered and some tips and tricks are explained how to make the life easier. Have fun! Color PAL details: https://bitluni.net/esp32-color-pal Sketch: https://github.com/bitluni/ESP32SpaceShooter Links to the parts (affiliate links): Flux (2pcs $2.7 shipped, I used the NC-559 here): https://aliexpress.bitluni.net/flux SNES Game Pad ($3.5 shipped): https://aliexpress.bitluni.net/snesPad SNES Socket ($1.5 each): https://aliexpress.bitluni.net/snesSocket Electrolytic Capacitors 12Values: https://aliexpress.bitluni.net/elecCaps My camera and lens (4k 60fps): https://amazon.bitluni.net/gh5 plz share :-) Check out my Tindie store to get some of my creations: https://www.tindie.com/stores/bitluni Consider supporting my lab for some extras and frequent updates: https://github.com/sponsors/bitluni https://www.patreon.com/bitluni https://paypal.me/bitluni Twitter: @bitluni reddit: r/bitluni #electronics #esp32 My camera and lens (4k 60fps): https://amazon.bitluni.net/gh5 plz share :-) Check out my Tindie store to get some of my creations: https://www.tindie.com/stores/bitluni Consider supporting my lab on Patreon for some extras and frequent updates: https://www.patreon.com/bitluni I'm also thankful for any donation on PayPal: https://paypal.me/bitluni Twitter: @bitluni reddit: r/bitluni #electronics #diy #maker #bitluni

VfbikvNPwM0 | 03 Nov 2019
In this quick maker project the pumpkin gets some basic electronics that have some animated RGB LED lights a motion detection sensor and sound. It detects if trick-or-treaters are approaching the house and plays a scary scream and flashes the lights. It's really rewarding for such a quick projects that can be built easily with kids. All is controlled by the esp32 microcontroller that can be uploaded with the code linked below from the Arduino IDE. All the other parts are simply attached without much effort. The electronics can be easily applied to other Holiday projects. Have Fun! Code: https://github.com/bitluni/MotionPumpkin Links to the parts (affiliate links): Audio Amplifier ($1.3 shipped): https://aliexpress.bitluni.net/pam8403 3Watt 4Ohm Speakers(pair $2.80): https://aliexpress.bitluni.net/speaker3w PIR Motion Detection Sensors (5pcs for $4): https://aliexpress.bitluni.net/pir RGB LED chain lights ($8 for 50 LEDs): https://aliexpress.bitluni.net/wiredRgbLeds Esp32 Pico Kit ($11 shipped): https://aliexpress.bitluni.net/picoKit Mini Breadboards (3pcs $1.16): https://aliexpress.bitluni.net/miniBreadBoard My camera and lens (4k 60fps): https://amazon.bitluni.net/gh5 plz share :-) Check out my Tindie store to get some of my creations: https://www.tindie.com/stores/bitluni Consider supporting my lab for some extras and frequent updates: https://github.com/sponsors/bitluni https://www.patreon.com/bitluni https://paypal.me/bitluni Twitter: @bitluni reddit: r/bitluni #electronics #diy #maker
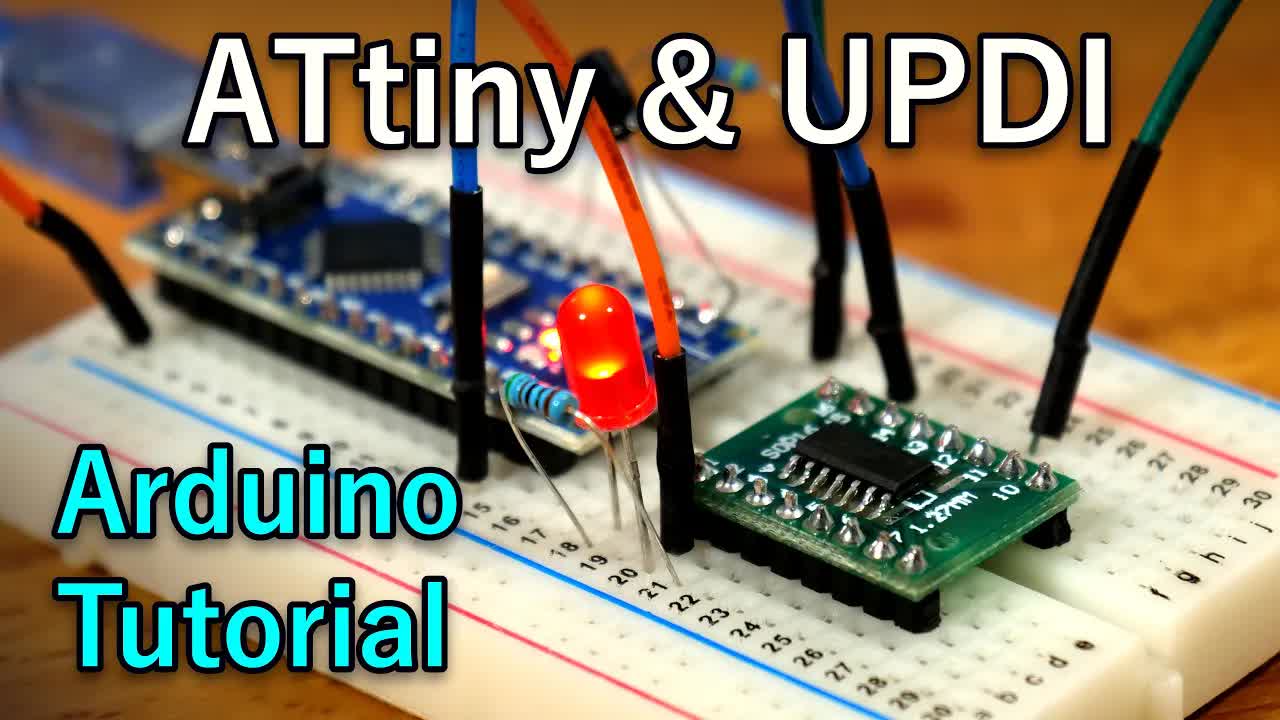
AL9vK_xMt4E | 20 Oct 2019
This tutorial shows how to make a cheap and simple UPDI Programmer and upload a sketch to the new ATtiny micro controller series. The programmer is made from an old Arduino Nano and requires only two additional passive components. The megaTinyCore library provides an Arduino core to start developing. A short blink sketch demonstration should provide a good start for every beginner in this matter. Links to the github projects: https://github.com/SpenceKonde/jtag2updi https://github.com/SpenceKonde/megaTinyCore Boards package url: http://drazzy.com/package_drazzy.com_index.json Dave darko's K.I.T.T. badge: https://www.tindie.com/products/davedarko/kitt-knight-rider-blinky-led-badge/ My Halloween Badge: https://www.tindie.com/products/bitluni/killer-badge-kit/ Links to the parts (affiliate links): Arduino nano clone ($2): https://aliexpress.bitluni.net/nano https://amazon.bitluni.net/nano Electrolytic Capacitors 12Values (120pcs $1.60): https://aliexpress.bitluni.net/elecCaps Metal Film Resistors 30 Values (600pcs $2.65): https://aliexpress.bitluni.net/resistors ATTiny ($0.65): https://link.bitluni.net/attiny SOP16 SSOP16 Break Out Board (20pcs $2): https://aliexpress.bitluni.net/sopBreakOut SOP16 Programming Adapter ($2.20 shipped): https://aliexpress.bitluni.net/sop16Adapter 5mm LEDs (different colors 100pcs for ~$1): https://aliexpress.bitluni.net/leds5mm Breadboard Set (~$3.50): https://aliexpress.bitluni.net/breadboardSet My camera and lens (4k 60fps): https://amazon.bitluni.net/gh5 plz share :-) Check out my Tindie store to get some of my creations: https://www.tindie.com/stores/bitluni Consider supporting my lab on Patreon for some extras and frequent updates: https://www.patreon.com/bitluni I'm also thankful for any donation on PayPal: https://paypal.me/bitluni Twitter: @bitluni reddit: r/bitluni #electronics #diy #tutorial
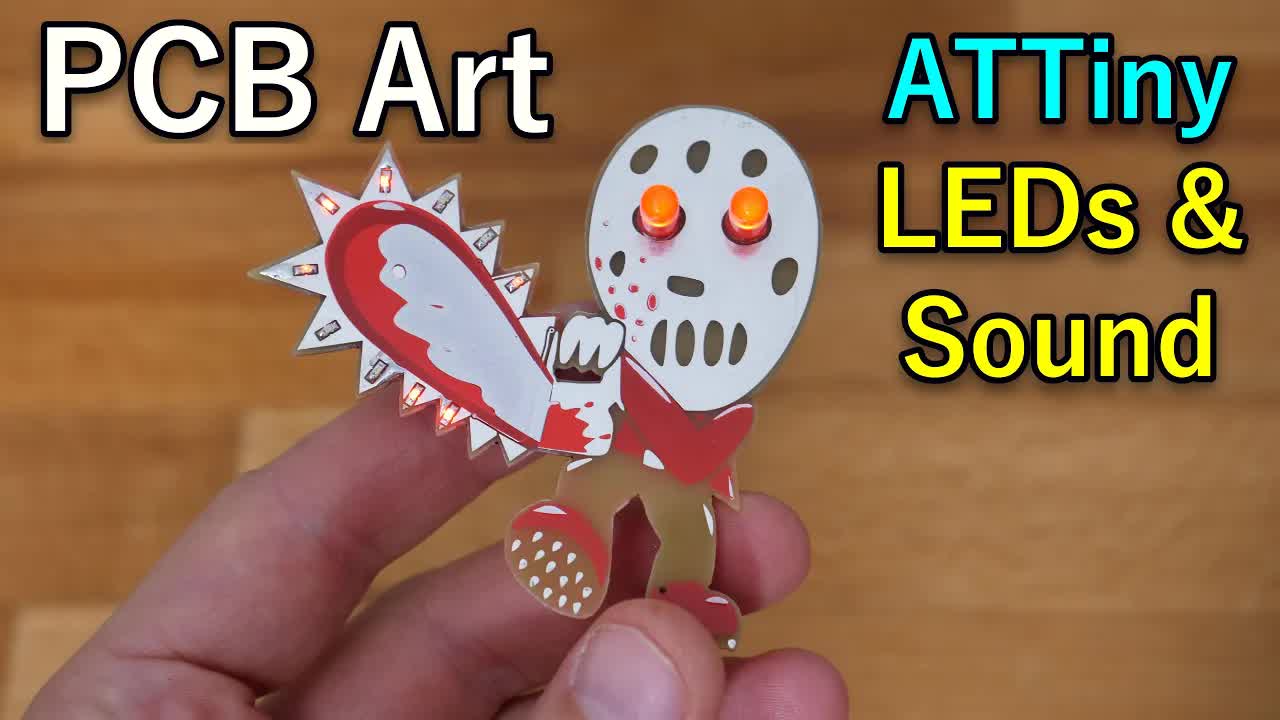
l8O9rff61w4 | 12 Oct 2019
This video shows the development of a PCB Art badge. JLCPCB Prototype for $2(Any Color): https://jlcpcb.com (sponsor) If finally tried some PCB art. This badge for Halloween uses a combination of different PCB Layers to get the colors for the artwork. With some animated LEDs and an buzzer playing sounds it is a nice electronics project. The new ATTiny1604 was used to drive the badge. It is efficient and works well with the coincell battery. You can get this project as a kit from my shop, Happy Halloween: https://www.tindie.com/products/bitluni/killer-badge-kit/ Code can be found here: https://github.com/bitluni/KillerBadge Dave Darko's Sloth Badge https://www.tindie.com/products/davedarko/unbearable-sloth-badge-hair-clip/ Links to the some parts (affiliate links): 0603 SMD LEDs 5 colors (1000pcs for ~$3.5): https://aliexpress.bitluni.net/leds0603 5mm LEDs different colors (100pcs ~$1): https://aliexpress.bitluni.net/leds5mm 2 Pin SMD Buttons (100pcs ~$2): https://aliexpress.bitluni.net/smdButtons2Pin Safety Pins (50pcs ~$2): https://aliexpress.bitluni.net/safetyPins SMD Buzzer 7.5x7.5mm (10pcs ~$3): https://aliexpress.bitluni.net/smdBuzzer SOP16 Programming Adapter also works with the ATTiny (~$2): https://aliexpress.bitluni.net/sop16Adapter SOP16 SSOP16 Break Out Board (10pcs ~$1.5): https://aliexpress.bitluni.net/sopBreakOut ATTiny1604 https://www.digikey.com/product-detail/en/microchip-technology/ATTINY1604-SSFR/ATTINY1604-SSFRCT-ND/10270382 My camera and lens (4k 60fps): https://amazon.bitluni.net/gh5 plz share :-) Check out my Tindie store to get some of my creations: https://www.tindie.com/stores/bitluni Consider supporting my lab on Patreon for some extras and frequent updates: https://www.patreon.com/bitluni I'm also thankful for any donation on PayPal: https://paypal.me/bitluni Twitter: @bitluni reddit: r/bitluni #badgelife #diy #maker

VvkpKVtYKmk | 08 Sep 2019
This video shows the development of a 10 Player game console. JLCPCB Prototype for $2(Any Color): https://jlcpcb.com (sponsor) For quite some time I wanted to build a console for many players to play some mini games on parties. Going to the Maker Faire I took the opportunity to test ist with many people. The main processor is the ESP32 microcontroller that can be programmed using the Arduino IDE. Since I already developed a library for VGA graphics and emulated a PAL signal in the past I extended my library to support composite video too. The code isn't finished yet since I need to add color, but nevertheless I was able to implement a quick game to play with the visitors on the Maker Faire. Here are lists of the related videos: https://www.youtube.com/watch?v=5t1_XNc3vNw&list=PLjUbKCHhzPEzCm2_KFAICIN-7QTap_s72 https://www.youtube.com/watch?v=G70CZLPjsXU&list=PLjUbKCHhzPEyvOf8iuXsHnyWtuvnd29yG And here are the links to the parts (affiliate links): SNES Socket: https://aliexpress.bitluni.net/snesSocket SNES Game Pad: https://aliexpress.bitluni.net/snesPad Crappy Reflow Oven (I added all mods): https://ebay.bitluni.net/crapReflowOven My camera and lens (4k 60fps): https://amazon.bitluni.net/gh5 plz share :-) Check out my Tindie store to get some of my creations: https://www.tindie.com/stores/bitluni Consider supporting my lab on Patreon for some extras and frequent updates: https://www.patreon.com/bitluni I'm also thankful for any donation on PayPal: https://paypal.me/bitluni Twitter: @bitluni reddit: r/bitluni #electronics #diy #gameconsole

xFh8uiw7UiY | 24 Aug 2019
This version of my legendary Ping Pong LED Wall is 2x1,5m in size and consists of 1200 RGB LEDs. The build is done from aluminium using a DIY hole punch. This version is driven by an ESP32 and supports even camera streaming from an ESP32Cam or media streaming from the PC. More on that topic follows in a future update. Links to the parts (affiliate links): LEDs $8 a set RGB https://aliexpress.bitluni.net/wiredRgbLeds Balls 150pcs for $7 https://aliexpress.bitluni.net/pingPong 70A 5V Power Supply $22 https://aliexpress.bitluni.net/70Apsu ESP32 Mini KIT $4.50: https://aliexpress.bitluni.net/ESP32mini ESP32 Cam $5: https://aliexpress.bitluni.net/espCam My camera and lens (4k 60fps): https://amazon.bitluni.net/gh5 AC/DC TIG Welders: https://amazon.bitluni.net/tigWelders plz share :-) Check out my Tindie store to get some of my creations: https://www.tindie.com/stores/bitluni Consider supporting my lab on Patreon for some extras and frequent updates: https://www.patreon.com/bitluni I'm also thankful for any donation on PayPal: https://paypal.me/bitluni Twitter: @bitluni reddit: r/bitluni #diy #maker #neopixel
OpVZBg43Q7s | 05 Aug 2019
This video shows how I build a punch tool for my new LED wall where I have to put in 1200 holes into sheet metal. The punch is made from mild steel and involved lot's of sawing, drilling and welding and other machining. I finally made some progress with TIG welding and share some tips that might help overcoming beginner struggles. To be able to aim where the holes go I added LED projected cross hairs. It's tested and working with 1mm aluminium so far. Enjoy! Links to the parts (affiliate links): Belt Sander: https://amazon.bitluni.net/beltSander Metal Band Saw: https://amazon.bitluni.net/metalBandSaw AC/DC TIG Welders: https://amazon.bitluni.net/tigWelders TIG Finger: https://aliexpress.bitluni.net/tigFinger https://amazon.bitluni.net/tigFinger AA Battery Case: https://aliexpress.bitluni.net/AAbatteryCase My camera and lens (4k 60fps): https://amazon.bitluni.net/gh5 plz share :-) Check out my Tindie store to get some of my creations: https://www.tindie.com/stores/bitluni Consider supporting my lab on Patreon for some extras and frequent updates: https://www.patreon.com/bitluni I'm also thankful for any donation on PayPal: https://paypal.me/bitluni Twitter: @bitluni reddit: r/bitluni #electronics #diy #maker #bitluni
OZFbep8wG7E | 15 Jul 2019
A new speed controller improves my DIY electric scooter to support regenerative braking and battery protection. The VESC provides a ton of options to control the hub motor. A simple analog stick is used a throttle now. Enjoy! Links to the parts (affiliate links): VESC: https://aliexpress.bitluni.net/vesc https://ebay.bitluni.net/vesc https://amazon.bitluni.net/vesc https://hobbyking.bitluni.net/vesc Sensor Kit (including analog stick): https://aliexpress.bitluni.net/sensorKit 5.5" Hub motor 250W: https://aliexpress.bitluni.net/miniHubMotor 3S LiPo: https://amazon.bitluni.net/3S4Ah https://ebay.bitluni.net/3S4Ah 2mm JST PH: https://aliexpress.bitluni.net/jst2mm XT Connectors: https://aliexpress.bitluni.net/xt Clampmeter: https://amazon.bitluni.net/clamp Action Cam: https://aliexpress.bitluni.net/actionCam https://amazon.bitluni.net/actionCam My camera and lens (4k 60fps): https://amazon.bitluni.net/gh5 Config tool for esc: https://vesc-project.com/ plz share :-) Consider supporting my lab on Patreon for some extras and frequent updates: https://www.patreon.com/bitluni I'm also thankful for any donation on PayPal: https://paypal.me/bitluni Check out my Tindie store to get some of my creations: https://www.tindie.com/stores/bitluni Twitter: @bitluni reddit: r/bitluni #electronics #diy #electricscooter
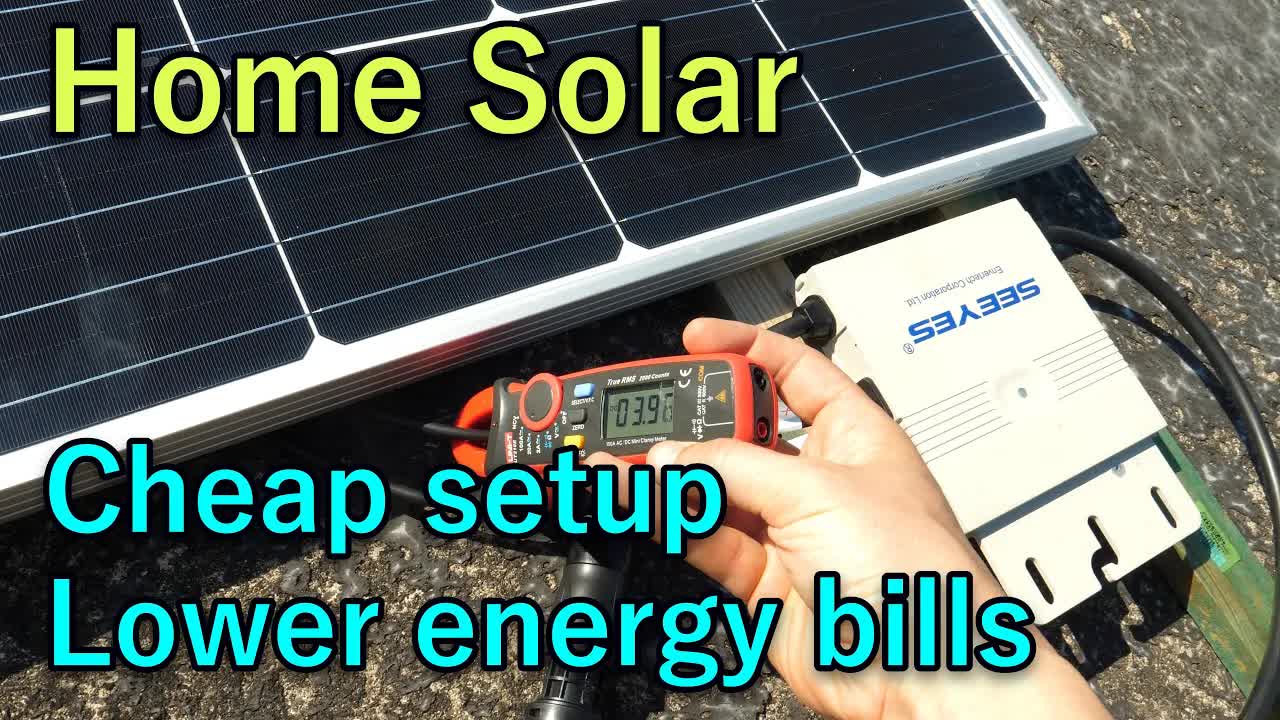
jkd5wwsG0R4 | 01 Jul 2019
Modern affordable micro inverters help to lower utility costs with small solar installations at home. Feeding your power line directly they have less conversion losses and spare expenses for batteries and maintenance. Such an installation doesn't even require to be on the roof. A balcony, garden or even a sunny wall is good enough. I am able to reduce my energy costs significantly with a cheap 300W panel. On top of that it's helping the environment. There are a few things to consider which I point out in this video. Have fun! Here the links to the parts (affiliate links): My 300W panels were a clearance sell but I found a cheap one on ebay for you: https://ebay.bitluni.net/solar300W SEEYES EVT300 micro inverter is not available everywhere try these links https://amazon.bitluni.net/evt300 https://ebay.bitluni.net/evt300 My original German source: https://bosswerk.bitluni.net/evt300 SEEYES EVB202 Bridge: https://amazon.bitluni.net/evb202 https://ebay.bitluni.net/evb202 My original German source: https://bosswerk.bitluni.net/evb202 Micro inverter alternatives: https://aliexpress.bitluni.net/microInverter https://amazon.bitluni.net/microInverter https://ebay.bitluni.net/microInverter The beloved and cheap clamp meter (it's even hackable): https://amazon.bitluni.net/clamp My camera and lens (4k 60fps): https://amazon.bitluni.net/gh5 THE MOST IMPORTANT TOOL: https://amazon.bitluni.net/ducktape https://ebay.bitluni.net/ducktape plz share :-) Consider supporting my lab on Patreon for some extras and frequent updates: https://www.patreon.com/bitluni I'm also thankful for any donation on PayPal: https://paypal.me/bitluni Check out my Tindie store to get some of my creations: https://www.tindie.com/stores/bitluni Twitter: @bitluni reddit: r/bitluni #electronics #diy #solar

SXj0kfnKFfQ | 15 Jun 2019
This electric cart is build from four 1000W hub motors. It's configured to drive in tank mode, which doesn't work as expected. But drifting is huge fun. The Frame is welded from mild steel. A car seat from the scrap yard is mounted on top for best driving comfort 😂 Enjoy! Links to the parts (affiliate links): 1000W hub motor ($70) http://s.click.aliexpress.com/e/eymzfag ❗️ Connectors for hall sensors http://s.click.aliexpress.com/e/bGNPqJTi ESC ($52) https://ebay.to/2ZscwLH ESC Hobbyking http://bit.ly/31DblLg ❗️ JST wires (for can and hall) http://s.click.aliexpress.com/e/b7kL9uD2 XT90 Connectors http://s.click.aliexpress.com/e/bo4yaVFw Dual charger ($78) https://ebay.to/2KQPuu1 LiPo 6S 6.2Ah https://ebay.to/2IP3u4X LiPo 6S 4Ah Hobbyking http://bit.ly/2Zt3JcI My old super secret hub motor sources research: http://bit.ly/2KlC2yQ plz share :-) Check out my Tindie store to get some of my creations: https://www.tindie.com/stores/bitluni Consider supporting my lab on Patreon for some extras and frequent updates: https://www.patreon.com/bitluni I'm also thankful for any donation on PayPal: https://paypal.me/bitluni Twitter: @bitluni reddit: r/bitluni #diy #maker #bitluni
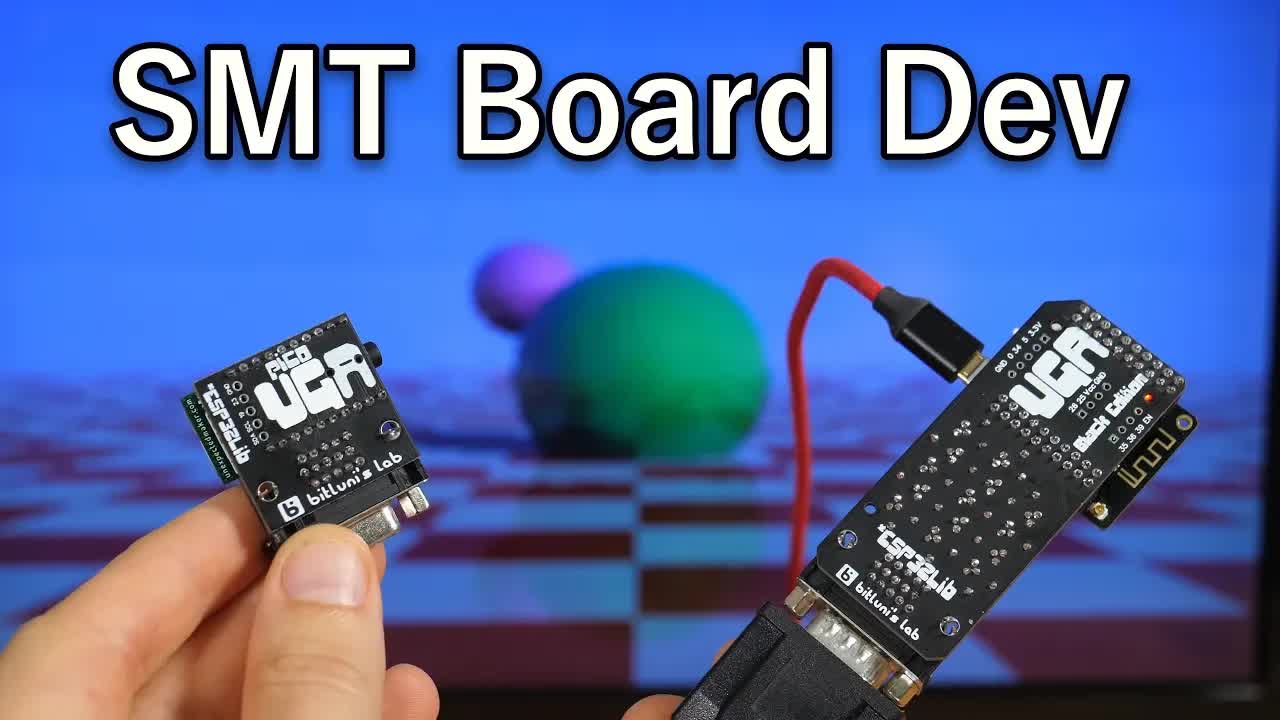
iGzUhgsmJL4 | 01 Jun 2019
This video is showing the development of a VGA shield with SMT components JLCPCB Prototype for $2(Any Color): https://jlcpcb.com My tindie shop: https://www.tindie.com/stores/bitluni/ Unexpected Maker's Tiny PICO campaign: https://www.crowdsupply.com/unexpected-maker/tinypico https://www.tinypico.com/ The ESP32Lib: https://github.com/bitluni/ESP32Lib (but you should get it from the Arduino Library Manager) Maker Cast: https://youtu.be/T81_68nyvGk Links to the parts (affiliate links): Low temp solder paste $4: http://s.click.aliexpress.com/e/bsRhbcY0 Crappy reflow oven: https://ebay.to/2IgmSaR plz share :-) Consider supporting my lab on Patreon for some extras and frequent updates: https://www.patreon.com/bitluni I'm also thankful for any donation on PayPal: https://paypal.me/bitluni Twitter: @bitluni reddit: r/bitluni #electronics #diy #vga

fz2QAV9z_o8 | 13 May 2019
This is how I made an LED video wall within 24h. It's based on WS2812 controlled RGB LEDs and supported by a wide range of Arduino libraries. Enjoy! SECOND PART: https://youtu.be/xFh8uiw7UiY Code: https://github.com/bitluni/PingPongLEDMatrix Links to the parts (affiliate links): LEDs $9 a set http://s.click.aliexpress.com/e/csqp0DJK Nano clone $2 http://s.click.aliexpress.com/e/btjhjgoY Balls 150pcs for $9 http://s.click.aliexpress.com/e/8NRak3q Drill bit set $6 http://s.click.aliexpress.com/e/crl97MXW My drill did a great job: US https://amzn.to/2JBs3UP EU https://amzn.to/2Ga9rug Chainsaw: US https://amzn.to/2vupZpp EU https://amzn.to/2LfTt5n Clamp multi-meter: US: https://amzn.to/2NWz5XU DE: https://amzn.to/2RgoNj7 UK: https://amzn.to/2QtNWpB My camera and lens (4k 60fps): https://amazon.bitluni.net/gh5 Link to Hari's video: https://youtu.be/N6bJJDCpGi0 plz share :-) Check out my Tindie store to get some of my creations: https://www.tindie.com/stores/bitluni Consider supporting my lab on Patreon for some extras and frequent updates: https://www.patreon.com/bitluni I'm also thankful for any donation on PayPal: https://paypal.me/bitluni Twitter: @bitluni reddit: r/bitluni #electronics #diy #LED # neopixel
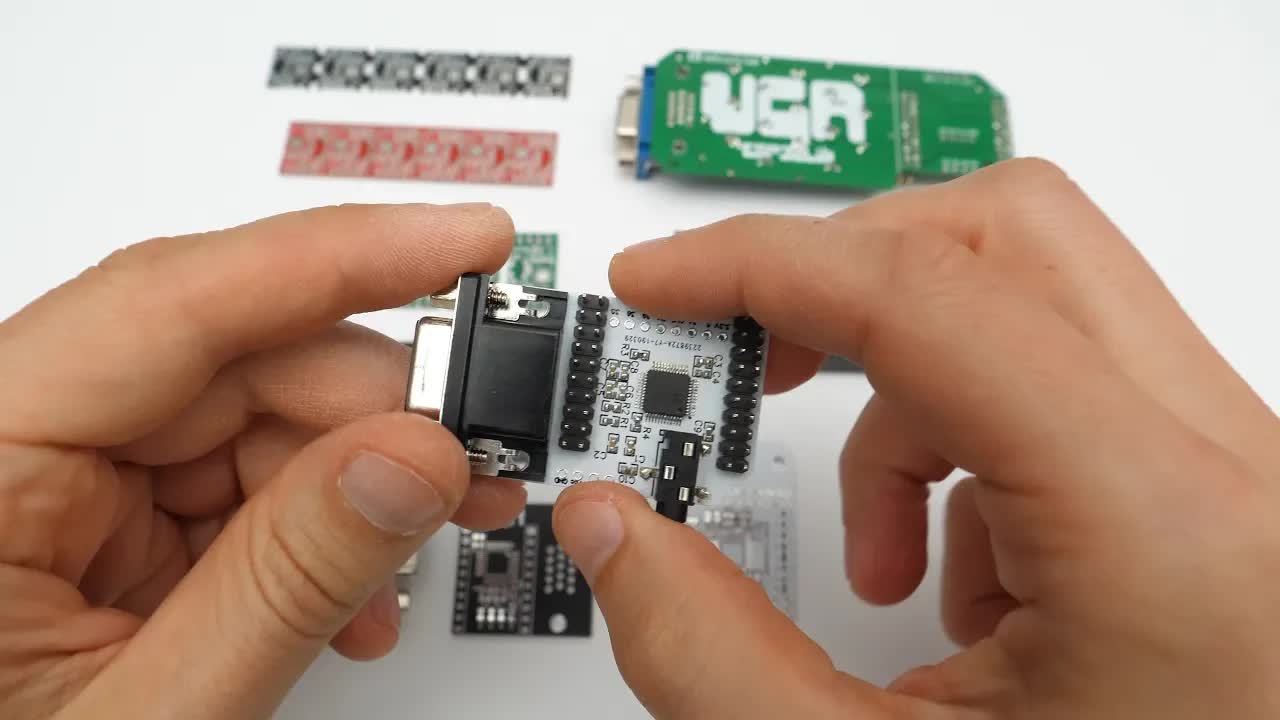
qCAUI4nm5_I | 05 May 2019
This video is showing some useful tools and procedures designing PCBs in EasyEDA. JLCPCB Prototype for $2(Any Color): https://jlcpcb.com How to Get PCB Cash Coupon: https://bit.ly/2GMCH9w EasyEda: https://easyeda.com/ Unexpected Maker: https://www.youtube.com/unexpectedmaker https://www.tinypico.com/ Maker Cast: https://youtu.be/cO6_WHBIy8U plz share :-) Check out my Tindie store to get some of my creations: https://www.tindie.com/stores/bitluni Consider supporting my lab on Patreon for some extras and frequent updates: https://www.patreon.com/bitluni I'm also thankful for any donation on PayPal: https://paypal.me/bitluni Twitter: @bitluni reddit: r/bitluni #electronics #diy #maker #bitluni
wvBFtz7Ioio | 30 Apr 2019
I made an YouTube reward Button for nerd 65536 subs. It's made out of a 64x64 RGB LED Matrix and an esp8266 that connects to my WiFi and shows the current subscriber count. Enjoy! Sketch and 3D Models: https://github.com/bitluni/NerdLevelYouTubeButton/tree/master/NerdYouTubeButton Links to the parts (affiliate links): 64x64 Led Matrix http://s.click.aliexpress.com/e/bhQPhfeY Matrix Shield https://www.tindie.com/products/brianlough/d1-mini-matrix-shield/ D1 Mini http://s.click.aliexpress.com/e/jUfAmUF Standoff Set http://s.click.aliexpress.com/e/c2bglLIs Extension cable https://ebay.to/2UNa93E plz share :-) Check out my Tindie store to get some of my creations: https://www.tindie.com/stores/bitluni Consider supporting my lab on Patreon for some extras and frequent updates: https://www.patreon.com/bitluni I'm also thankful for any donation on PayPal: https://paypal.me/bitluni Twitter: @bitluni reddit: r/bitluni #electronics #diy #led #rgb
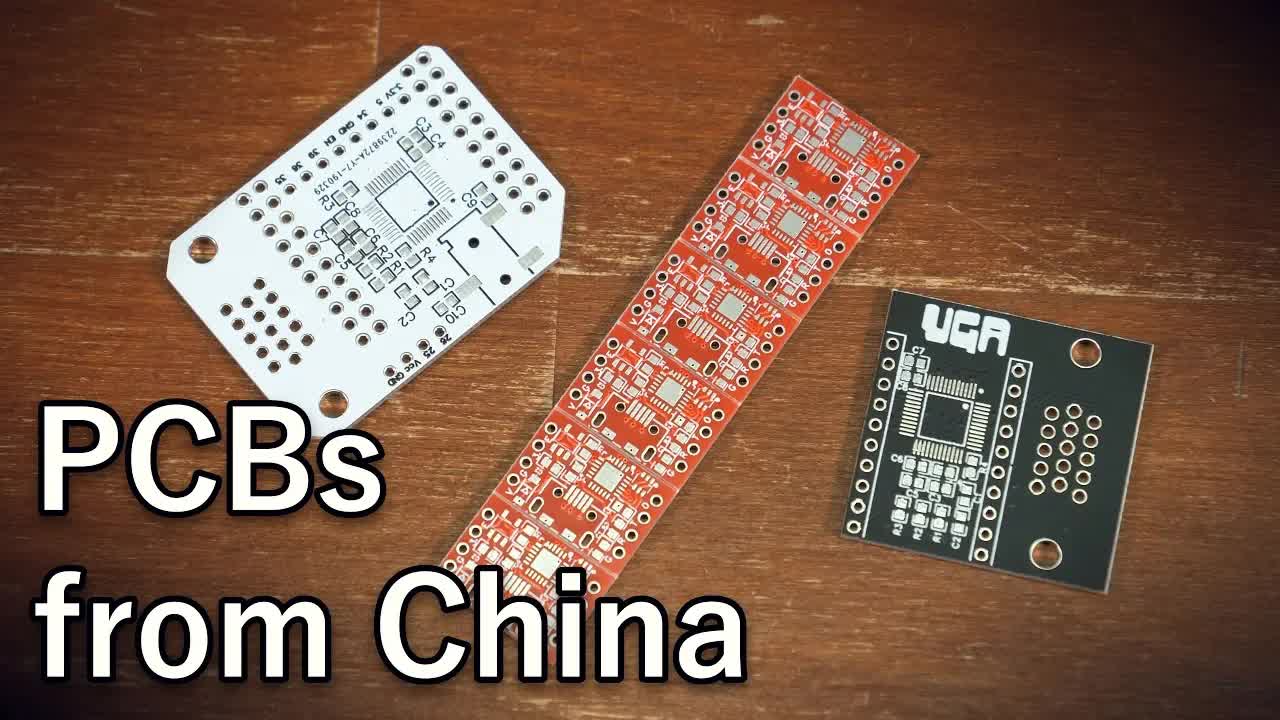
hMxPEO6jTAo | 20 Apr 2019
My experience of ordering PCBs in China for a few months with different designs and shipping methods. It's definitively more convenient and economical than etching at home. JLCPCB Prototype for $2(Any Color): https://jlcpcb.com https://easyeda.com/ plz share :-) Check out my Tindie store to get some of my creations: https://www.tindie.com/stores/bitluni Consider supporting my lab on Patreon for some extras and frequent updates: https://www.patreon.com/bitluni I'm also thankful for any donation on PayPal: https://paypal.me/bitluni Twitter: @bitluni reddit: r/bitluni #electronics #diy #pcb #bitluni
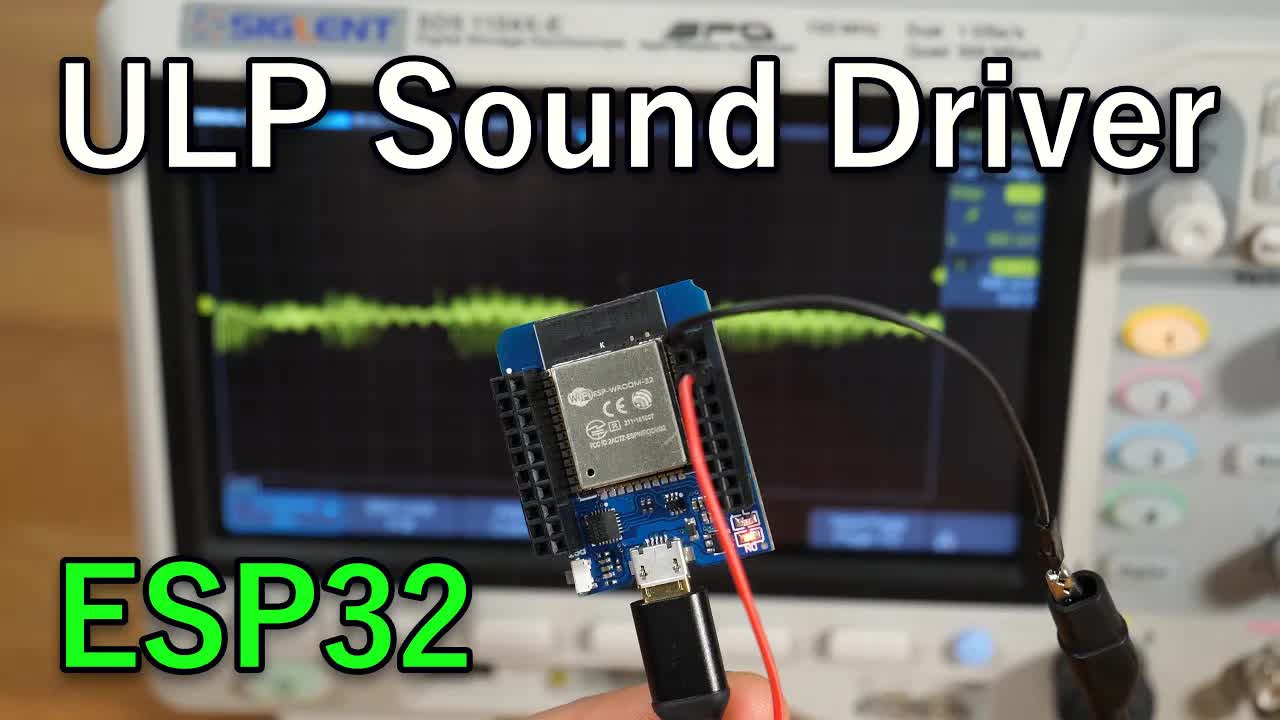
6PGrsZmYAJ0 | 07 Apr 2019
This video shows how to code a sound driver for the ULP on the ESP32 and overcome hardware limitations with some creativity. Code: https://github.com/bitluni/ULPSoundESP32 Docs: https://docs.espressif.com/projects/esp-idf/en/latest/api-guides/ulp.html https://espressif.com/sites/default/files/documentation/esp32_technical_reference_manual_en.pdf https://en.wikipedia.org/wiki/Sampling_(signal_processing) Hardware (affiliate links): ESP32 MINI KIT (~$4.90) http://s.click.aliexpress.com/e/8fMcA6M TTGO ESP32 ($4.90+) http://s.click.aliexpress.com/e/bzgFPjVe plz share :-) Consider supporting my lab on Patreon for some extras and frequent updates: https://www.patreon.com/bitluni I'm also thankful for any donation on PayPal: https://paypal.me/bitluni Twitter: @bitluni reddit: r/bitluni #esp32 #ulp #sound #bitluni
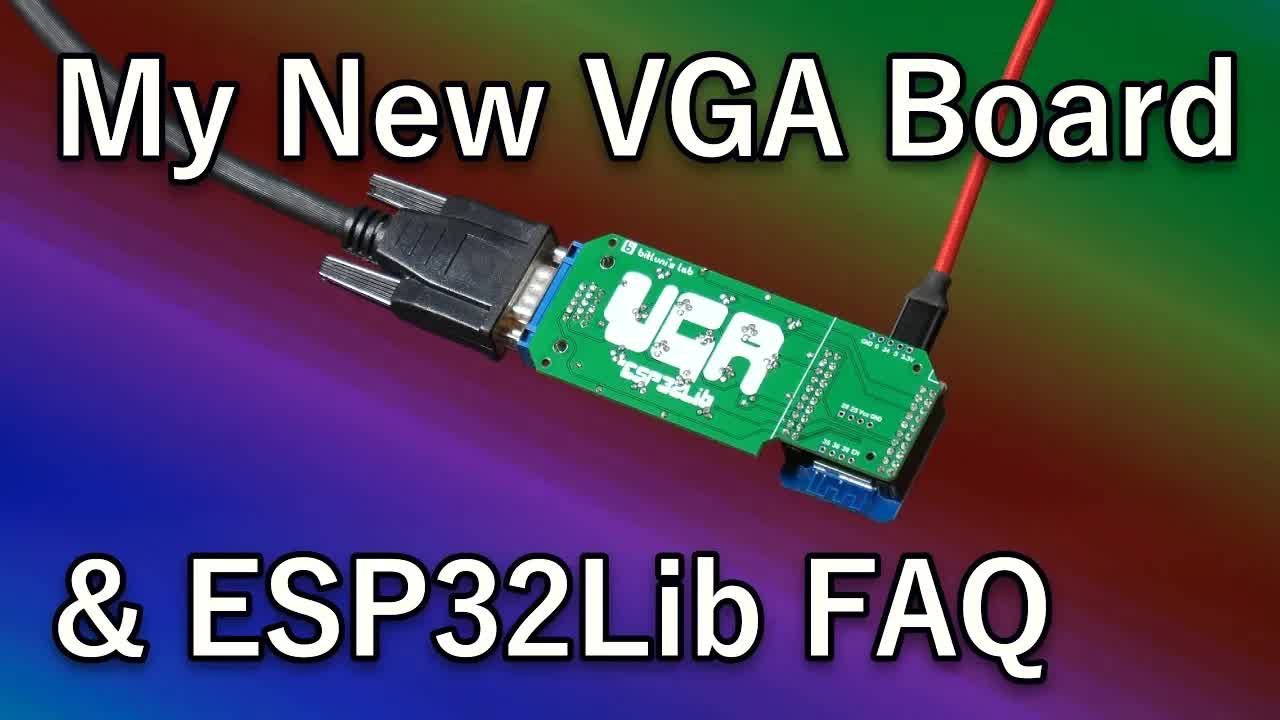
wu5sySCW5NE | 09 Mar 2019
My VGA board for the ESP32 is finally ready! No more fiddling! To get started with the board and the Arduino library I answered the most frequent questions and showing how to convert images & STL files to 3D meshes My ESP32 VGA Shield: https://link.bitluni.net/vga ESP32 MINI KIT ~$5 shipped: http://s.click.aliexpress.com/e/8fMcA6M (affiliate link) plz share :-) Consider supporting my lab on Patreon for some extras and frequent updates: https://www.patreon.com/bitluni I'm also thankful for any donation on PayPal: https://paypal.me/bitluni Twitter: @bitluni reddit: r/bitluni #electronics #diy #ESP32Lib #esp32
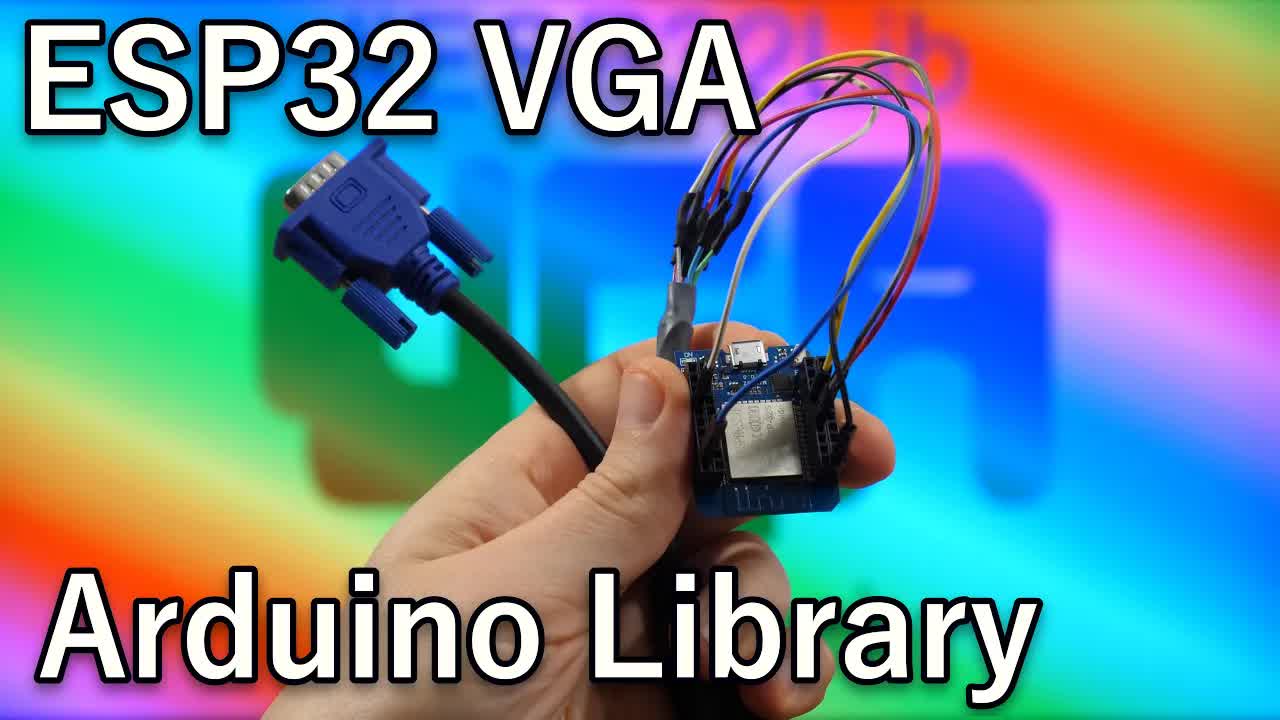
qJ68fRff5_k | 16 Feb 2019
This is a beginner tutorial how to set up VGA with the least effort on the ESP32. My new Arduino library makes ist super simple to get started and provides many examples that explain the capabilities. The performance boost is insane compared to older implementations. Hardware (affiliate links): My ESP32 VGA Shield: https://link.bitluni.net/vga ESP32 MINI KIT (~$4.90) http://s.click.aliexpress.com/e/8fMcA6M LOLIN32 (~$4.92) http://s.click.aliexpress.com/e/byshmypE TTGO ESP32 ($4.90+) http://s.click.aliexpress.com/e/bzgFPjVe My favorite multimeter: US https://amzn.to/2Ne7WvW DE https://amzn.to/2S72ZWv Software: Arduino IDE - https://www.arduino.cc/en/main/software Link for the Boards Manager for ESP32 support. This need to be added to the preferences: https://dl.espressif.com/dl/package_esp32_index.json The link to my library with some extra documentation: https://github.com/bitluni/ESP32Lib plz share :-) Consider supporting my lab on Patreon for some extras and frequent updates: https://www.patreon.com/bitluni I'm also thankful for any donation on PayPal: https://paypal.me/bitluni Twitter: @bitluni reddit: r/bitluni #ESP32Lib #Arduino #IoT
G70CZLPjsXU | 02 Feb 2019
This video shows a VGA implementation for the ESP32 micro controller that runs in the Arduino IDE. It is capable of rendering 3D-models in real-time and supports several screen resolutions. The ESP32 is tweaked beyond the specs to be able to achieve high resolutions, color count and performance. Project page: http://bitluni.net/esp32-vga Code: https://github.com/bitluni/ESP32VGA Check out my ESP32 VGA Shield: https://link.bitluni.net/vga Used parts (affiliate links): LOLIN32 ~$4 http://s.click.aliexpress.com/e/byshmypE Scope $499 https://amzn.to/2uN6Hf0 Digital Probes https://www.siglent.eu/sla1016.html Here the mentioned playlists: ESP32 Composite Video https://www.youtube.com/playlist?list=PLjUbKCHhzPEzCm2_KFAICIN-7QTap_s72 R2R Resistor ladder: https://www.youtube.com/watch?v=_tABS7AX8D8&index=2&list=PLjUbKCHhzPEziKyAYKuwqV6FpSMKIg5zd Eps-32 camara https://www.youtube.com/playlist?list=PLjUbKCHhzPExyfSCF_d9oH97dmMvn3tBD plz share :-) Consider supporting my lab on Patreon for some extras and frequent updates: https://www.patreon.com/bitluni I'm also thankful for any donation on PayPal: https://paypal.me/bitluni Twitter: @bitluni reddit: r/bitluni #electronics #esp32 #arduino

_JwMuvFVMsM | 10 Jan 2019
A first look on the ESP-Eye dev kit from Espressif. It's a tiny board with an on-board camera and a microphone. It's enabled by a phrase and detects faces. It is even able to distinguish different faces. Seems to be an awesome platform for future projects. Link to the ESP-WHO framework: https://github.com/espressif/esp-who Check out my playlist on the eps-32 camara projects I did before: https://www.youtube.com/playlist?list=PLjUbKCHhzPExyfSCF_d9oH97dmMvn3tBD plz share :-) Consider supporting my lab on Patreon for some extras and frequent updates: https://www.patreon.com/bitluni I'm also thankful for any donation on PayPal: https://paypal.me/bitluni Twitter: @bitluni reddit: r/bitluni #electronics #esp32 #camera
Epc0nvDWjvg | 31 Dec 2018
In the final part of the retro GAME BOY clone build we fix some sound problems and the scaling on the old school mini CRT. Some on board trimmers end up being very useful to give it the final edge. The SpaceX themed Tetris clone works now nicely with the device. It's a ton of fun failing difficulty 9-5 :-D Check out the complete playlist to see the complete build: https://www.youtube.com/watch?v=ls8FfGh718Q&list=PLjUbKCHhzPEyK-5oT1tVXNWXiBj9pNJZs ESP32 Game console playlist for the essentials: https://www.youtube.com/watch?v=5t1_XNc3vNw&list=PLjUbKCHhzPEzCm2_KFAICIN-7QTap_s72 The latest schematic and some further details are provided here: http://bitluni.net/crt-boy/ The Tetris clone code for the ESP32: https://github.com/bitluni/TetrisSpaceX The final ESP32 I used here (affiliate link): ESP Mini KIT ~$7.58 shipped http://s.click.aliexpress.com/e/FQ7mQRJ plz share :-) Consider supporting my lab for some extras and frequent updates trough YouTube Memberships https://www.youtube.com/channel/UCp_5PO66faM4dBFbFFBdPSQ/join or on Patreon https://www.patreon.com/bitluni I'm also thankful for any donation on PayPal: https://paypal.me/bitluni Twitter: @bitluni Instagram: @bitluni reddit: u/bitluni #retro #gameboy #electronics #esp32 #tetris #spacex

SZRzxd7pshQ | 23 Dec 2018
Update on the new Location of the lab. Watch a time-lapse of the move and the renovation of one of the new rooms. Next project video will be up in a week. Enjoy! Meanwhile you can check out my playlists: https://www.youtube.com/watch?v=OOqS8fhd6ck&list=PLjUbKCHhzPEzoMWj99gr4YOIyqFuTIYlA https://www.youtube.com/watch?v=0Dp51Z-iPF4&list=PLjUbKCHhzPEyBXeUwot_Nh3aAsaRt7Brp https://www.youtube.com/watch?v=5t1_XNc3vNw&list=PLjUbKCHhzPEzCm2_KFAICIN-7QTap_s72 plz share :-) Consider supporting my lab for some extras and frequent updates trough YouTube Memberships https://www.youtube.com/channel/UCp_5PO66faM4dBFbFFBdPSQ/join or on Patreon https://www.patreon.com/bitluni I'm also thankful for any donation on PayPal: https://paypal.me/bitluni Twitter: @bitluni Instagram: @bitluni reddit: u/bitluni
9HFtbbJBkGQ | 02 Dec 2018
In this second part of the CRT BOY project we build the case and optimize the hardware. A single cell battery with a step-up converter is used to drive the CRT screen. This way a charging a simple board can be added. The resulting handheld looks totally like the original GAME BOY but even more retro. Enjoy! The latest schematic and some further details are provided here: http://bitluni.net/crt-boy/ The Tetris clone code for the ESP32: https://github.com/bitluni/TetrisSpaceX The final ESP32 I used here (affiliate link): ESP Mini KIT ~$7.58 shipped http://s.click.aliexpress.com/e/FQ7mQRJ music: The Whole Other - The Missing Link plz share :-) Consider supporting my lab for some extras and frequent updates trough YouTube Memberships https://www.youtube.com/channel/UCp_5PO66faM4dBFbFFBdPSQ/join or on Patreon https://www.patreon.com/bitluni I'm also thankful for any donation on PayPal: https://paypal.me/bitluni Twitter: @bitluni Instagram: @bitluni reddit: u/bitluni #retro #gameboy #electronics #esp32 #tetris
ARo205bYEfI | 11 Nov 2018
This is the first part of the project building a retro GAME BOY clone. An old school mini CRT is used to display the video signal generated by the ESP32 micro controller. An NES game pad is connected to be able to play games. A simple Tetris clone from a previous project is used to test the device. This part covers the building of the circuit including a simple audio amplifier. ESP32 Game console playlist: https://www.youtube.com/watch?v=5t1_XNc3vNw&list=PLjUbKCHhzPEzCm2_KFAICIN-7QTap_s72 The latest schematic and some further details are provided here: http://bitluni.net/crt-boy/ The Tetris clone code for the ESP32: https://github.com/bitluni/TetrisSpaceX The final ESP32 I used here (affiliate link): ESP Mini KIT ~$7.58 shipped http://s.click.aliexpress.com/e/FQ7mQRJ TPAI: https://www.youtube.com/channel/UCDbWmfrwmzn1ZsGgrYRUxoA 8-Bit Guy: https://www.youtube.com/user/adric22 plz share :-) Consider supporting my lab for some extras and frequent updates trough YouTube Memberships https://www.youtube.com/channel/UCp_5PO66faM4dBFbFFBdPSQ/join or on Patreon https://www.patreon.com/bitluni I'm also thankful for any donation on PayPal: https://paypal.me/bitluni Twitter: @bitluni Instagram: @bitluni reddit: u/bitluni #retro #gameboy #electronics #esp32 #tetris
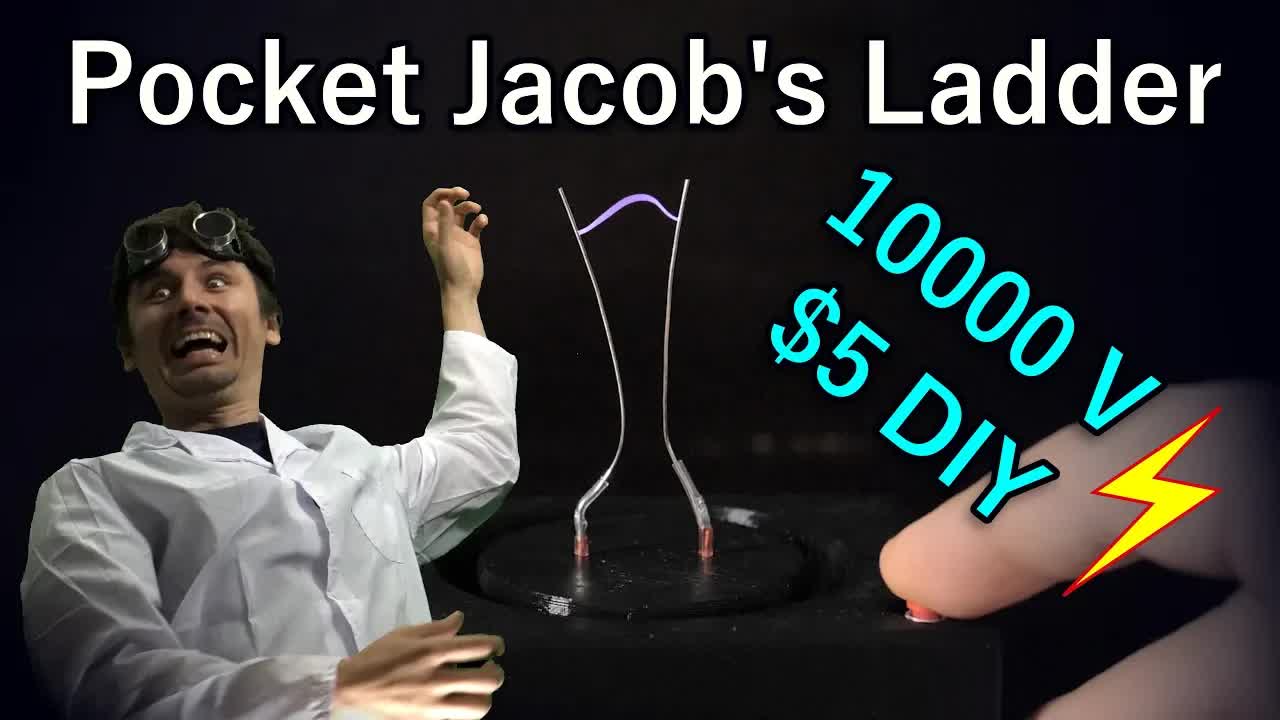
0Dp51Z-iPF4 | 28 Oct 2018
This videos shows how to build a mini Jacob's Ladder. It's a neat looking high voltage device. It creates an arc that is climbing two rods and growing bigger and bigger. The physics are explained too. The parts only cost $5 total. 3D Models: https://www.thingiverse.com/thing:3182601 Links to the parts (affiliate links) High Voltage Transformer: $1.64 http://s.click.aliexpress.com/e/cNBjDojA Battery compartments: $1.63 http://s.click.aliexpress.com/e/bX6zCUZa LiFePo 3.2V batteries (use only 2 of these, the actual capacity is only 700mA but good enough): http://s.click.aliexpress.com/e/cGraH3P6 plz share :-) music: Quincas Moreira - Grasshopper bitluni - April to May (ambient mix) Wayne Jones - Brain Trust Jingle Punks - On The Tip Consider supporting my lab on Patreon for some extras and frequent updates: https://www.patreon.com/bitluni I'm also thankful for any donation on PayPal: https://paypal.me/bitluni Twitter: @bitluni reddit: r/bitluni #electronics #diy #maker #highvoltage
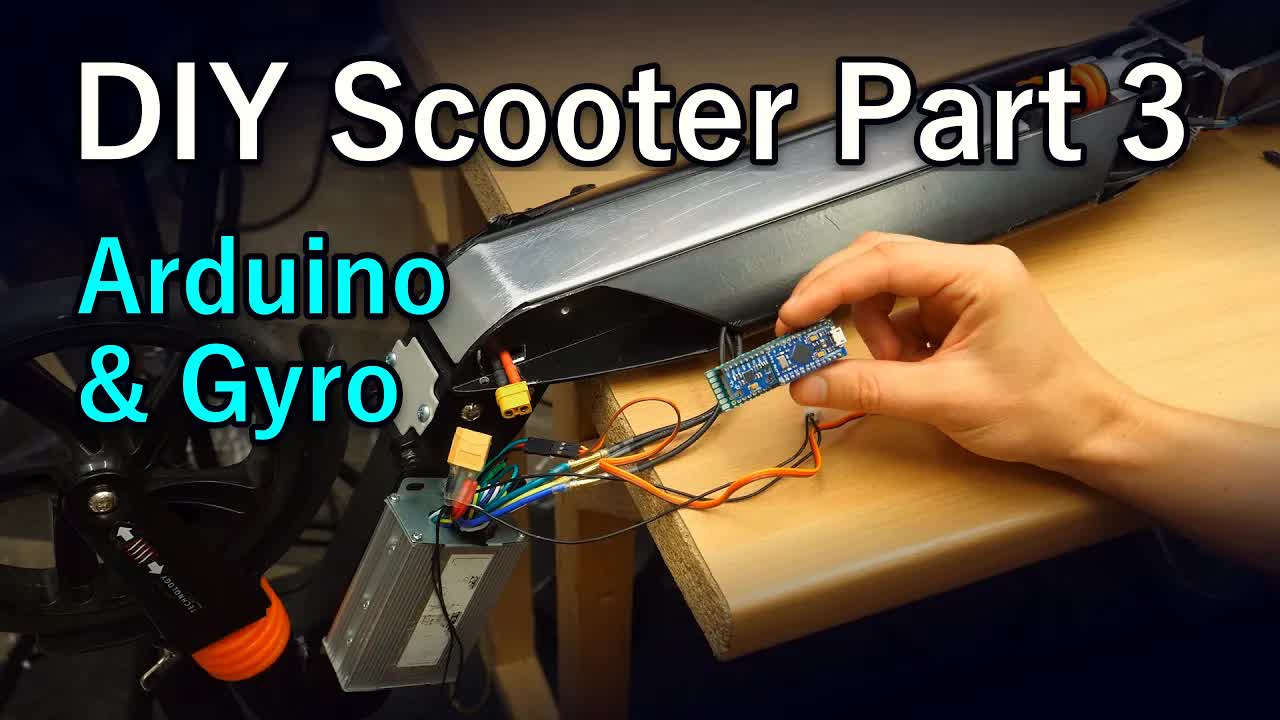
QhxD5owuN8g | 21 Oct 2018
Final part of the DIY electric scooter. A micro controller and a gyro are added to detect kicks and let the scooter act like a pedelecs to be somewhat lagal. A battery compartment is added and a nice 3d printed brake lever is added. The work principle is explained in a basic way and as always you can expect some humor.. enjoy :-) Additional infos can be found on the project page: http://bitluni.net/diy-electric-scooter/ Links to the parts (affiliate links): Arduino Micro http://s.click.aliexpress.com/e/N7Mrfi6 Gyro http://s.click.aliexpress.com/e/bg9IsvjE Buzzer http://s.click.aliexpress.com/e/cqItBMJA 5.5" Hub motor 250W http://s.click.aliexpress.com/e/delRCGu The tools: The Clampmeter (I love that one): US https://amzn.to/2NWz5XU UK https://amzn.to/2QtNWpB DE https://amzn.to/2RgoNj7 Makita Brushless Drill Amazon EN https://amzn.to/2QRKS7F Amazon DE https://amzn.to/2ONLGsQ SDS 1104X-E oscilloscope: https://amzn.to/2uN6Hf0 plz share :-) Consider supporting my lab on Patreon for some extras and frequent updates: https://www.patreon.com/bitluni I'm also thankful for any donation on PayPal: https://paypal.me/bitluni Twitter: @bitluni Instragram: @bitluni reddit: r/bitluni #electricscooter #diy #maker #bitluni

RG7bqsHGtEk | 02 Oct 2018
Speed and range tests of my self made electric city scooter. A big surprise was that it actually goes up to 500W at 26km/h. Range is with 6km not that far but the batteries are really small. Check out the first part for the mechanical build: https://youtu.be/FbT2o0I4Vvk (Fixed) Sheet: https://docs.google.com/spreadsheets/d/1LnSOQCFST3vVKBgawEtrSMAc6JbmQ44EYlDG71Q5tDg/edit?usp=sharing Links to the parts (affiliate links): 5.5" 250W hub motor http://s.click.aliexpress.com/e/delRCGu Speed Controllers Aliexpress http://s.click.aliexpress.com/e/cb2KaVT6 Ebay https://ebay.to/2O1iC3z 5S LiPos Ebay https://ebay.to/2Ia8dgU Amazon EN https://amzn.to/2DlO6xf I can't recommend the batteries I have used. They seem to have inconsistent quality! The tools: The Clampmeter (I love that one): US https://amzn.to/2NWz5XU UK https://amzn.to/2QtNWpB DE https://amzn.to/2RgoNj7 IR Thermomether DE https://amzn.to/2RllPdt (didn't find the same product in US, sorry) plz share :-) Consider supporting my lab on Patreon for some extras and frequent updates: https://www.patreon.com/bitluni I'm also thankful for any donation on PayPal: https://paypal.me/bitluni Twitter: @bitluni reddit: r/bitluni #electricscooter #diy #maker #bitluni

FbT2o0I4Vvk | 22 Sep 2018
A basic city scooter upgrade with a 250 Watts electric hub drive. The BLDC speed controller is from ebay, the hub drive from aliexpress and the batteries from hobbyking. Total cost including the scooter were around 200€. Robot arm project: https://www.youtube.com/watch?v=KKuJuLZTK2M Links to the parts (affiliate links): 5.5" 250W hub motor http://s.click.aliexpress.com/e/delRCGu Speed Controllers Aliexpress http://s.click.aliexpress.com/e/cb2KaVT6 Ebay https://ebay.to/2O1iC3z 5S LiPos Ebay https://ebay.to/2Ia8dgU Amazon EN https://amzn.to/2DlO6xf I can't recommend the batteries I have used. They seem to have inconsistent quality! The tools: AC/DC TIG Welders Amazon EN https://amzn.to/2DoKNFQ Amazon DE https://amzn.to/2Nvdd5I Makita Brushless Drill Amazon EN https://amzn.to/2QRKS7F Amazon DE https://amzn.to/2ONLGsQ plz share :-) Find out more on TIG welding on this old tony's channel :https://www.youtube.com/channel/UC5NO8MgTQKHAWXp6z8Xl7yQ Consider supporting my lab on Patreon for some extras and frequent updates: https://www.patreon.com/bitluni I'm also thankful for any donation on PayPal: https://paypal.me/bitluni Twitter: @bitluni reddit: r/bitluni #electricscooter #diy #maker #bitluni
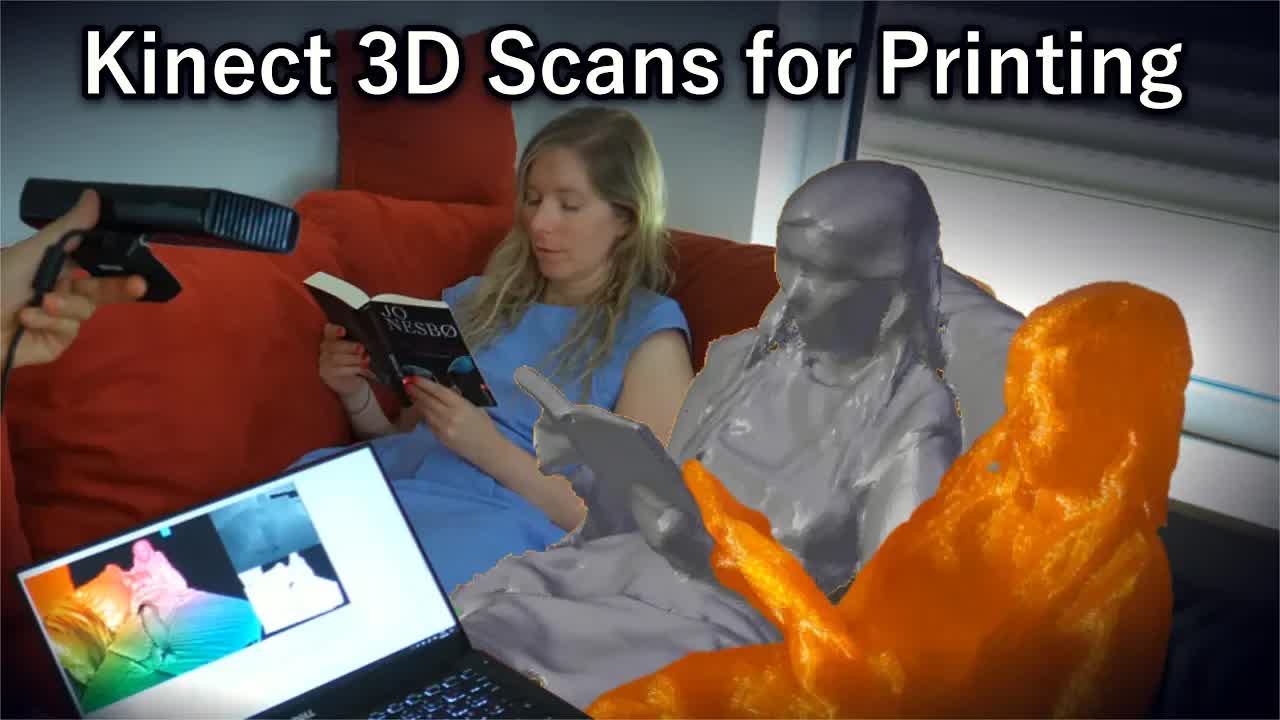
2tYAnoMK2Kc | 14 Aug 2018
This video shows my procedure of scanning a Person and preparing the scan for 3D Printing. It's not a modern method but I also show simple ways to fix big messy meshes in blender Cheap Kinects on ebay (affiliate links supporting the lab): EN https://ebay.to/2vKtdWl DE https://ebay.to/2PacAvB FR https://ebay.to/2w3bn0c Kinect 1 SDK: https://www.microsoft.com/en-us/download/details.aspx?id=40278 Kinect 2 SDK: https://www.microsoft.com/en-us/download/details.aspx?id=44561 Blender: https://www.blender.org/ Intro: https://docs.blender.org/manual/en/dev/modeling/meshes/introduction.html plz share :-) Consider supporting our work on Patreon for some extras: https://www.patreon.com/bitluni We are also thankful for any donation on PayPal: https://paypal.me/bitluni Twitter: @bitluni reddit: r/bitluni
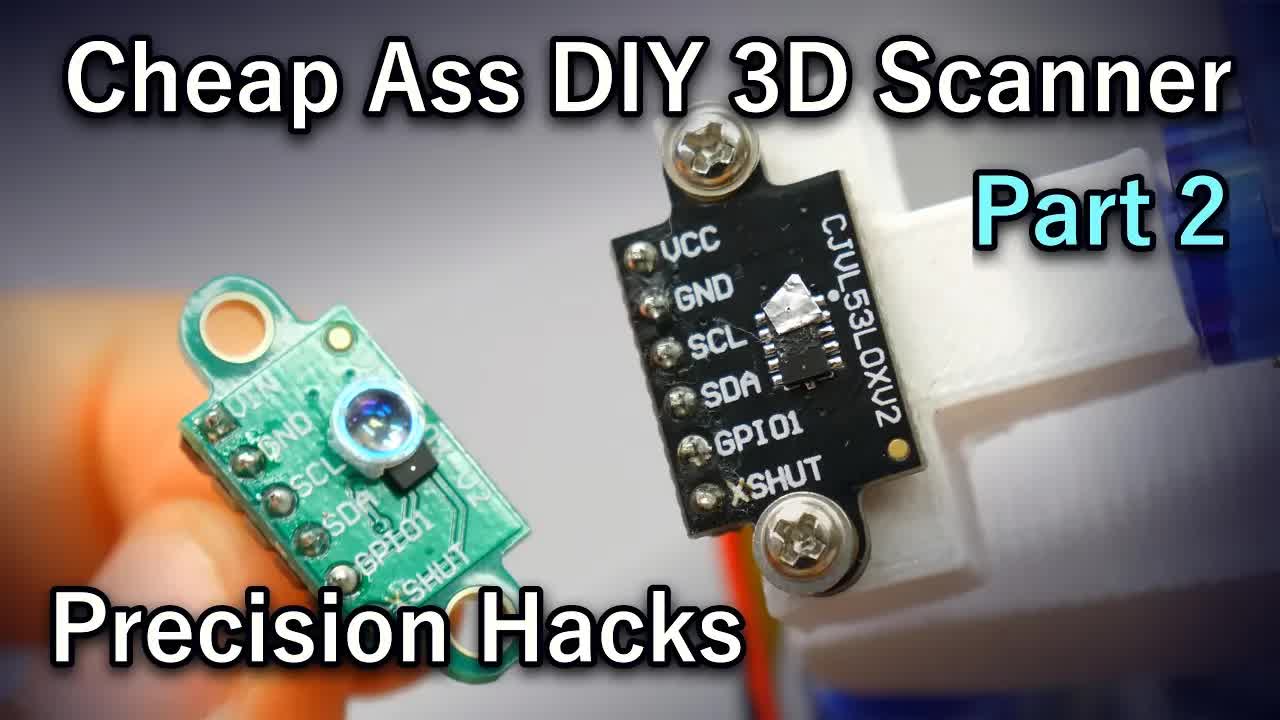
mRR7VgC_DWg | 05 Aug 2018
A follow-up to the previous video showing some hacks to improve the precision of the DIY 3D scanner. Only the TIme-of-Flight sensor was used this time. Part 1: https://youtu.be/vwUGPjQ_5t4 Code and 3d pritner models: https://github.com/bitluni/3DScannerESP8266 Project page: http://bitluni.net/3d-scanner/ Links to the cheep parts including shipping (affiliate): Wemos d1 mini ESP8266: $2.58 http://s.click.aliexpress.com/e/jUfAmUF Servo SG90: $1.09 http://s.click.aliexpress.com/e/v7EqvfU $12.61 10x http://s.click.aliexpress.com/e/Aeqj6Ee Ultrasonic Sensor JSN-SR04T: $7.57 http://s.click.aliexpress.com/e/ceYGpVY4 Time-of-flight sensor VL53L0X: $3.68 http://s.click.aliexpress.com/e/vRNFaaA Tripod nuts: $1.46 10x http://s.click.aliexpress.com/e/bFRvnNqo Laser Distance Meter: $13.88 http://s.click.aliexpress.com/e/GXSzUVi plz share :-) Consider supporting our work on Patreon for some extras: https://www.patreon.com/bitluni We are also thankful for any donation on PayPal: https://paypal.me/bitluni Twitter: @bitluni reddit: r/bitluni
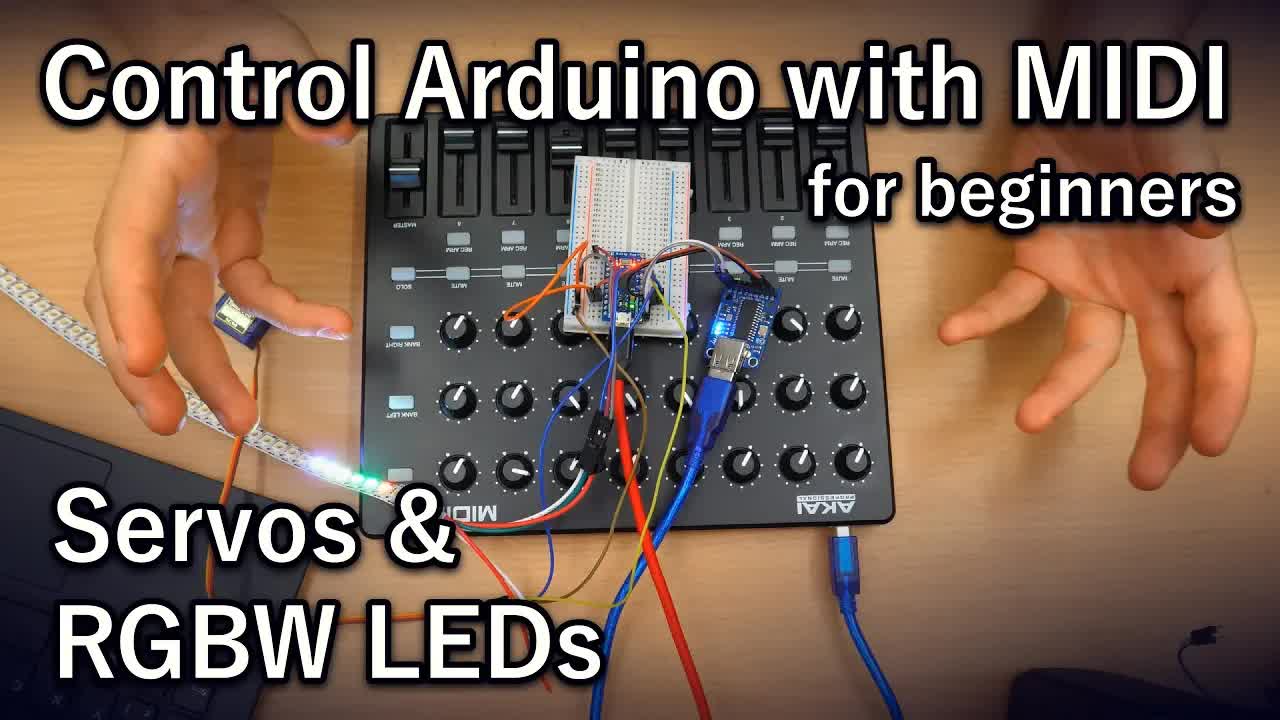
wVhEecQo0Ck | 27 Jul 2018
First #fillerfriday unscripted video showing how to use USB MIDI devices to control servo motors and RGB LEDs. It also shows how MIDI messages can be decoded. Very detailed... Code: https://github.com/bitluni/UsbMidiHostTests MIDI Messages: https://www.midi.org/specifications-old/item/table-1-summary-of-midi-message MIDI USB host adapter http://bit.ly/2Oj5hkB Some other parts I have used (affiliate links): AKAI MIDIMIX https://amzn.to/2AeF3Ng AKAI APC KEY 25 https://amzn.to/2Ojqf2O Arduino Pro Micro: $3.60 on Aliexpress http://s.click.aliexpress.com/e/N7Mrfi6 $4.04 on Ebay US https://ebay.to/2LsS4qO RGBW Strips: Aliexpress http://s.click.aliexpress.com/e/beyPwT5Q Amazon US https://amzn.to/2uT5LWo SG 90 Servo: $1.09 http://s.click.aliexpress.com/e/v7EqvfU $11.19 10 pieces http://s.click.aliexpress.com/e/Aeqj6Ee plz share :-) Consider supporting our work on Patreon for some extras: https://www.patreon.com/bitluni We are also thankful for any donation on PayPal: https://paypal.me/bitluni Twitter: @bitluni reddit: r/bitluni
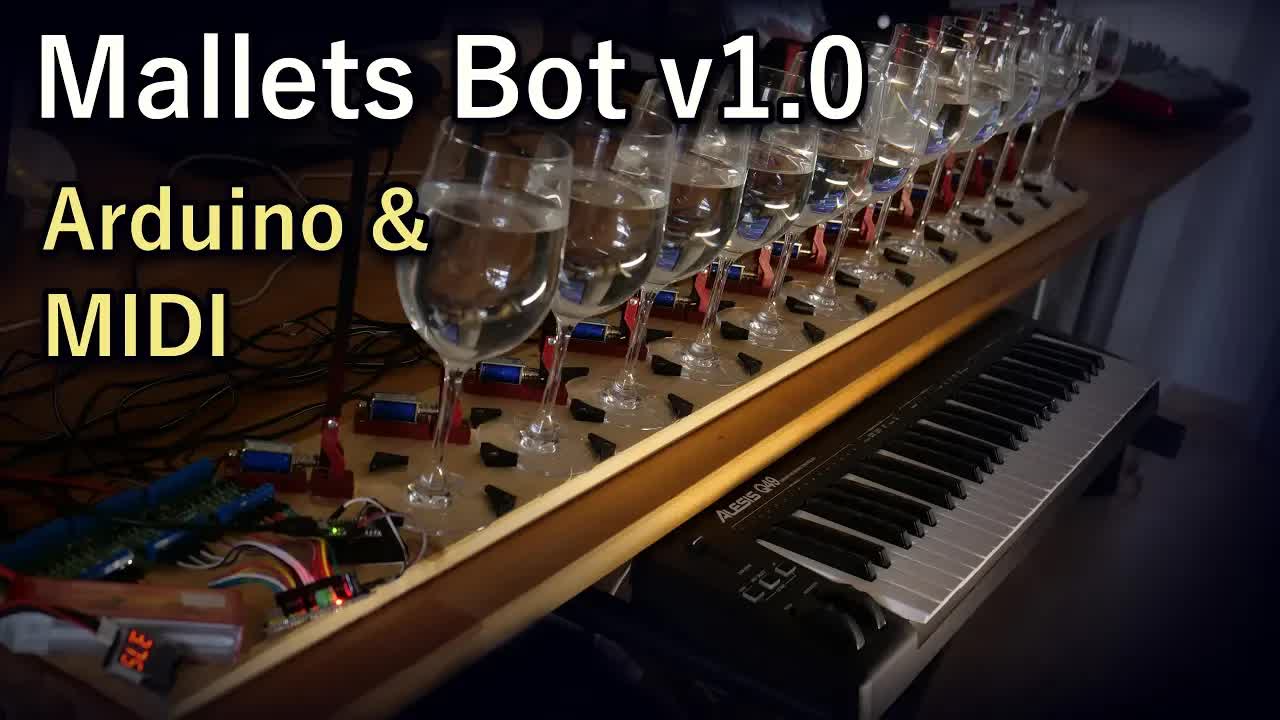
hWSprtJcZiE | 23 Jul 2018
This project shows how to build a simple instrument which plays music on wine glasses. It can be used with a keyboard to play live or playback midi files from your computer. Project page (work in progress, come back later :-*): http://bitluni.net/mallets-bot/ Code and models: https://github.com/bitluni/MalletsBot Links to the cheep parts including shipping (affiliate links): Arduino Pro Micro $3.60 Aliexpress http://s.click.aliexpress.com/e/N7Mrfi6 $4.04 Ebay US https://ebay.to/2LsS4qO Solenoid 12V: $2.49 Aliexpress http://s.click.aliexpress.com/e/UBMrRZB $2.66 Ebay UShttps://ebay.to/2NDToog PWM Shield: $1.58 Aliexpress http://s.click.aliexpress.com/e/F6iyFyv $2.31 Ebay US https://ebay.to/2uPKnSf FET Module PWM 4-Channel $4.66 Aliexpress http://s.click.aliexpress.com/e/7IAUrBm $4.98 Ebay US https://ebay.to/2NGvMPZ LiPo 3S: Ebay US https://ebay.to/2NyNggQ Amazon US https://amzn.to/2JRrAuj Siglent Oscilloscope: Amazon US https://amzn.to/2uN6Hf0 plz share :-) Consider supporting our work on Patreon for some extras: https://www.patreon.com/bitluni We are also thankful for any donation on PayPal: https://paypal.me/bitluni Twitter: @bitluni reddit: r/bitluni
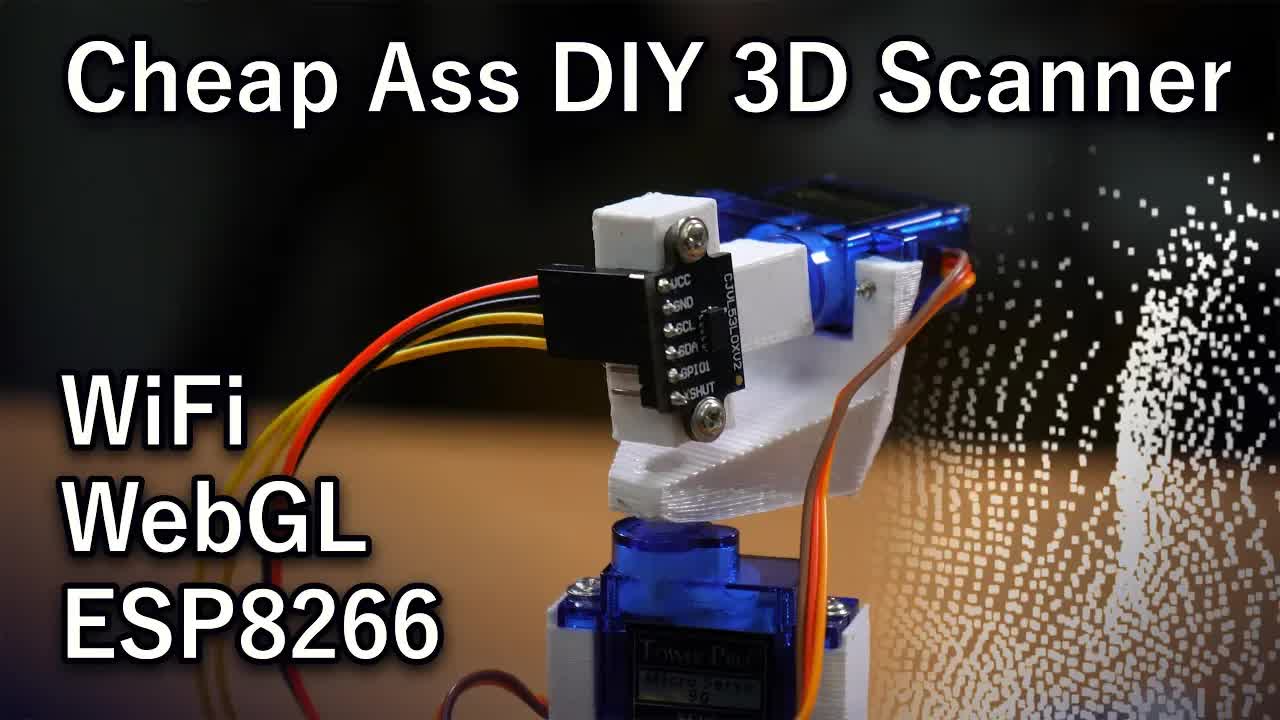
vwUGPjQ_5t4 | 16 Jul 2018
This mini project shows an attempt to built a cheap areal 3D scanner. The two attempts use an ultrasonic transducer and a time-of-flight sensor. Part 2: https://youtu.be/mRR7VgC_DWg Code and 3d pritner models: https://github.com/bitluni/3DScannerESP8266 Project page: http://bitluni.net/3d-scanner/ Links to the cheep parts including shipping (affiliate): Wemos d1 mini ESP8266: $2.58 http://s.click.aliexpress.com/e/jUfAmUF Servo SG90: $1.09 http://s.click.aliexpress.com/e/v7EqvfU $12.61 10x http://s.click.aliexpress.com/e/Aeqj6Ee Ultrasonic Sensor JSN-SR04T: $7.57 http://s.click.aliexpress.com/e/ceYGpVY4 Time-of-flight sensor VL53L0X: $3.68 http://s.click.aliexpress.com/e/vRNFaaA Tripod nuts: $1.46 10x http://s.click.aliexpress.com/e/bFRvnNqo Laser Distance Meter: $13.88 http://s.click.aliexpress.com/e/GXSzUVi plz share :-) Consider supporting our work on Patreon for some extras: https://www.patreon.com/bitluni We are also thankful for any donation on PayPal: https://paypal.me/bitluni Twitter: @bitluni reddit: r/bitluni
XNS24J42lLk | 09 Jul 2018
This DIY project shows how to build RGB Lights that react to sound. It's based on the IoT RGB LED lights featured in the Artificial Sunrise project: https://youtu.be/U-EOGh8fWlw Project page for the lamp build: https://www.electromaker.io/project/view/artificial-sunrise-lights Project page for the amplifier: http://bitluni.net/electret-microphone-amplifier plz share :-) Consider supporting our work on Patreon for some extras: https://www.patreon.com/bitluni We are also thankful for any donation on PayPal: https://paypal.me/bitluni Twitter: @bitluni reddit: r/bitluni

GQVsl4fV3O0 | 15 Jun 2018
This video shows state of the art research on self driving vehicles at the ETH Zürich. ETH research group: http://www.idsc.ethz.ch/research-frazzoli/research-projects.html Duckietown: http://duckietown.org Code repositories: https://github.com/idsc-frazzoli/retina https://github.com/idsc-frazzoli/owl Motion planner paper: http://wafr2016.berkeley.edu/papers/WAFR_2016_paper_13.pdf Jan's hompage and YouTube: http://hakenberg.de https://youtube.com/datahaki Further mentioned sites: https://solarimpulse.com/ https://en.rimo-germany.com/sinus-ion.html https://www.tesla.com/shareholdermeeting http://velodynelidar.com/products.html https://www.nvidia.com/en-us/self-driving-cars/partners/tesla/ http://shop.linmot.com/E/linear-motors/linear-motors-p01-37/stators-ps01-37x120-hp/ps01-37x120f-hp-c.htm https://inivation.com/wp-content/uploads/2018/06/2018-06-08-DVS-Specifications.pdf https://www.nutonomy.com/ LiDARS on Amazon :-D (affiliate link) https://amzn.to/2la8TrL plz share :-) Consider supporting our work on Patreon for some extras: https://www.patreon.com/bitluni We are also thankful for any donation on PayPal: https://paypal.me/bitluni Twitter: @bitluni reddit: r/bitluni
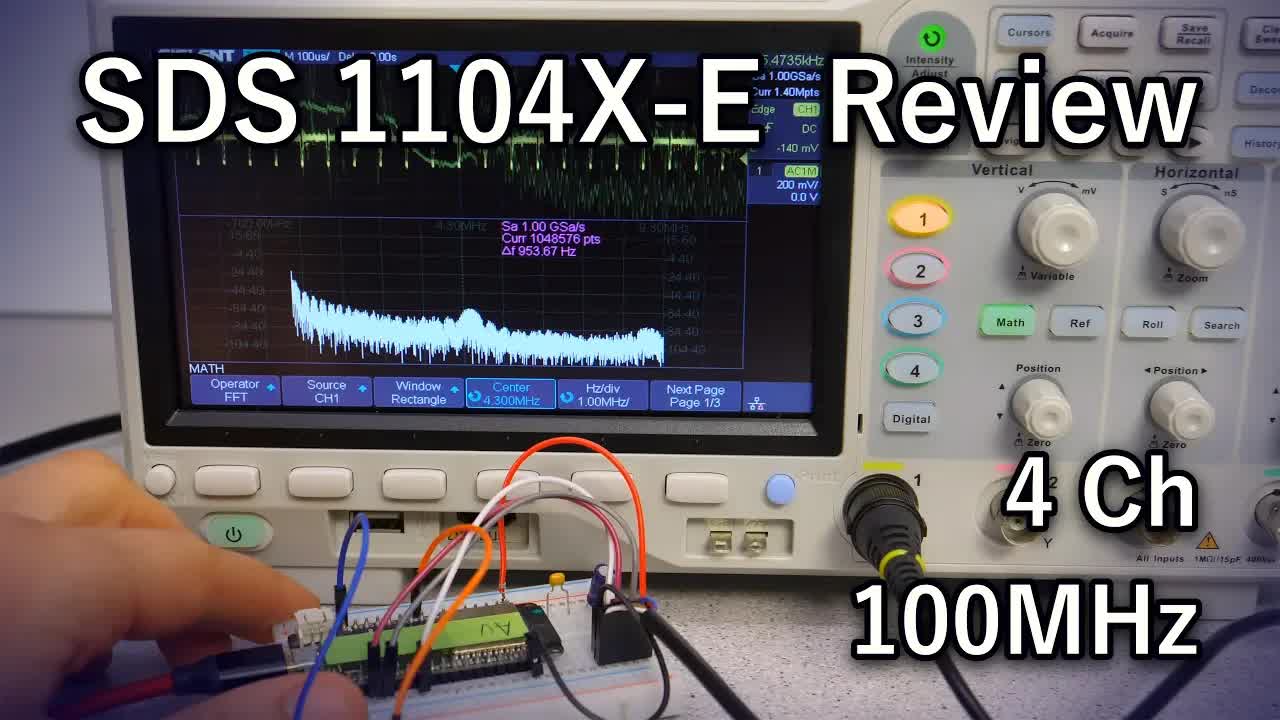
Cwbwq-AKbPc | 23 May 2018
This is a (almost) complete review of the SDS 1104X-E oscilloscope. The topics can ate listed here (click to jump) 0:00 Intro 1:00 Equipment 1:55 Build quality & design 3:52 UI 5:18 Vertical system 6:03 Math functions 6:45 Frequency analysis 8:06 Reference waveforms 8:28 Horizontal system 9:12 Search function 9:39 Triggers 11:25 I2C/SPI/UART/CAN/LIN triggers and decoders 13:23 Cursors 14:01 Mesurements 15:05 Acquisition modes 15:56 XY mode 16:20 Display settings 16:53 Save/recall (BIN, CSV, Matlab export) 17:10 History function 17:34 Utilities 17:45 Pass/fail test 18:36 Conclusion Link to scope (affiliate): https://amzn.to/2uN6Hf0 plz share :-) Consider supporting our work on Patreon for some extras: https://www.patreon.com/bitluni We are also thankful for any donation on PayPal: https://paypal.me/bitluni Twitter: @bitluni
-JXuwwXQh8c | 15 Apr 2018
This video demonstrated how the color signal is modulated and corrected on PAL. The composite signal is generated using the ESP32 and displayed on a TV. Project page with code, demo tool and more: http://bitluni.net/esp32-color-pal/ Web page on video signals: https://www.radios-tv.co.uk/Pembers/World-TV-Standards/Colour-Standards.html#PAL The complete playlist for this series is here: https://www.youtube.com/playlist?list=PLjUbKCHhzPEzCm2_KFAICIN-7QTap_s72 plz share :-) Consider supporting our work on Patreon for some extras: https://www.patreon.com/bitluni We are also thankful for any donation on PayPal: https://paypal.me/bitluni ..or use our affiliate links: LOLIN 32 board for $6.90 http://s.click.aliexpress.com/e/jYvJIEi Twitter: @bitluni
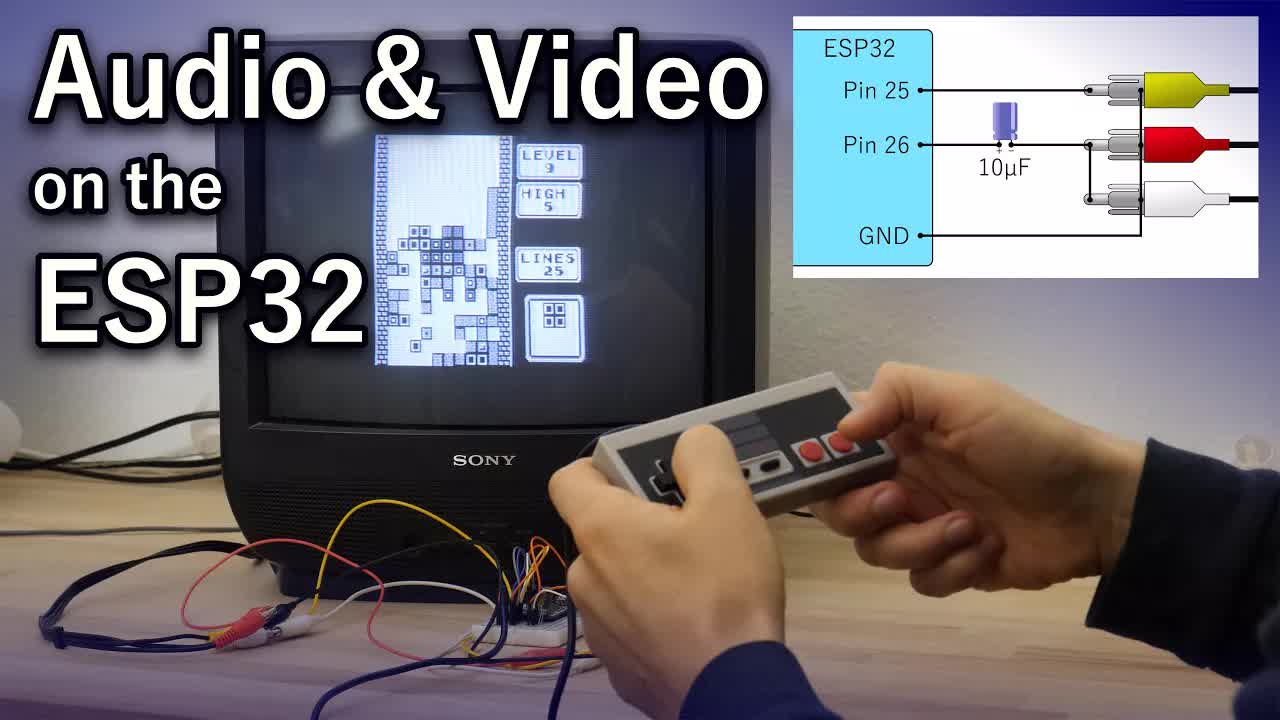
MOoKQnWF4OY | 25 Mar 2018
In this video we add audio output to our composite video making the console almost complete. Code, parts, tools and examples can be found here http://bitluni.net/esp32-composite-audio/ The complete playlist for this series is here: https://www.youtube.com/playlist?list=PLjUbKCHhzPEzCm2_KFAICIN-7QTap_s72 plz share :-) Consider supporting our work on Patreon for some extras: https://www.patreon.com/bitluni We are also thankful for any donation on PayPal: https://paypal.me/bitluni ..or use our affiliate links: LOLIN 32 board for $6.90 http://s.click.aliexpress.com/e/jYvJIEi the Rigol oscilloscope used here is quite cheap on Amazon US: http://amzn.to/2DBQ4Fo Twitter: @bitluni
Qpt14gJVpTk | 26 Feb 2018
This video shows how to read NES and SNES controllers using a Arduino compatible microcontroller. The parts, code, and more details can be found on the project page: http://bitluni.net/gamepad/ plz share :-) Consider supporting our work on Patreon for some extras: https://www.patreon.com/bitluni We are also thankful for any donation on PayPal: https://paypal.me/bitluni ..or use our affiliate links: SNES Gamepad $2.62 http://s.click.aliexpress.com/e/QfMbaub SNES Extension Cord $1.70 http://s.click.aliexpress.com/e/IEmeyjE the Rigol oscilloscope used here is quite cheap on Amazon US: http://amzn.to/2DBQ4Fo Twitter: @bitluni
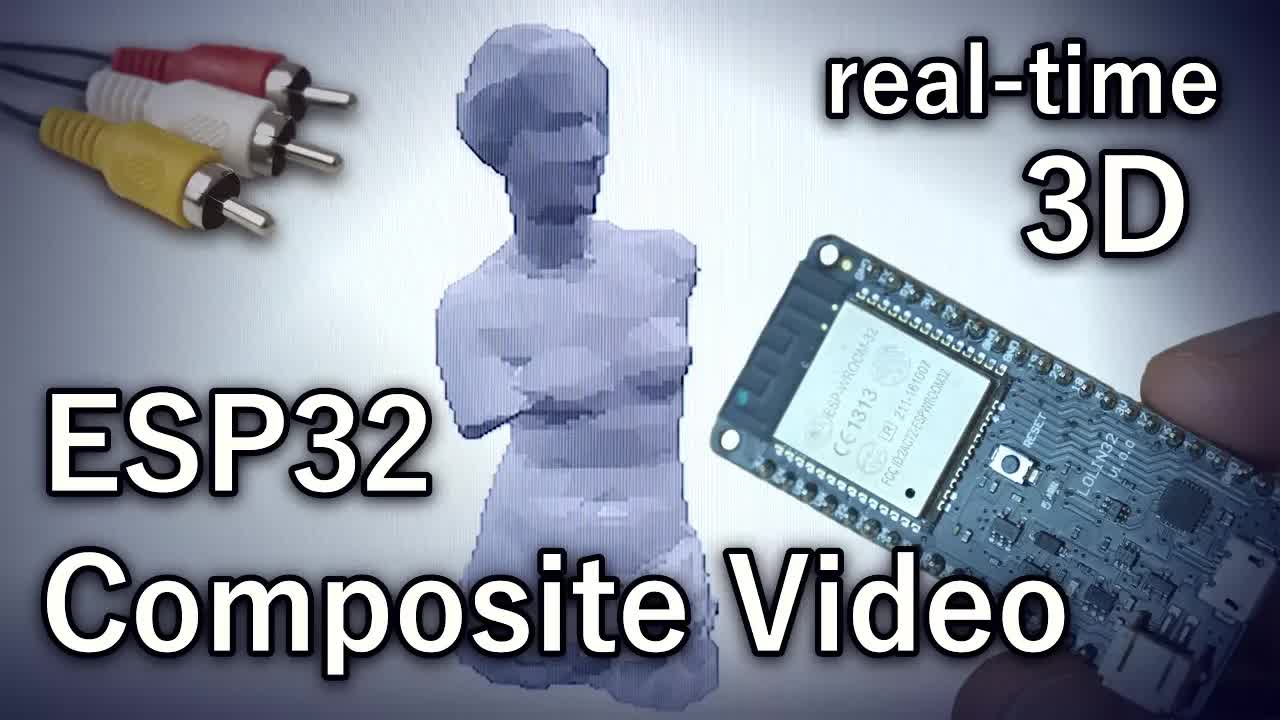
5t1_XNc3vNw | 21 Feb 2018
This video shows how to generate a composite video signal using the ESP32 microcontroller. The parts, code, converters, and more details can be found on the project page: http://bitluni.net/esp32-composite-video/ plz share :-) Details on video standards: https://www.radios-tv.co.uk/Pembers/World-TV-Standards/Line-Standards.html Charles Lohr's video on esp8266 video signals: https://youtu.be/bcez5pcp55w Consider supporting our work on Patreon for some extras: https://www.patreon.com/bitluni We are also thankful for any donation on PayPal: https://paypal.me/bitluni ..or use our affiliate links: the Rigol oscilloscope used here is quite cheap on Amazon US: http://amzn.to/2DBQ4Fo Twitter: @bitluni

ks3Qd3fwwp8 | 07 Feb 2018
This is a small teaser for the upcoming series how to make a game console. I've implemented a clone of Tetris on the ESP32 with Falcon Heavy launch and landings when completing the game. Subscribe to get the updates and the game. Falcon Heavy test flight: https://youtu.be/wbSwFU6tY1c plz share :-) Consider supporting our work on Patreon for some extras: https://www.patreon.com/bitluni We are also thankful for any donation on PayPal: https://paypal.me/bitluni Twitter: @bitluni
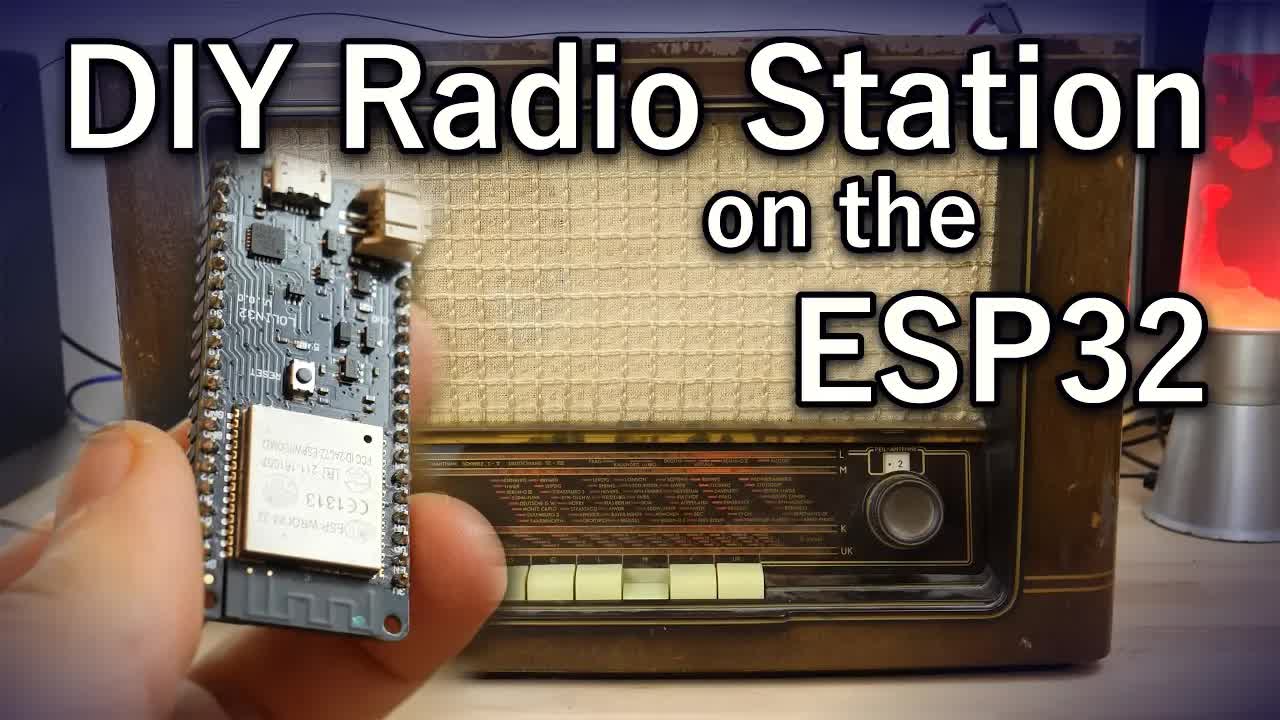
lRXHd3HNzEo | 26 Jan 2018
This video shows how to make a super simple AM radio transmitter using the ESP32 microcontroller. The parts, code, audio converter, and details can be found on the project page: http://bitluni.net/am-radio-transmitter/ plz share :-) Consider supporting our work on Patreon for some extras: https://www.patreon.com/bitluni We are also thankful for any donation on PayPal: https://paypal.me/bitluni ..or use our affiliate links: the Rigol oscilloscope is quite cheap on Amazon us: http://amzn.to/2DBQ4Fo Twitter: @bitluni
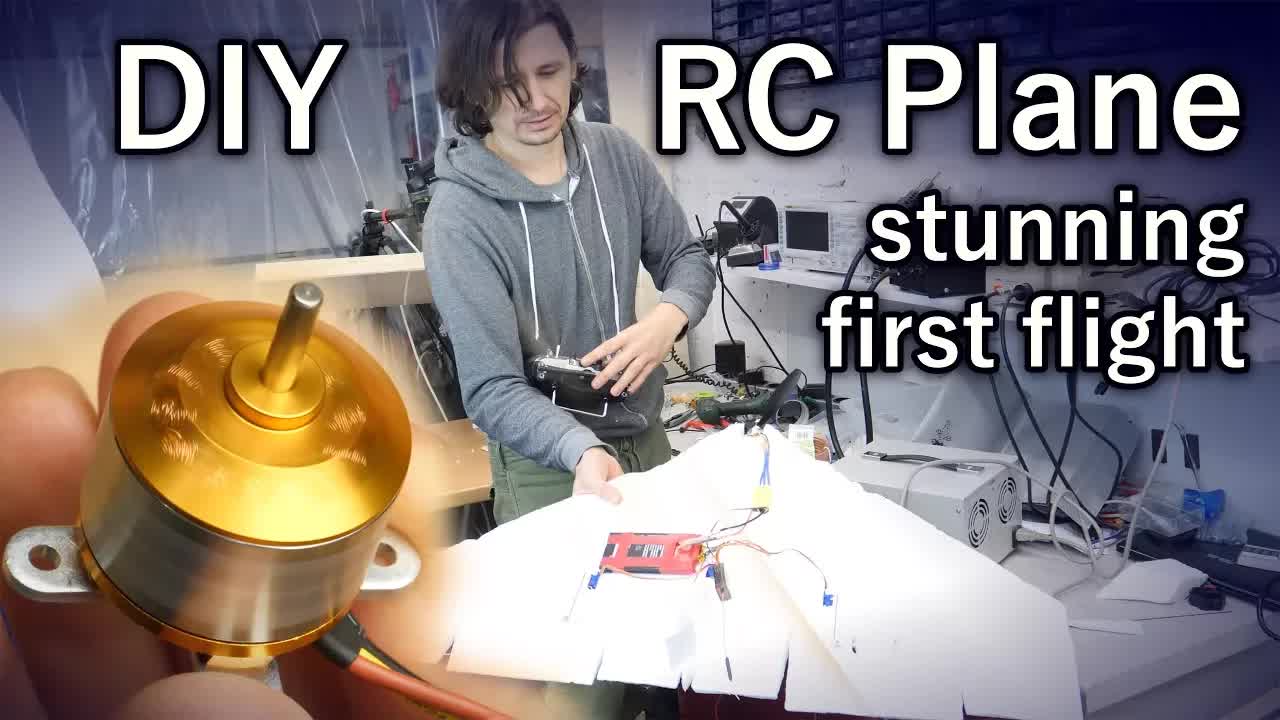
jktiKPbjznA | 12 Jan 2018
Link to the project page with all the parts, some close-up shots, details, links, and updates: http://bitluni.net/rc-plane-experiments/ This video shows my first try building an RC plane. I use some standard parts to put a simple wing body together. All the electronic and mechanics seem to work... see for your self for the stunning maiden flight at the end. Twitter: @bitluni Check out the Hot Wire Foam Cutter build on bitluni's trash: https://youtu.be/ZuKa-xn93nA If you like the video consider supporting my work on Patreon and get some extras: https://www.patreon.com/bitluni I'm also thankful for any donation on PayPal: https://paypal.me/bitluni
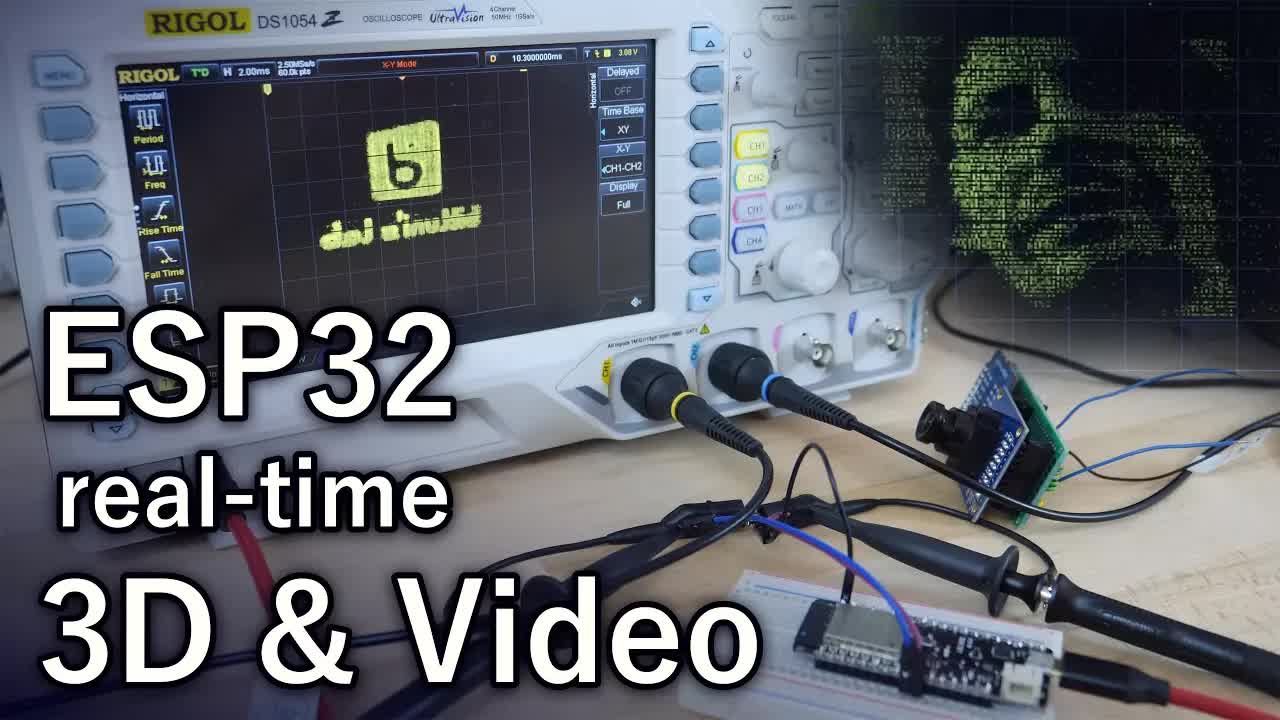
T_n8PtMMLiQ | 17 Dec 2017
This project demonstrates how to use a digital oscilloscope as a crude display. 3D objects and a camera video are displayed using the internal Digital Analog to Converters in real-time. Sponsor: 15% off coupon: Measure (expires on 31st, Dec) RIGOL DS1054Z Digital Oscilloscope: https://goo.gl/oybPJA Banggood Christmas Sale: https://goo.gl/KPuMCa Project page: http://bitluni.net/oscilloscope-as-display/ Older videos on DAC: PWM https://youtu.be/oU-WQVaHm4g R-2R https://youtu.be/_tABS7AX8D8 If you like the video consider supporting my work (some extras on Patreon): https://www.patreon.com/bitluni https://www.paypal.me/bitluni

S2yTQHM82jc | 10 Dec 2017
Chapters: 2:32 web server demo 4:00 code for mqtt, web server, bitmap 8:12 OV7670 pins and wiring without FIFO 9:31 I²S, DMA overview 12:05 Arduino camera sketch 13:03 I²S init 18:47 DMA init 19:32 I²S start/stop 20:11 I²S Interrupt 21:29 XCLK 22:57 credits This video explains in detail how to record images with the ESP32 and the OV7670 camera (with and without FIFO). An SPI TFT display is supported and a basic web server provides the images in the local network. MQTT is used to announce the IP address of the microcontroller and a simple Node.RED flow provides a convenient UI with the image stream embedded. Project pages: OV7670 with FIFO http://bitluni.net/ov7670-with-fifo/ ESP32 I2S OV7670 (without fifo) http://bitluni.net/esp32-i2s-camera-ov7670/ Original esp-cam-demo code: https://github.com/igrr/esp32-cam-demo If you like the video consider supporting my work (some extras on Patreon): https://www.patreon.com/bitluni https://www.paypal.me/bitluni
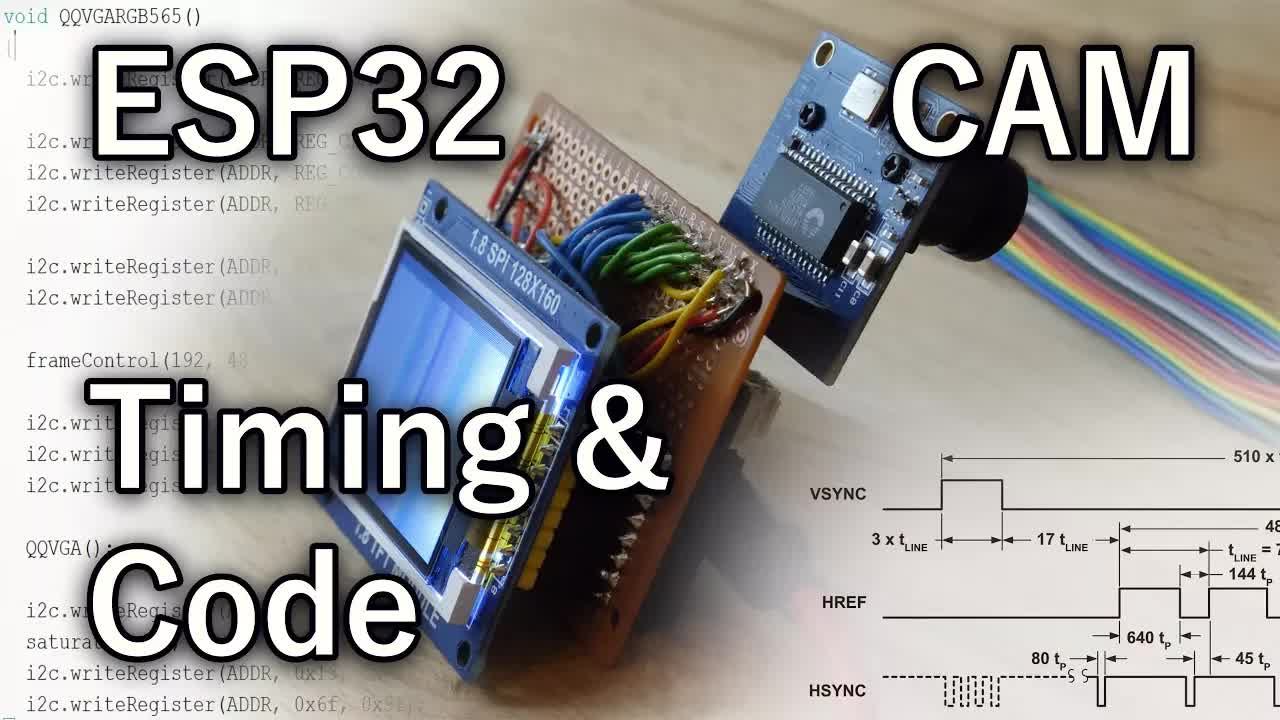
fk4nVWwbxOc | 22 Nov 2017
Chapter: 0:25 Frame timing 2:13 Code high-level basics 9:40 Fifo controlling code 11:03 Fifo camera control First Part: https://youtu.be/v_8XifFcpaI This video is the second of a miniseries showing how to interface a camera to a microcontroller (ESP32 in this case) and display the image on a TFT display. As development environment, the Arduino IDE is used. The code, datasheets and all the information can be found here: http://bitluni.net/ov7670-with-fifo/ Twitter: @bitluni If you like the video consider supporting my work on Patreon and get some extras: https://www.patreon.com/bitluni
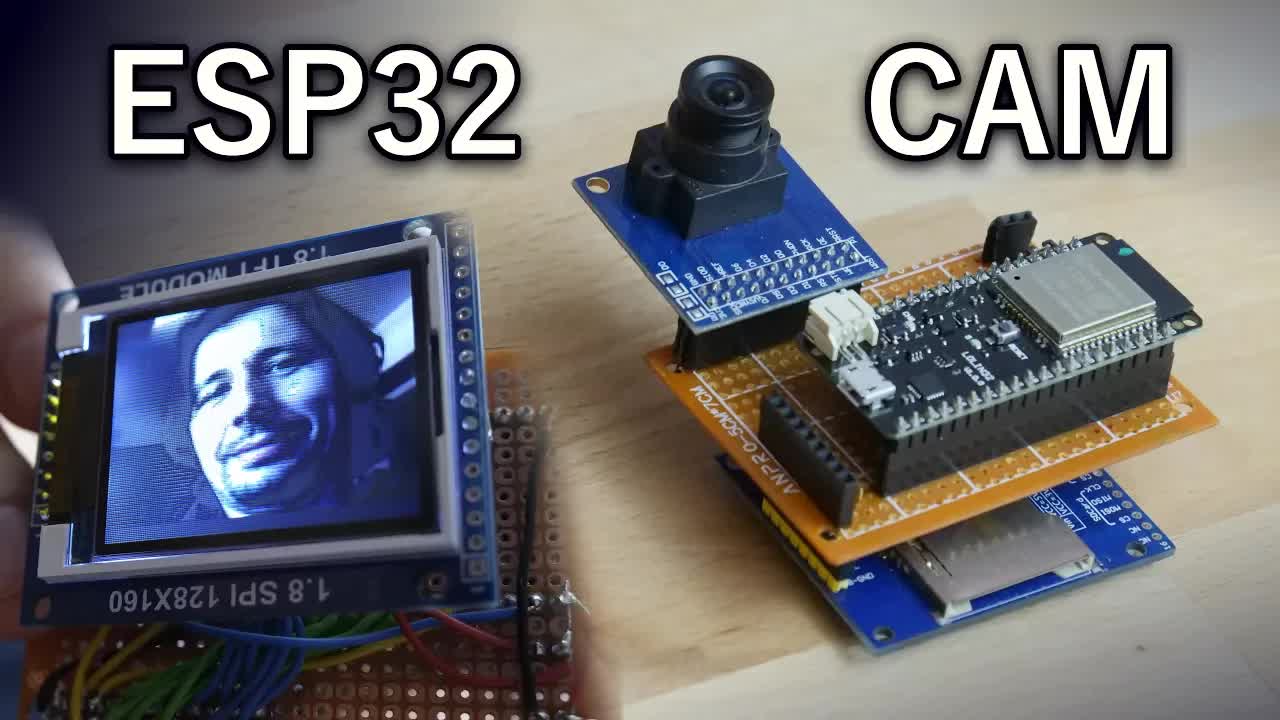
v_8XifFcpaI | 21 Nov 2017
I CAN WALK AGAIN! yaaay.. Back in the lab making videos. This video is the first of a miniseries showing how to interface a camera to a microcontroller (ESP32 in this case) and display the image on a TFT display. As development environment, the Arduino IDE is used. The code, datasheets and all the information can be found here: http://bitluni.net/ov7670-with-fifo/ Twitter: @bitluni If you like the video consider supporting my work on Patreon and get some extras: https://www.patreon.com/bitluni
at7wmm9t8UE | 30 Oct 2017
This video shows and explains the hardware of a solar powered WiFi weather station. Using MQTT it publishes sensor values to Node-RED which shows it in the browser. Project page (All details, codes, files, and flows): http://bitluni.net/solar-powered-weather-station/ Check out the playlist for the other parts of this series: https://www.youtube.com/playlist?list=PLjUbKCHhzPEzoMWj99gr4YOIyqFuTIYlA Twitter: @bitluni If you like the video consider supporting my work on Patreon and get some extras: https://www.patreon.com/bitluni
GeN7g4bdHiM | 15 Oct 2017
This video shows shows how to configure Node-RED on the Raspberry Pi and how to start creating home automation projects using MQTT and Node-RED. Some practical IoT examples are show. Details can be found on the project page: http://bitluni.net/how-to-node-red/ The solar powered weather station can be found here: http://bitluni.net/solar-powered-weather-station/ The playlist for my home automation projects: https://www.youtube.com/playlist?list=PLjUbKCHhzPEzoMWj99gr4YOIyqFuTIYlA Twitter: @bitluni If you like the video consider supporting my work on Patreon and get some extras: https://www.patreon.com/bitluni
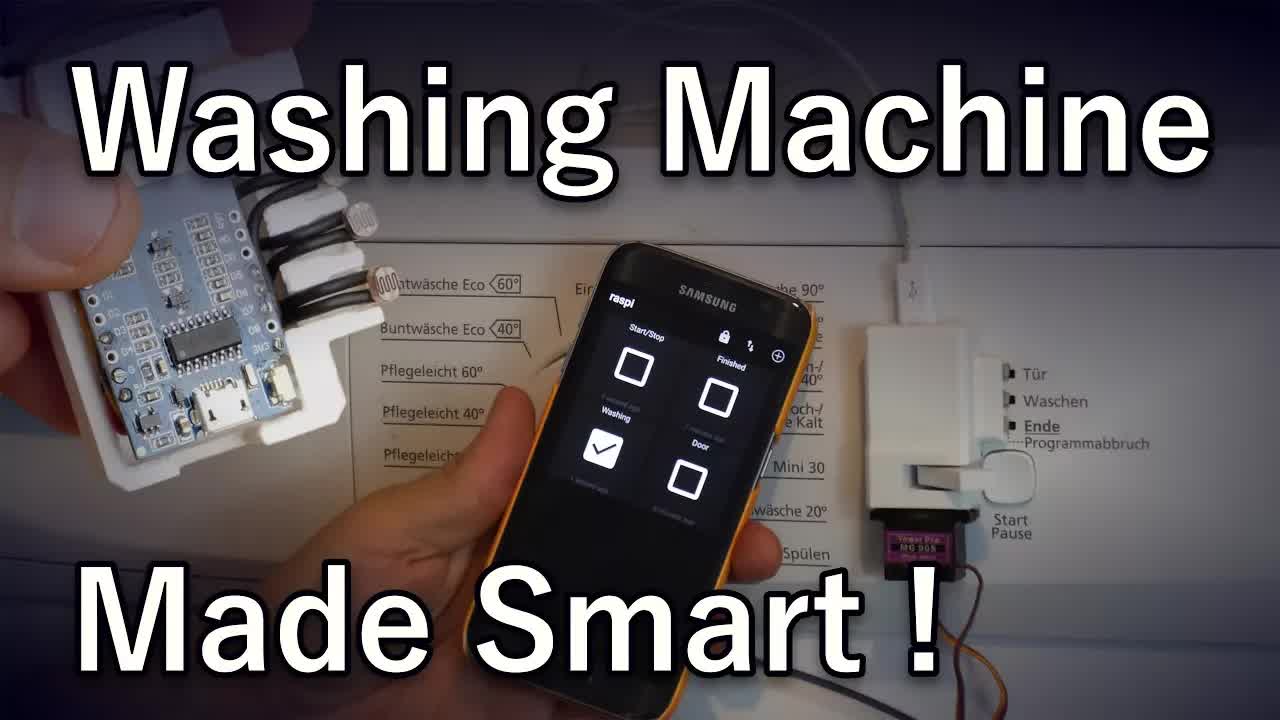
migRN4P1wGI | 02 Oct 2017
This video shows how a cheap washing machine can be integrated into you home automation using MQTT. The LEDs states are transmitted to the server and it can be remote controlled using a simple smartphone app. Project page with all the files and parts: http://bitluni.net/smart-washing-machine Twitter: @bitluni If you like the video consider supporting my work on Patreon and get some extras: https://www.patreon.com/bitluni
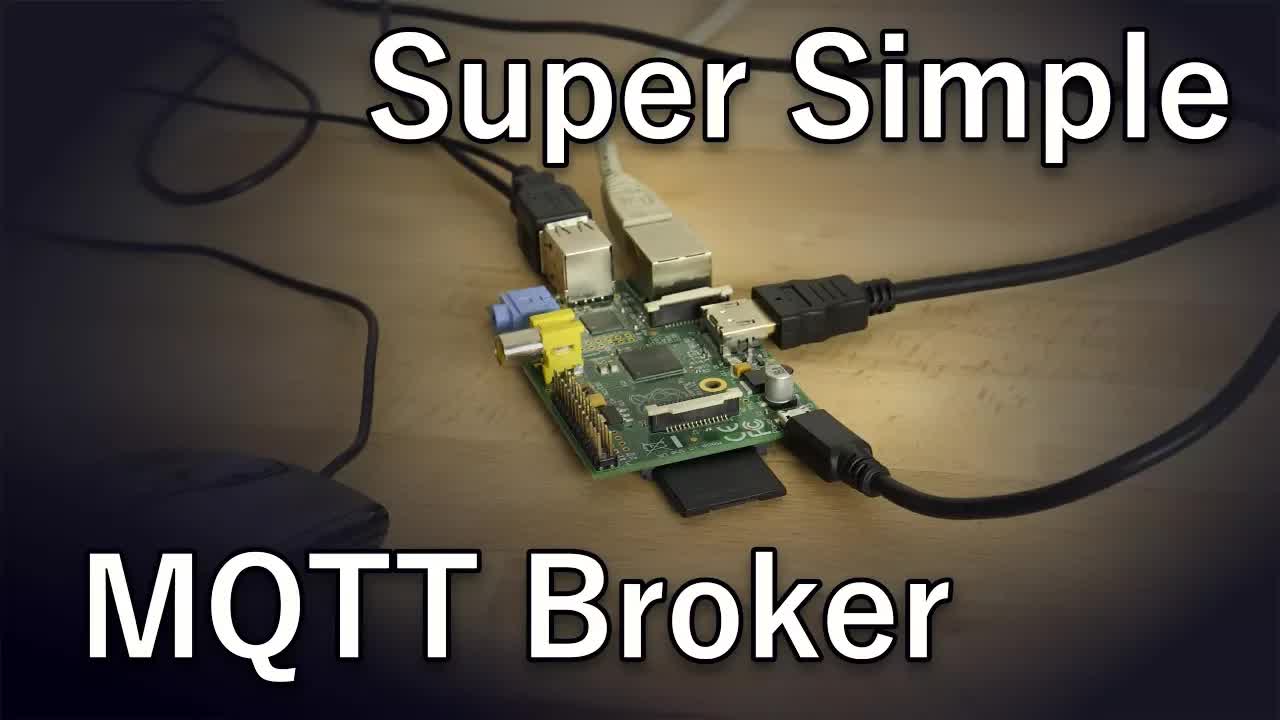
OOqS8fhd6ck | 23 Sep 2017
This simple tutorial shows how to setup an MQTT broker on a Raspberry Pi. MQTT is a little bit explained and some examples are shown. It is also shown how to add password protection and get es fixed IP from a router. Links, code etc. can be found on the project page: http://bitluni.net/simple-mqtt-broker-setup-on-a-raspberry-pi/ Twitter: @bitluni If you like the video consider supporting my work on Patreon and get some extras: https://www.patreon.com/bitluni

CbiiTrE-RIw | 16 Sep 2017
This video shows how I built my 200 Watts LED panel. It also explains a little bit about the light spectrum. The panel is built from cheap LED stipes plywood and diffuse acrylic glas. The panel can be mounted on a tripod and used as studio light. Here are some links to the parts I have used. These affiliate links sopprt my channel at no extra cost. White leds http://s.click.aliexpress.com/e/YbuFIUz Power supplies http://s.click.aliexpress.com/e/BunqzNb Power socket http://s.click.aliexpress.com/e/q7I6YZj Twitter: @bitluni If you like the video consider supporting my work on Patreon and get some extras: https://www.patreon.com/bitluni

wcb4ESed2PQ | 09 Sep 2017
This video explains some basics about LiIon batteries, how to charge multi cell packs and how to build a multi purpose battery pack for a power tool. The pack can also be used with an inverter to power other mains voltage tools. The parts are 3D printed and some wiring is done. The files can be found here: https://github.com/bitluni/Power-Pack Links to the parts (I get small cut at no extra cost for you): The chargers: LiitoKala Lii 500 http://s.click.aliexpress.com/e/zNnqv7U http://ebay.to/2wRW3mW http://amzn.to/2eWIHBs iMax B6 http://s.click.aliexpress.com/e/jEMN7yn http://ebay.to/2xmxqSB http://amzn.to/2eNuL9i JST connectors http://ebay.to/2xdzEmr http://s.click.aliexpress.com/e/vVFIUBi http://amzn.to/2wPnZKB Good crimp tool http://amzn.to/2eW5oFX http://ebay.to/2xlY8Lc 18650 batteries http://amzn.to/2eUZlBI http://ebay.to/2whfuUE Twitter: @bitluni If you like the video consider supporting my work on Patreon and get some extras: https://www.patreon.com/bitluni
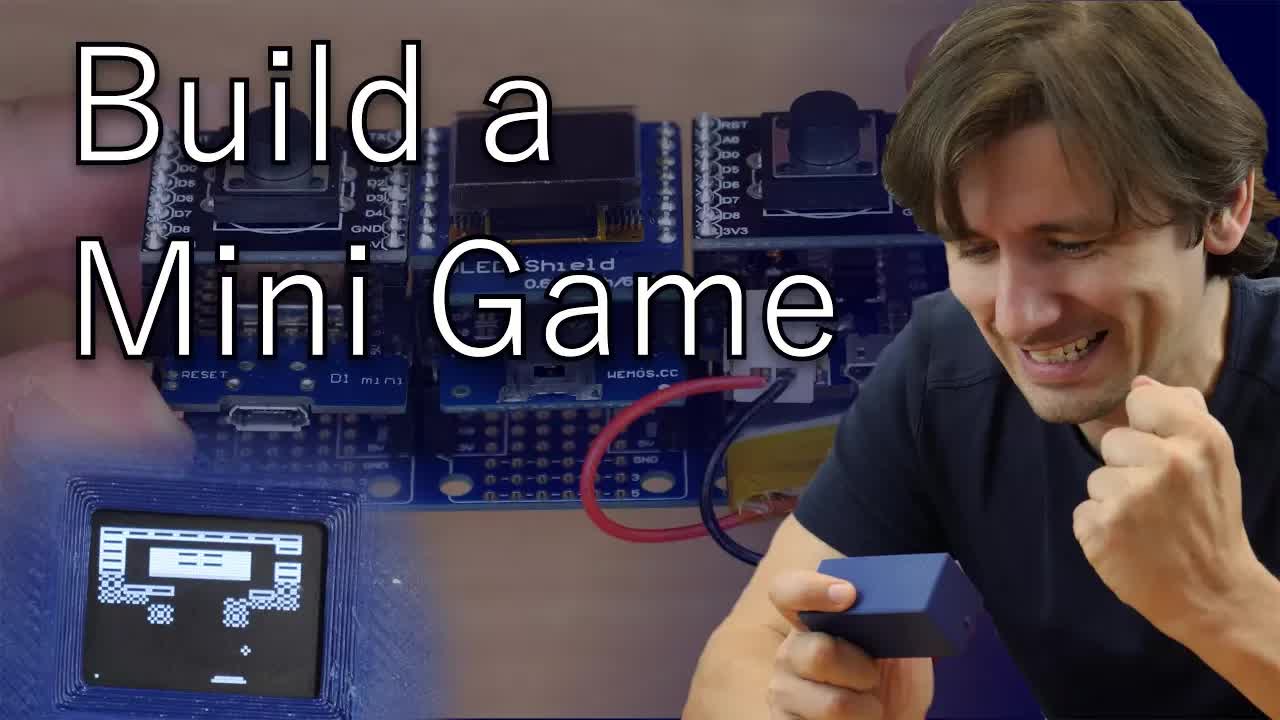
uKS0WK62ybI | 02 Sep 2017
This tutorial show how to build a mini handheld game form a WeMos microcontroller and some shields. It constist of an OLED screen a buzzer for sounds and runs on a battery. It also shows a basic stand by functionality unsig EEPROM and deep sleep. The case is designed with Blender and 3D-printed. The game is fun to play and the code be found here: https://github.com/bitluni/MiniGame Links to the parts (I get small cut at no extra cost for you): WeMos D1 Mini: http://s.click.aliexpress.com/e/jUfAmUF http://ebay.to/2skrCE1 http://amzn.to/2saaoKL Oled shield http://s.click.aliexpress.com/e/n2JUnQF http://ebay.to/2vfafce http://amzn.to/2vyuop0 WeMos tripler: http://s.click.aliexpress.com/e/FAI2jAm http://ebay.to/2w0rX0n Button shield http://s.click.aliexpress.com/e/aurf6EU http://ebay.to/2vTHVrx Configurable button shields: http://amzn.to/2xFNCLB http://bit.ly/2w0tjbh Battery shield: http://s.click.aliexpress.com/e/AUNRRVZ http://ebay.to/2xsX83X http://amzn.to/2w4htNl Buzzer shield: http://bit.ly/2esWICY (aliexpress) http://ebay.to/2x12JSM Check for small LiPos here: http://ebay.to/2v6s6SE http://amzn.to/2vpjGkA Twitter: @bitluni If you like the video consider supporting my work on Patreon and get some extras: https://www.patreon.com/bitluni

cwWRHZlu_T0 | 26 Aug 2017
This tutorial shows how to make a basic logger using WiFi and Adafruit MQTT. It is based on the cheap WeMos (Esp8266) micro controller with an air pressure/temperature and an OLED shield. It is programmed with an simple Arduino sketch and put in a 3D-printed case. I also explain how the altitude is calculated from airpresure. This logger should be doable for beginners, since not much soldering is needed. Enjoy watching! The code can be found here: https://github.com/bitluni/Barometer My Patreon page: https://www.patreon.com/bitluni Links to the parts (I get small cut at no extra cost for you): WeMos http://s.click.aliexpress.com/e/jUfAmUF http://ebay.to/2skrCE1 http://amzn.to/2saaoKL bmp180 shield http://s.click.aliexpress.com/e/u3rVrby http://ebay.to/2vqmK0K http://amzn.to/2gegGFE oled shield http://s.click.aliexpress.com/e/n2JUnQF http://ebay.to/2vfafce http://amzn.to/2vyuop0 tomo m4 power pack http://s.click.aliexpress.com/e/u3JyvJY http://ebay.to/2xlLfgI http://amzn.to/2gej3Iy Arduino esp8266 support: https://github.com/gbrault/esp8266-Arduino
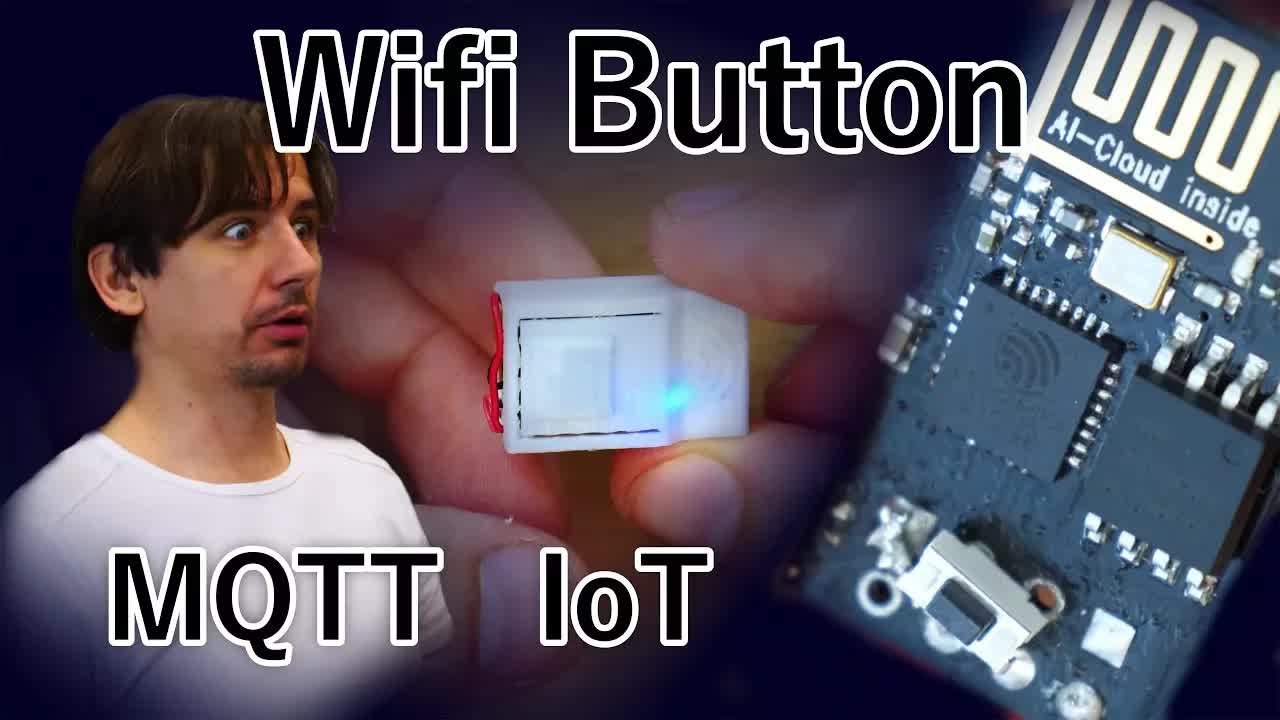
ImVK5cGVrpQ | 19 Aug 2017
This tutorial is showing how to built a small WiFi/Dash button for an ESP-01 module. A button and a LiPo Battery is added. The case is 3D printed. The software is based on Mongoose OS and sends notifications to an MQTT server and IFTTT over a direct web link. The video is also showing a possible use case for such a button.. enjoy watching. The code can be found here: https://github.com/bitluni/wifiButton Please support my work on Patreon: https://www.patreon.com/bitluni Links to the parts (I get small cut at no extra cost for you): Esp-01 http://s.click.aliexpress.com/e/yNjmuna http://ebay.to/2vVTznf http://amzn.to/2wgvlqy Programmer: http://s.click.aliexpress.com/e/7yzbmI6 http://ebay.to/2wwljku http://amzn.to/2uXVACb Battery: http://s.click.aliexpress.com/e/Jmufqby http://ebay.to/2vguaCN http://amzn.to/2wg1HRX Charger: http://s.click.aliexpress.com/e/AUNRRVZ http://ebay.to/2xsX83X http://amzn.to/2w4htNl Mongoose OS: https://mongoose-os.com/
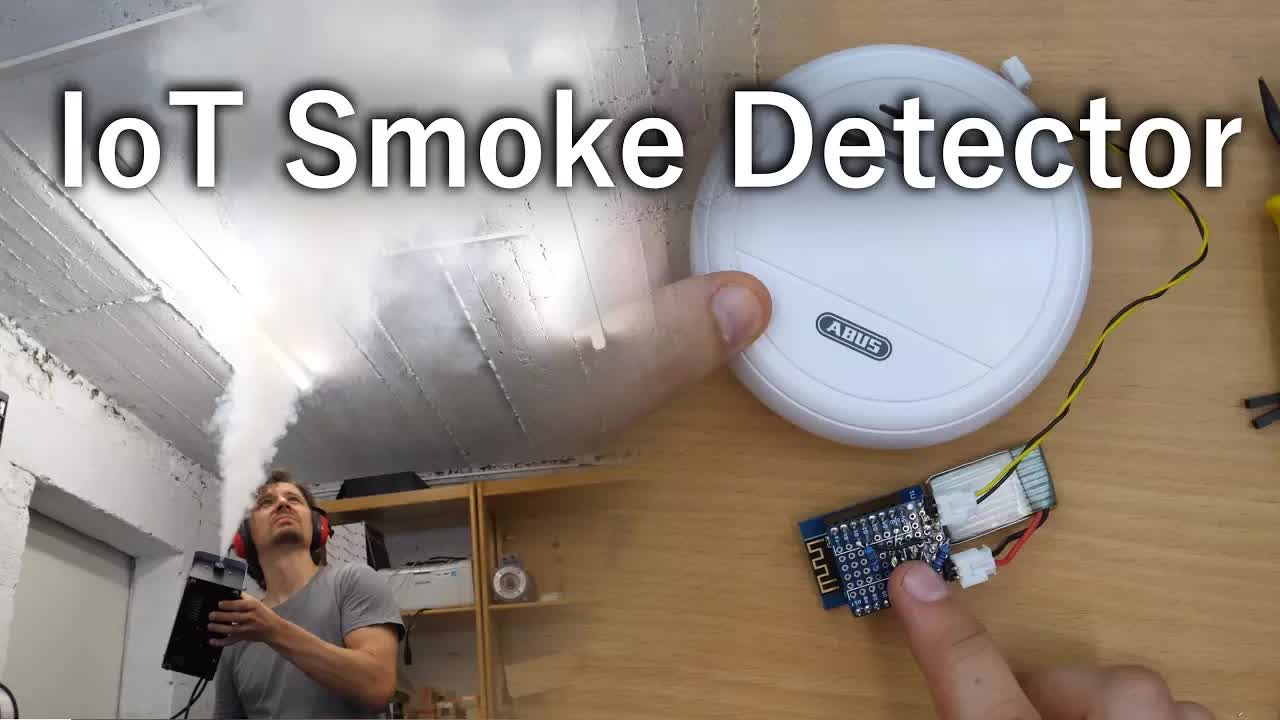
IwT00w_U24c | 17 Jun 2017
This tutorial shows how to attach a micro controller to a generic smoke detector and send notifications over WiFi and SMS to your smartphone. The WeMos(esp2866) micro controller is turned on by a low power circuit. The micro controller turns itself off to use the lest amount of power. The software is based on Mongoose OS and utilizes IFTTT. The case is 3D printed and the device is powered from a LiPo battery. Genuine testing has been done ;) have fun. watching. Code and case stl can be found here: https://github.com/bitluni/SmokeDetectorHack Links to the used websites: https://mongoose-os.com/ https://www.wemos.cc/ https://ifttt.com Links to the parts (I get small cut at no extra cost for you): WeMos D1 Mini: http://s.click.aliexpress.com/e/jUfAmUF http://ebay.to/2skrCE1 http://amzn.to/2saaoKL WeMos perf board shield: http://s.click.aliexpress.com/e/Jq7IYzB http://ebay.to/2safBT7 http://amzn.to/2tbriY8 Mosfets 2N7000: http://s.click.aliexpress.com/e/AmUBYfm http://ebay.to/2saEoGz http://amzn.to/2rEWwF8 Checkout the channel of Andreas Spiess: https://www.youtube.com/channel/UCu7_D0o48KbfhpEohoP7YSQ More low quali stuff on my second channel: https://www.youtube.com/bitlunistrash Please consider supporting my work on: https://patreon.com/bitluni
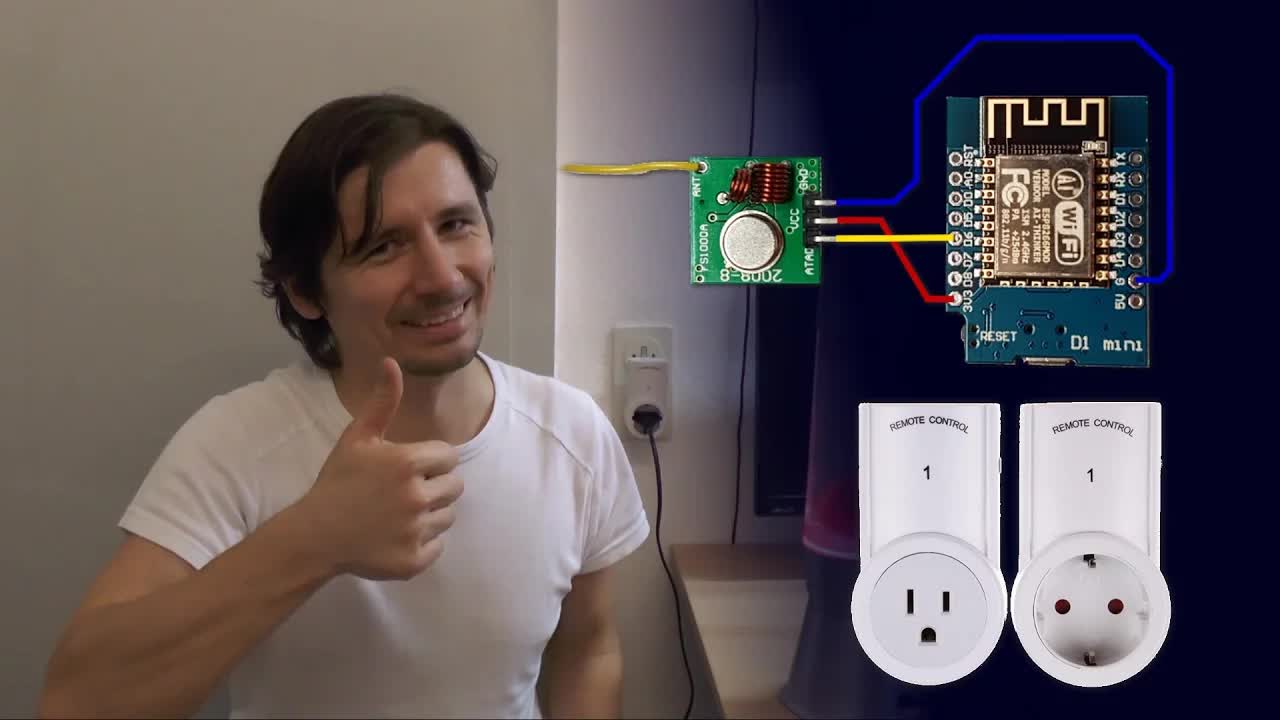
O_cgfj6SiTY | 14 Dec 2016
Tutorial how cheap RF remote power outlets can be controlled over WiFi. There is a small error: It is 200µs not ms. Links to the parts (I get small cut at no extra cost for you): 433Mhz Power outlets US: http://s.click.aliexpress.com/e/YNrvNnE http://amzn.to/2hE98vF http://ebay.to/2hEjHPf 433Mhz Power outlets EU plug type: http://s.click.aliexpress.com/e/VRV3rNJ http://s.click.aliexpress.com/e/JM3zrfy http://amzn.to/2gzTOuS WeMos D1 mini: http://s.click.aliexpress.com/e/jUfAmUF http://ebay.to/2skrCE1 http://amzn.to/2saaoKL 433Mhz RF transmitter & receiver: http://s.click.aliexpress.com/e/qFUjaMz http://amzn.to/2gKg1tF http://ebay.to/2huK0nI Arduino sketches: https://github.com/bitluni/BasicRf https://github.com/bitluni/EspRfRemote Also extended my home Automation Sketch: https://github.com/bitluni/bitluniHomeAutomation Previous detailed home automation video: https://youtu.be/7Dv70ci-MOw Subscribe if you want more and have fun! bitluni's trash: https://www.youtube.com/bitlunistrash
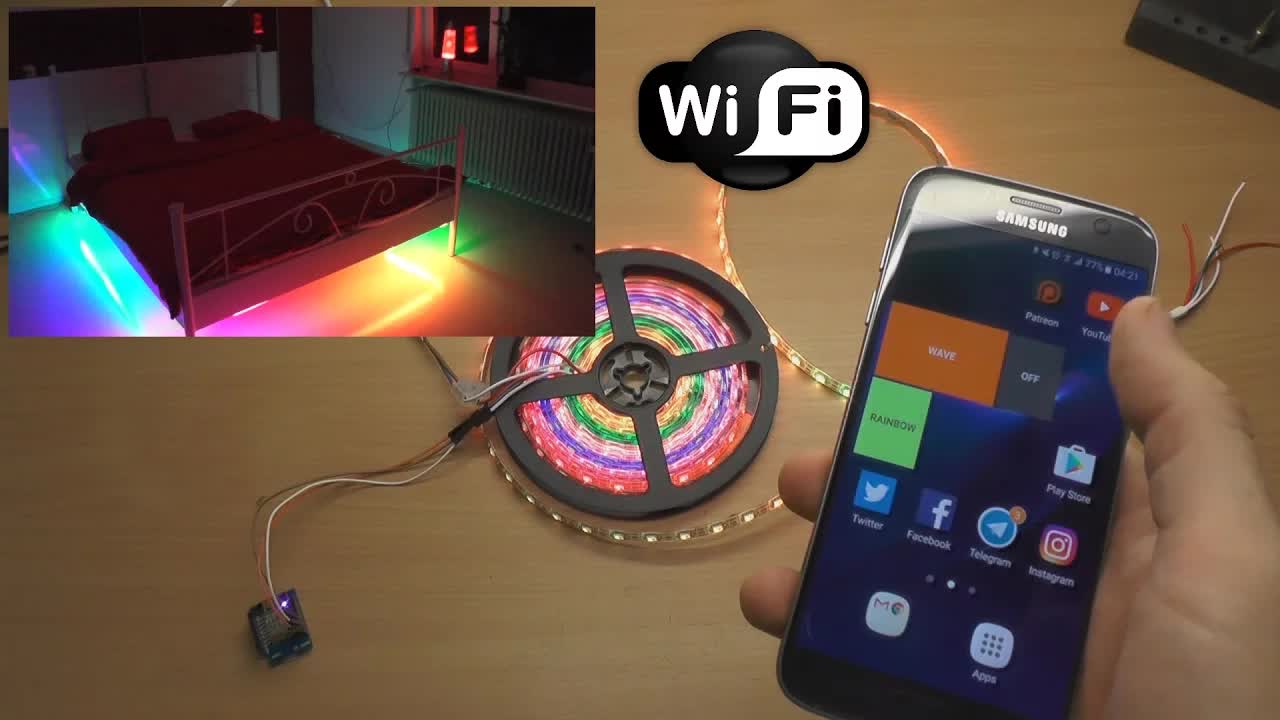
7Dv70ci-MOw | 02 Oct 2016
This video shows how to use a smartphone to controll LED ligths. It also supports controlling switches. Links to the parts (I get small cut at no extra cost for you): Get the WeMos here: http://s.click.aliexpress.com/e/jUfAmUF http://ebay.to/2skrCE1 http://amzn.to/2saaoKL Get LEDs here: http://s.click.aliexpress.com/e/yVBeYRFEe http://ebay.to/2dIo62B http://amzn.to/2d5mM4V Find the sketch here: https://github.com/bitluni/bitluniHomeAutomation Adruino ide: https://www.arduino.cc/en/Main/Software Url to esp board definitions for arduino settings: http://arduino.esp8266.com/stable/package_esp8266com_index.json Please support me on patreon: https://www.patreon.com/bitluni bitluni's trash: https://www.youtube.com/channel/UC8rQKO2XhPnvhnyV1eALa6g Music from sessions of my dvibes jam ensemble: https://www.youtube.com/channel/UCkNjtGFzvz1CXKhAp1eqzAQ
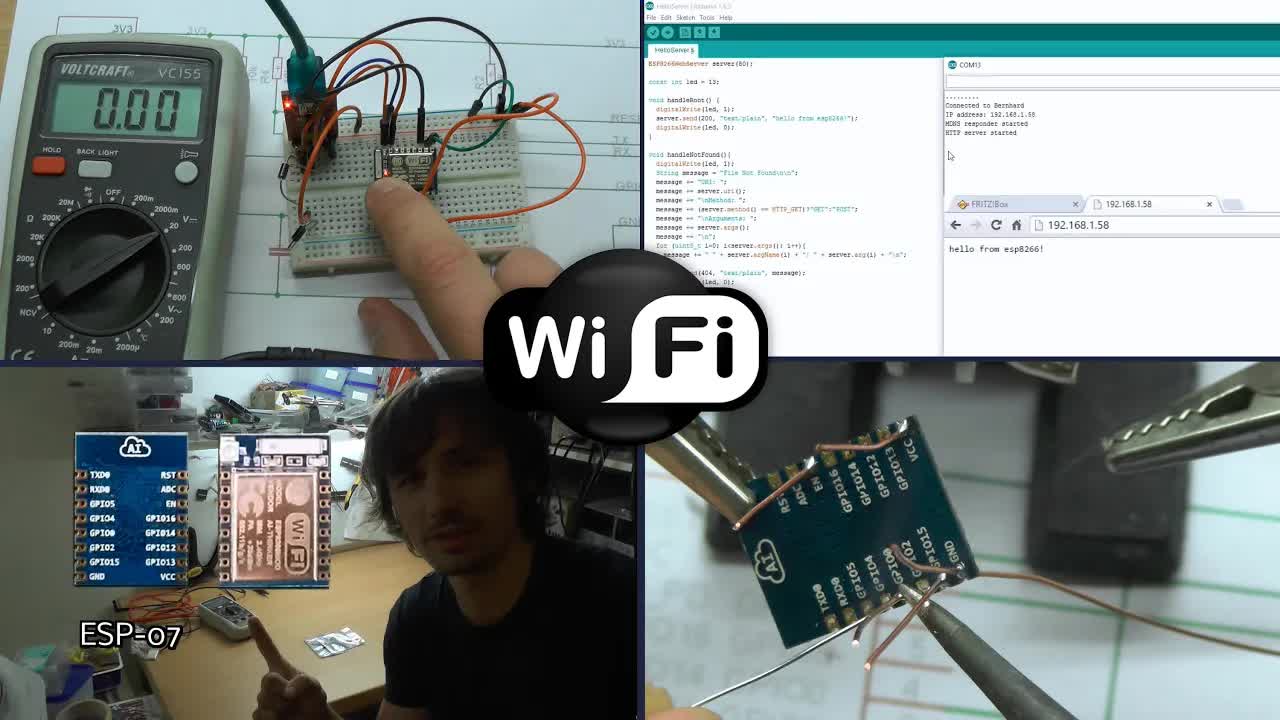
8J7zflVO8K0 | 28 Sep 2015
This simple tutorial shows how to program a common ESP module with a Arduino sketch providing a simple web server to you local network. ESP Arduino SDK: https://github.com/esp8266/Arduino Links to the parts (I get small cut at no extra cost for you): You can get the ESP modules here: http://s.click.aliexpress.com/e/m6YnIaeIQ http://s.click.aliexpress.com/e/2zRFuVRFA http://ebay.to/2dzyQPv http://amzn.to/2dnMG6N Music cc-by: http://ccmixter.org/files/morgantj/27919 http://creativecommons.org/licenses/by/3.0/
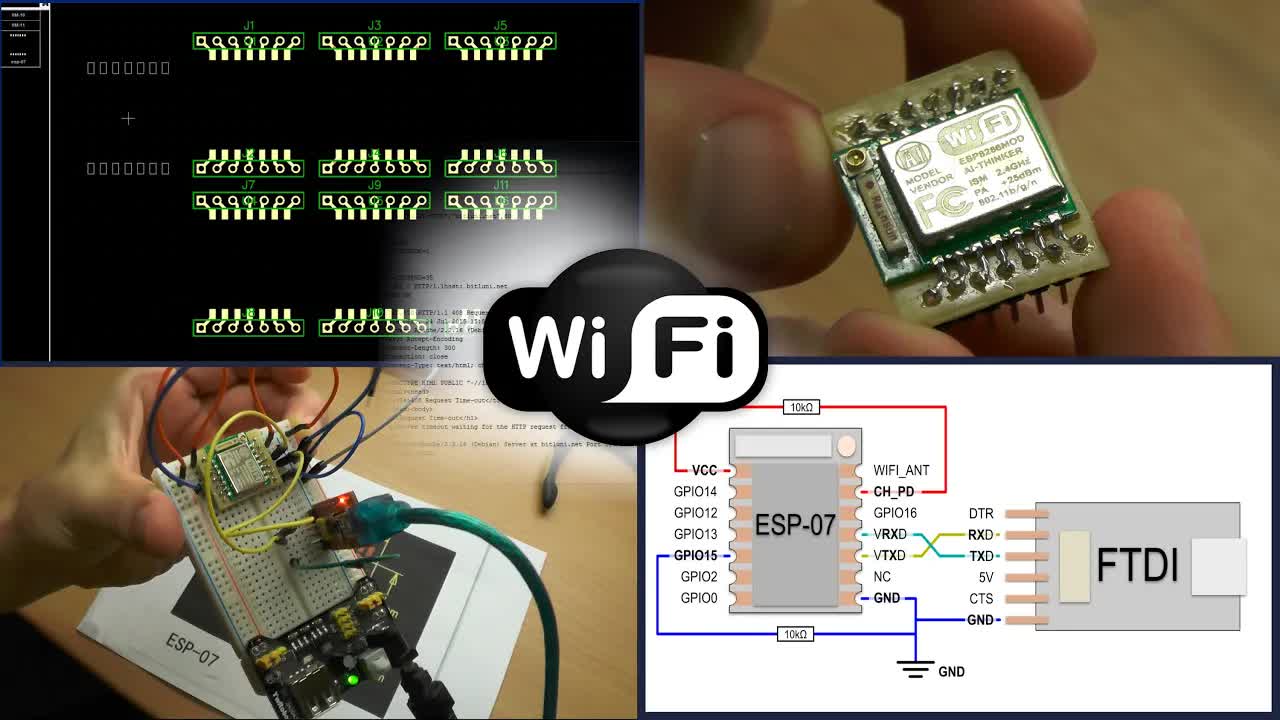
x-mpltUzK5I | 17 Sep 2015
This tutorial shows how to connect the ESP WiFi module to a Serial adapter (FTDI), connect to an access point and perform an HTTP request. Page with AT commands: http://wiki.iteadstudio.com/ESP8266_Serial_WIFI_Module Links to the parts (I get small cut at no extra cost for you): You can get the ESP modules here: http://s.click.aliexpress.com/e/m6YnIaeIQ http://s.click.aliexpress.com/e/2zRFuVRFA http://ebay.to/2dzyQPv http://amzn.to/2dnMG6N Music cc-by: _ghost - Cold Theme http://ccmixter.org/files/_ghost/25388 http://creativecommons.org/licenses/by/3.0/
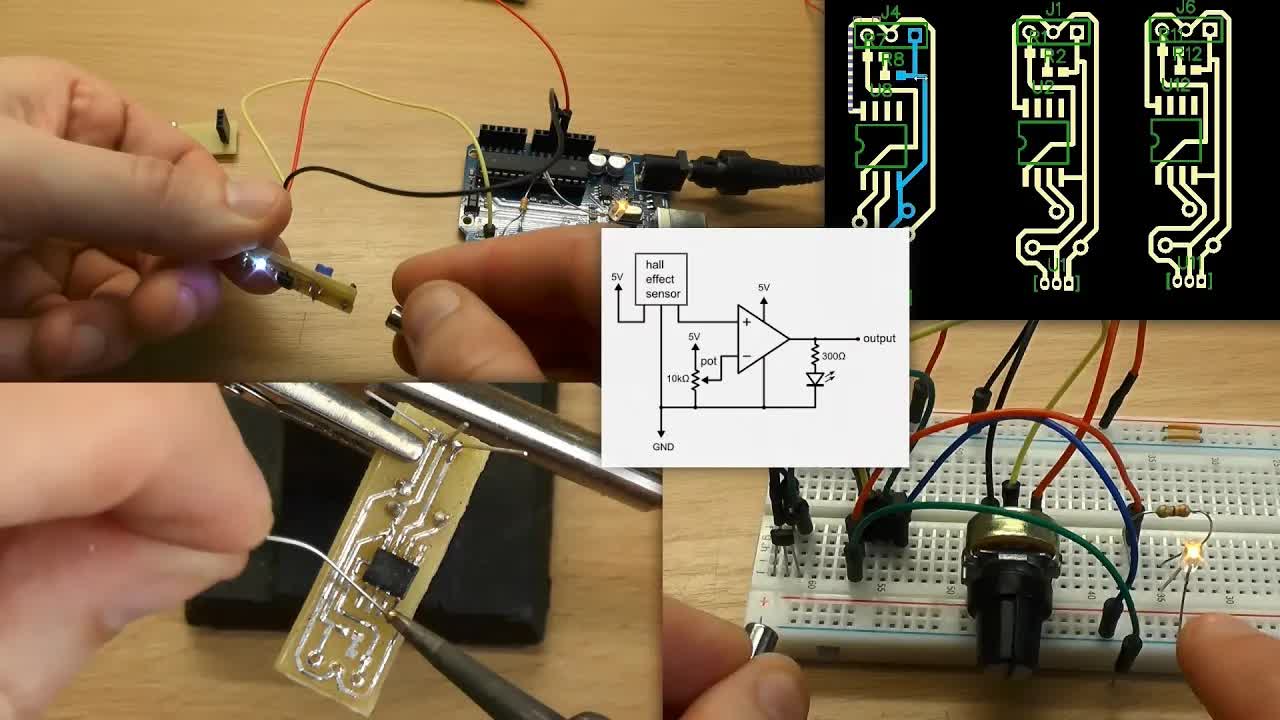
9MegJCuHZjI | 15 Apr 2014
This video shows how to use linear hall effect sensors to build end stops for 3D printers. The end stops are used to calibrate the absolute position of stepped moving parts. The end stops built in this tutorial are using magnets to detect the proximity of the magnet. The distance can be adjusted using a trim pot. If you are interested in more practical applications using this sensors see my organ pedals project: https://www.youtube.com/watch?v=449UbRet27c&index=2&list=PLjUbKCHhzPEz8-heBN130AVvVgHStO5b6 More infos about the hall effect: http://en.wikipedia.org/wiki/Hall_effect music: "Floating" by morgantj 2010 - Licensed under Creative Commons Attribution (3.0) http://creativecommons.org/licenses/by/3.0/
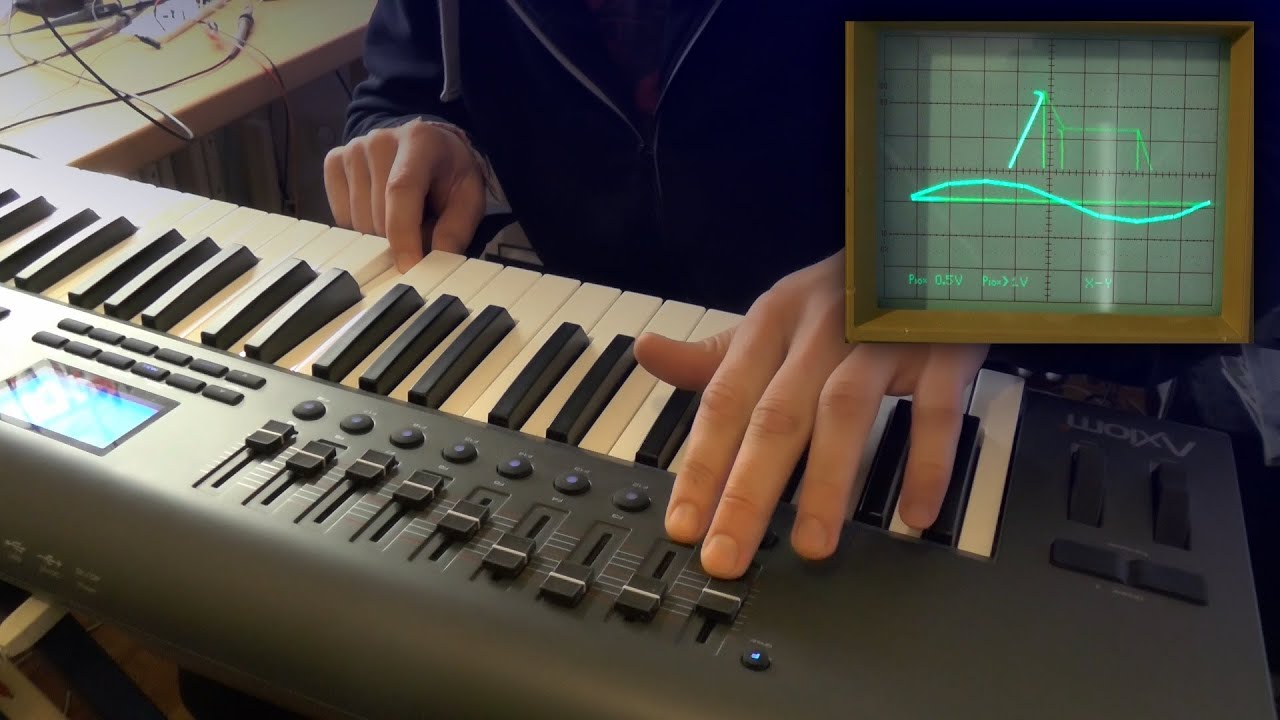
Rv29Vwd8wTc | 31 Mar 2014
This is the last part for now showing how we can approximate different oscillators using a linear interpolated waveform look up table. It's a really simple and efficient way to modify the timbre. Source code can be found here: https://github.com/bitluni/arduinoMIDISynth You might also want to read about (it's used to calculate the ramps): http://en.wikipedia.org/wiki/Linear_interpolation Basic infos about synthesizer can be found here: http://en.wikipedia.org/wiki/Synthesizer
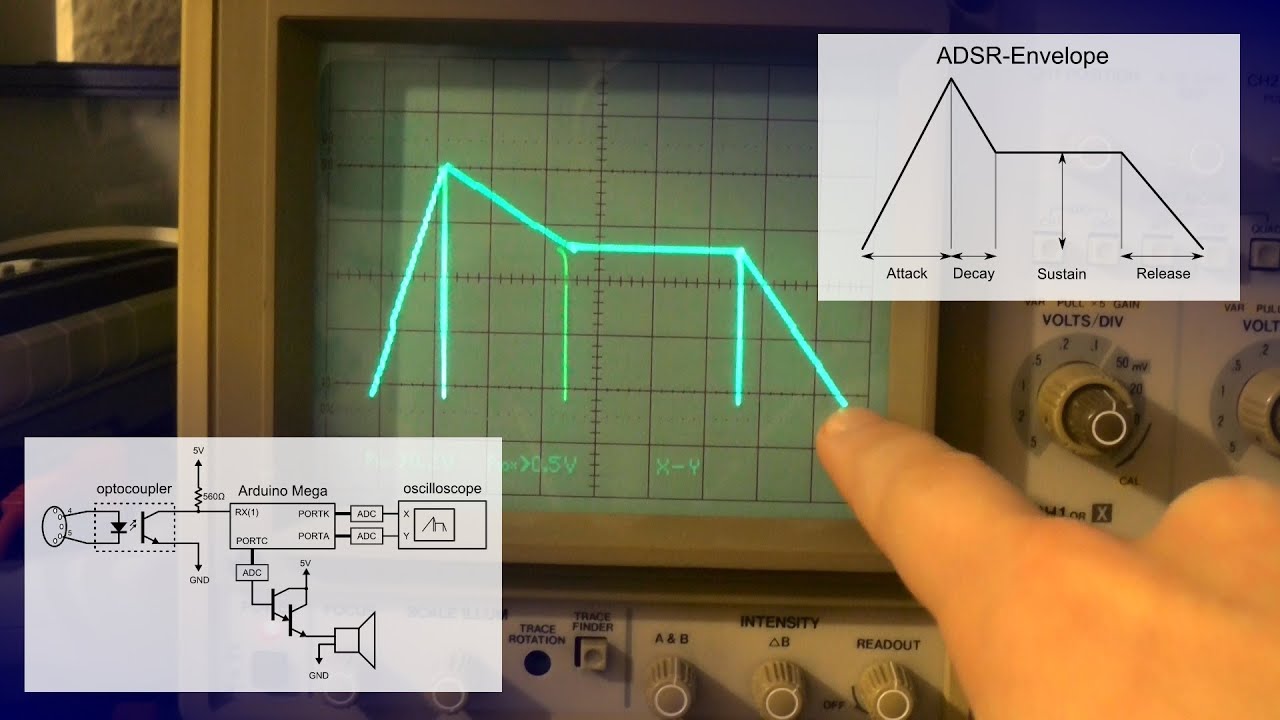
nTC3vJzc0MY | 30 Mar 2014
This part explains how ADSR envelopes work. Unfortunately we hit the limits of the gcc optimizer and and the performance issues force us to go down to 11kHz sampling rate :( This means no further features like LFO etc until we switch to assembler but then just few would be able to follow. Sorry folks. Source code can be found here: https://github.com/bitluni/arduinoMIDISynth You might also want to read about (it's used to calculate the ramps): http://en.wikipedia.org/wiki/Linear_interpolation Basic infos about synthesizer can be found here: http://en.wikipedia.org/wiki/Synthesizer
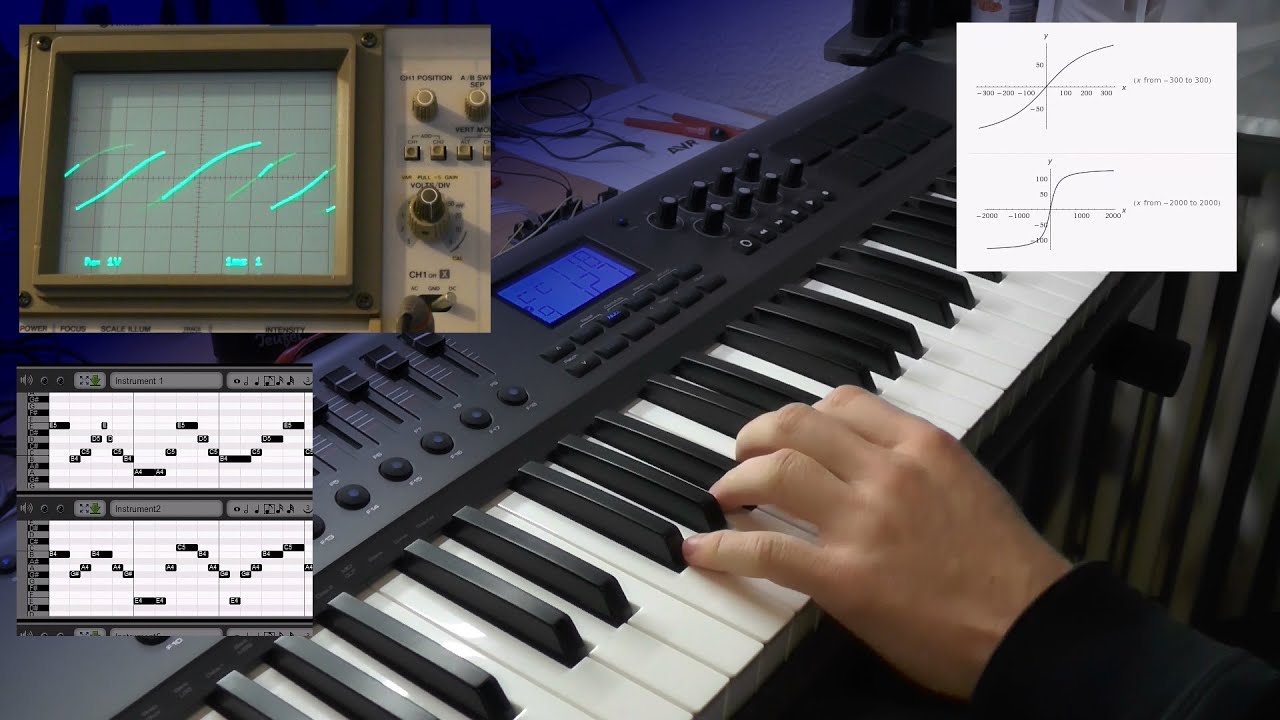
2yzUDWDJYNs | 12 Mar 2014
In this part we are extending our code to handle multiple notes at a time. It even can handle multiple channels now. Due to problems shown the MIDI library had to be replaced with some lower level code. I also explain dynamic range compression and show a comparison to hard clip. The Arduino sketch can be found on this page: https://github.com/bitluni/arduinoMIDISynth Here some more info about dynamic range compression: http://en.wikipedia.org/wiki/Dynamic_range_compression Aria Aestosa (free MIDI editor and player): http://ariamaestosa.sourceforge.net/
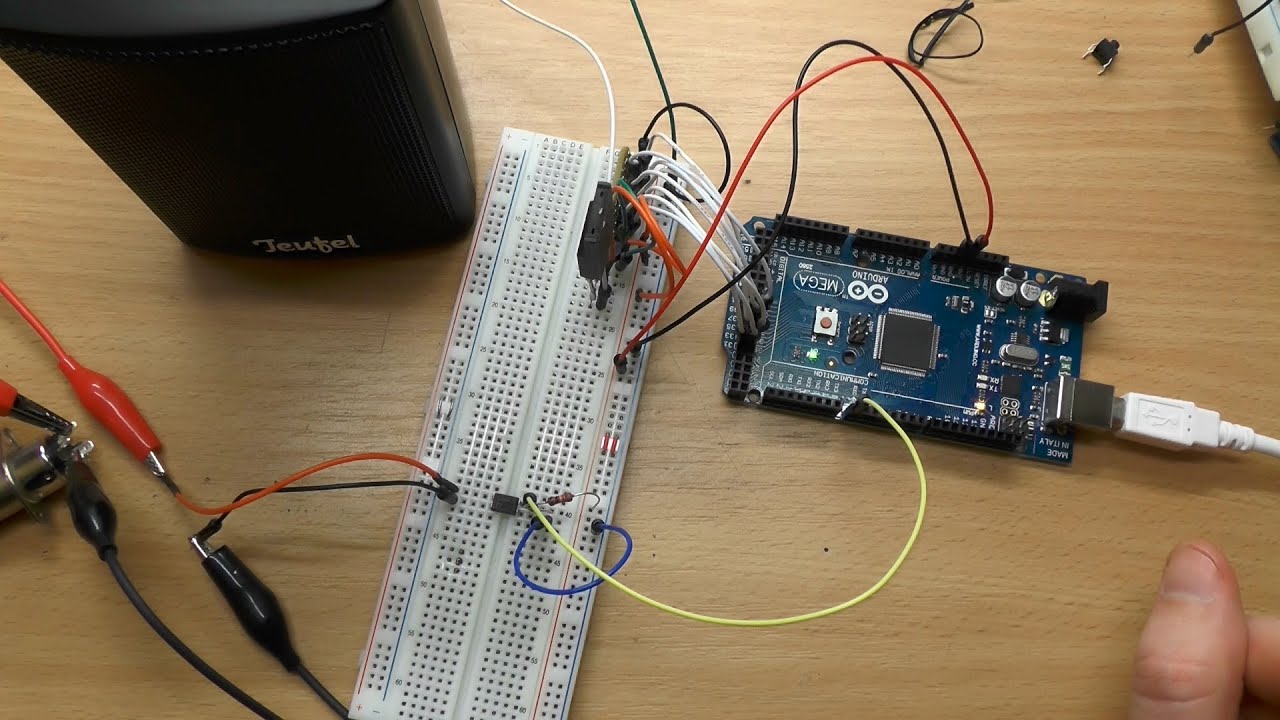
459RTteAh4I | 03 Mar 2014
This tutorial shows the most simple MIDI-in implementation for the Arduino. The Amtel mega controller will be used as a synthesizer. It is simple monophonic saw tooth in this part as introduction but will be improved in upcoming parts. It can be easily transferred to any Atmel mega circuit. The Arduino sketch can be found on this page: https://github.com/bitluni/arduinoMIDISynth Arduino sampling tutorial on which this is based: http://www.youtube.com/watch?v=tUapZ_JdHLE http://www.youtube.com/watch?v=zstkw6AEVAE MIDI Organ pedals project: http://www.youtube.com/watch?v=449UbRet27c&list=PLjUbKCHhzPEz8-heBN130AVvVgHStO5b6 The used Arduino MIDI library can be downloaded from here: http://playground.arduino.cc/Main/MIDILibrary How to calculate the MIDI note frequencies can be found here: http://en.wikipedia.org/wiki/MIDI_Tuning_Standard
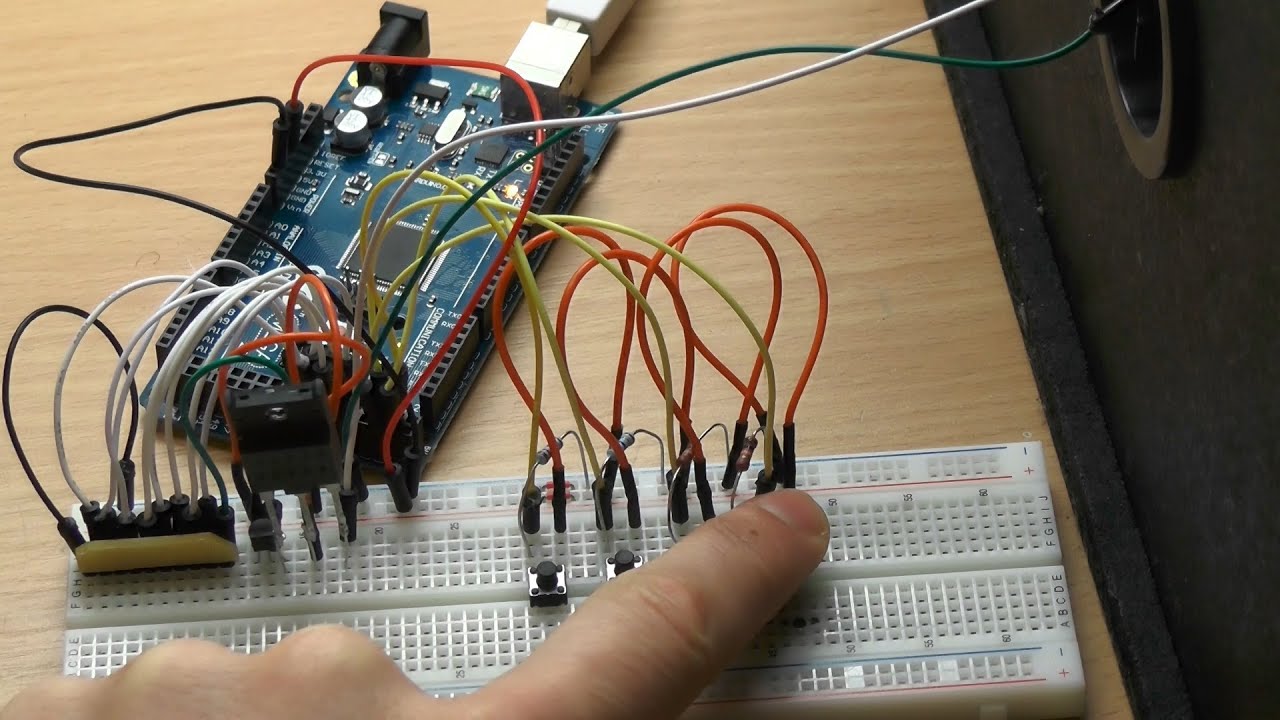
zstkw6AEVAE | 18 Feb 2014
This second part extends to mixing of multiple samples and utilizing a precise timer interrupt. Four waves are stored in the program memory of the MCU. The circuit forms a wave table where each wave can be triggered by pressing a button. Accessing more than 64kb of memory isn't straight forward, but it's also shortly explained. Used software: Audacity - http://audacity.sourceforge.net/ bin2h - https://code.google.com/p/bin2h/ Arduino IDE - http://arduino.cc/en/Main/Software Music: "The Drowned (small theme)" by _ghost http://ccmixter.org/files/_ghost/37456 2012 - Licensed under Creative Commons Attribution (3.0) http://creativecommons.org/licenses/by/3.0/
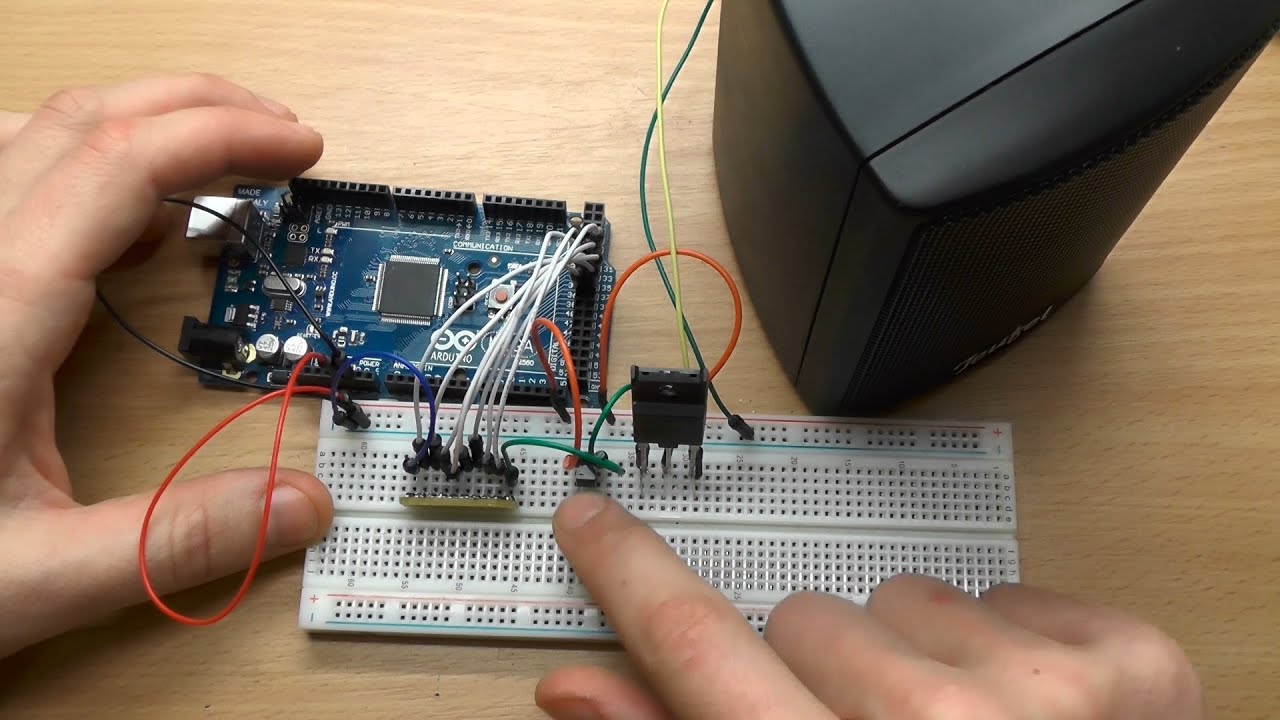
tUapZ_JdHLE | 14 Feb 2014
This is a detailed tutorial how to play an audio sample stored in the program memory of the ATMega micro controller used by the Arduino mega 2560. It is also applicable to other Arduino types and stand alone AVR MCUs. More Sophisticated solution will follow in the next part. Used software: Audacity - http://audacity.sourceforge.net/ bin2h alternative - http://bitluni.net/2016/12/19/no-more-bin2h-exe/ Arduino IDE - http://arduino.cc/en/Main/Software
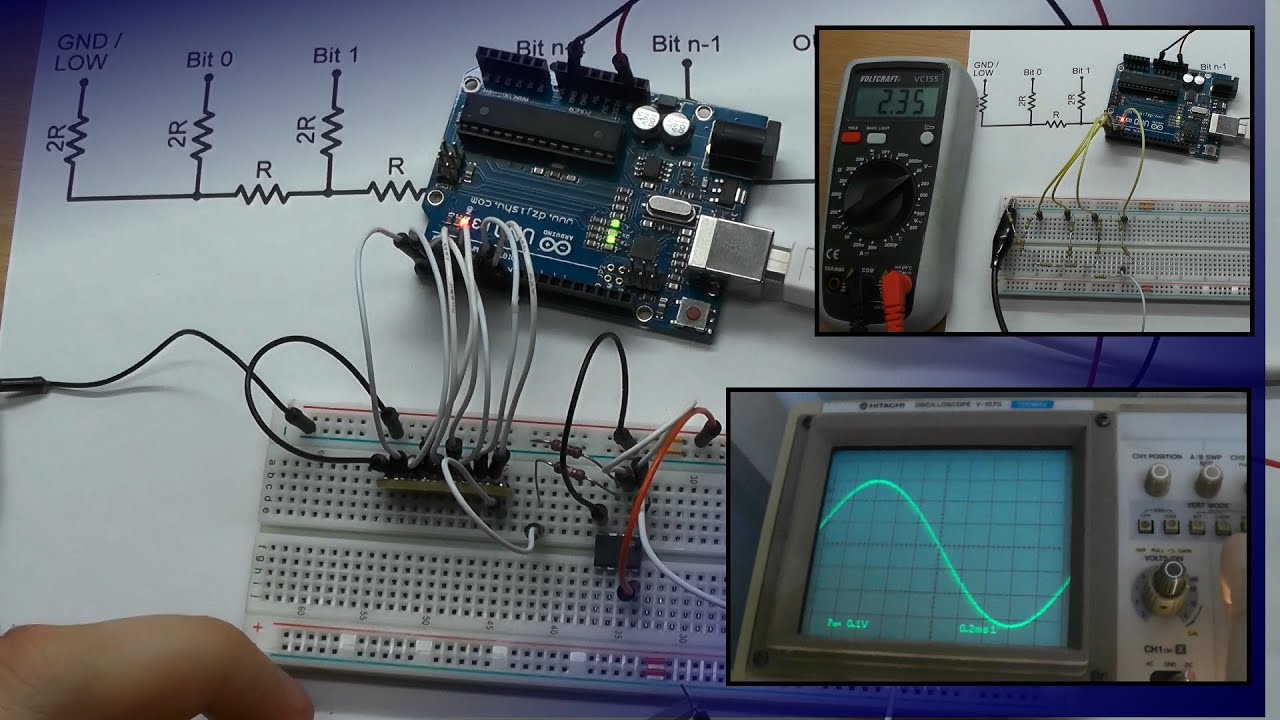
_tABS7AX8D8 | 31 Jan 2014
This video explains the R-2R resistor ladder and how it can be used to generate analog voltage at a very high Speed. It shows an example synthesizing an 8-bit sine wave on a speeker using the Arduino Uno. It is able to generate 3MSamples/s on tha 16MHz clock. Subsscribe to see some projects in future. If you have questions, please ask. I do my best to reply all requests. Music: _ghost - Two Swords http://ccmixter.org/files/_ghost/26146 Creative Commons Attribution (3.0) http://creativecommons.org/licenses/by/3.0/
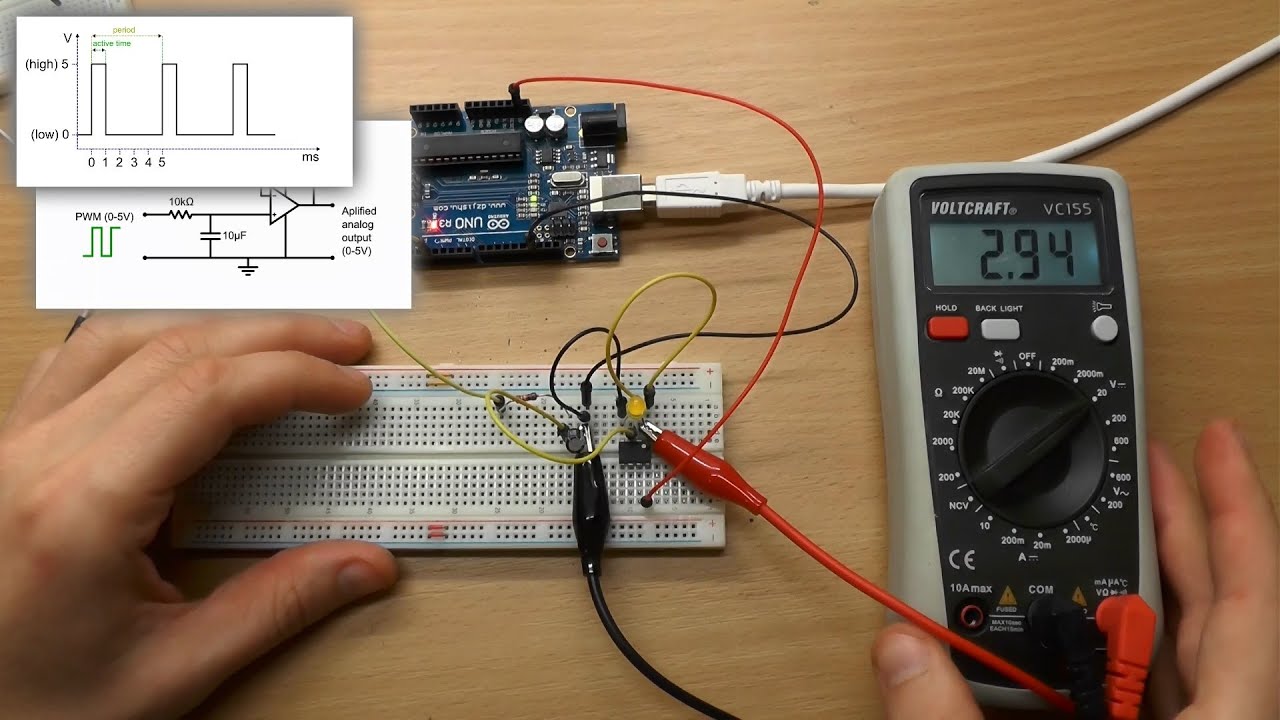
oU-WQVaHm4g | 14 Jan 2014
This a short explanation how a PWM DAC works. It is a kind of technical background knowledge you might be interested in for some upcoming sound synthesis projects. It also shows a simple low pass filter. Next video will be about the R-2R resistor ladder.
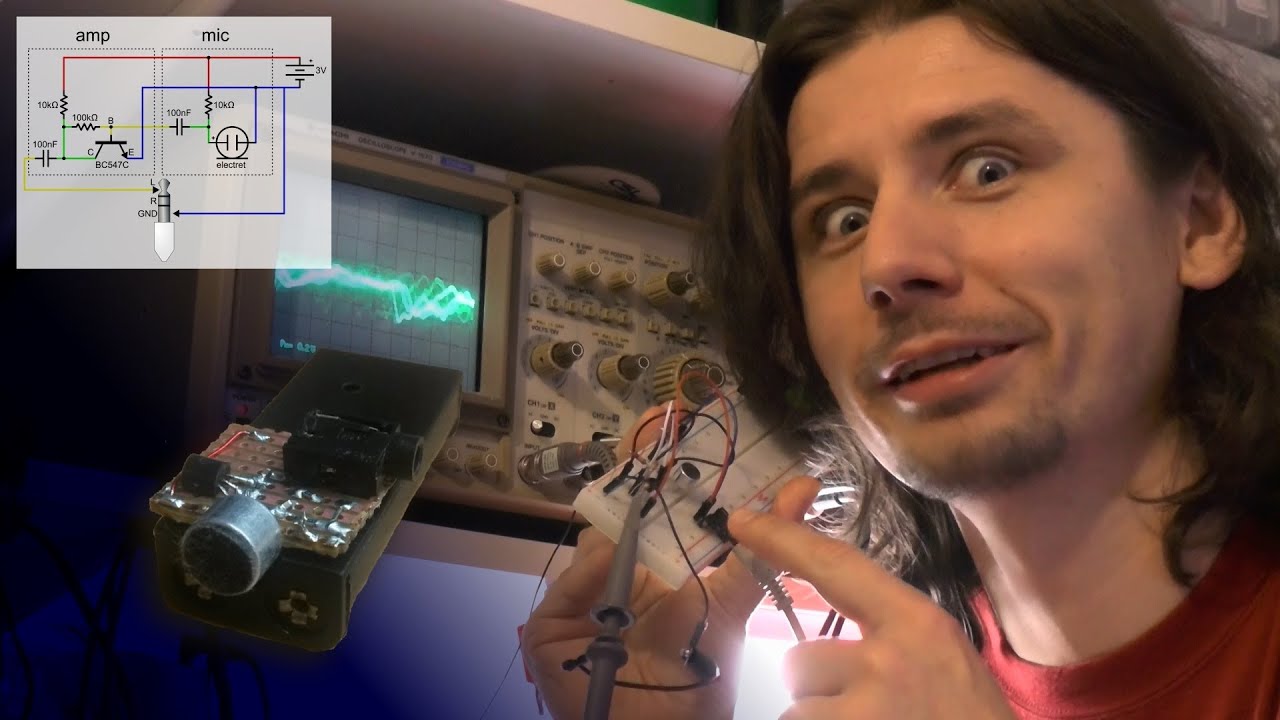
SToBPCajwc0 | 04 Jan 2014
Short project - long video. But it is more educational this time providing some info about analog handling of sound and where noise comes from when you try to record using your computer.
1mQwCdnjZhE | 31 Dec 2013
My shelf was too crowded and I was always searching for tools. A simple steel shelf drilled to the wall with some cheap rubber magnets solved it. It can even be used as a whiteboard. I also added some spare Neodymium magnets to the non magnetic tools. Keep in mind there is also a disadvantage: Your tools will be magnetized permanently and everything will stick to them. Music: "Time to Take Out the Trash (bill berry mix)" by William Berry http://ccmixter.org/files/williamberry/6855 2006 - Licensed under Creative Commons Attribution http://creativecommons.org/licenses/by/2.5/
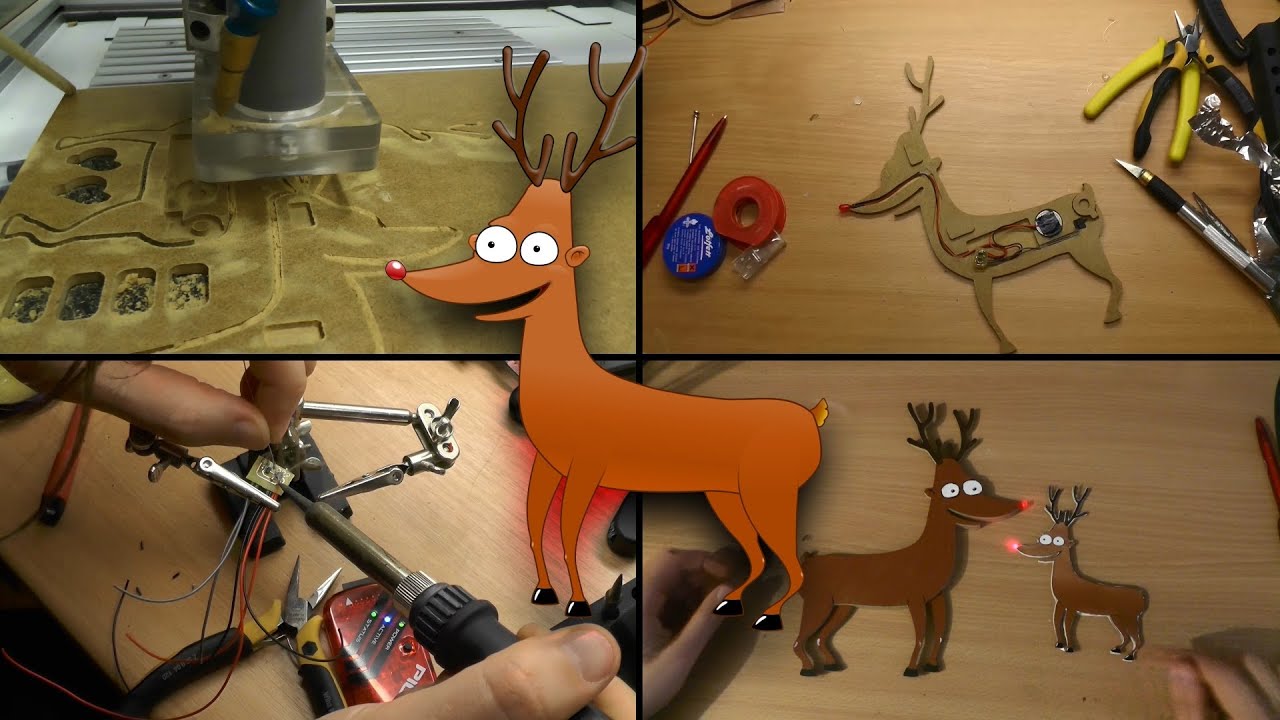
MsJR5nU6oWE | 24 Dec 2013
Everyone knows Rudolph the Red Nosed Reindeer and I love that Song so I decided to make this Christmas themed mini project. You think it's stupid? Take a second look. I took the opportunity to start using PIC micro controllers and doing some CNC milling. Thanks to the originator of this PD Rudolph design file: http://www.schnelle-foto-suche.de/kostenlose-weihnachtsbilder-downloaden/rudolf-rednose-reindeer I enjoyed this project even it was stressful to get it up until today (didn't sleep two nights to finish it). This explains also the garbage I am talking the first 5mins :) Have a nice Christmas
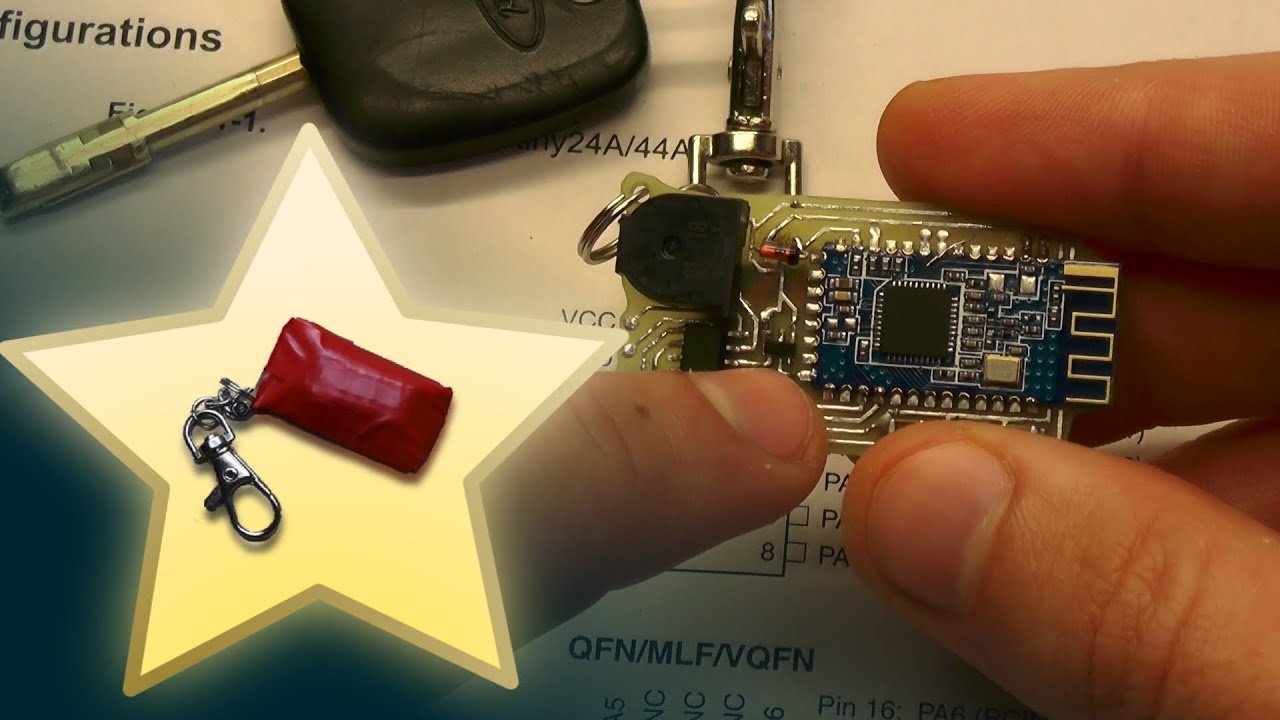
0L-zfQSA9tc | 03 Dec 2013
This is a mini project showing how to build a small device helping you to find your lost keys. It's working with Bluetooth low energy modules and utilizing ATiny MCU power saving capabilities. It can be also controlled from the mobile phone. I will give you an update as soon I get a Android 4.3+ phone. Source code here: https://github.com/bitluni/noWorriesKeyFob To learn more about the Bluetooth modules I am using please watch this playlist: https://www.youtube.com/playlist?list=PLjUbKCHhzPEy5dh0gXNUEl3-JLvPpUt2q UART code used from my MIDI device: https://www.youtube.com/playlist?list=PLjUbKCHhzPEy5dh0gXNUEl3-JLvPpUt2q Stuff for the HM-10 modules can be found here: http://www.jnhuamao.cn/index_en.asp?ID=1
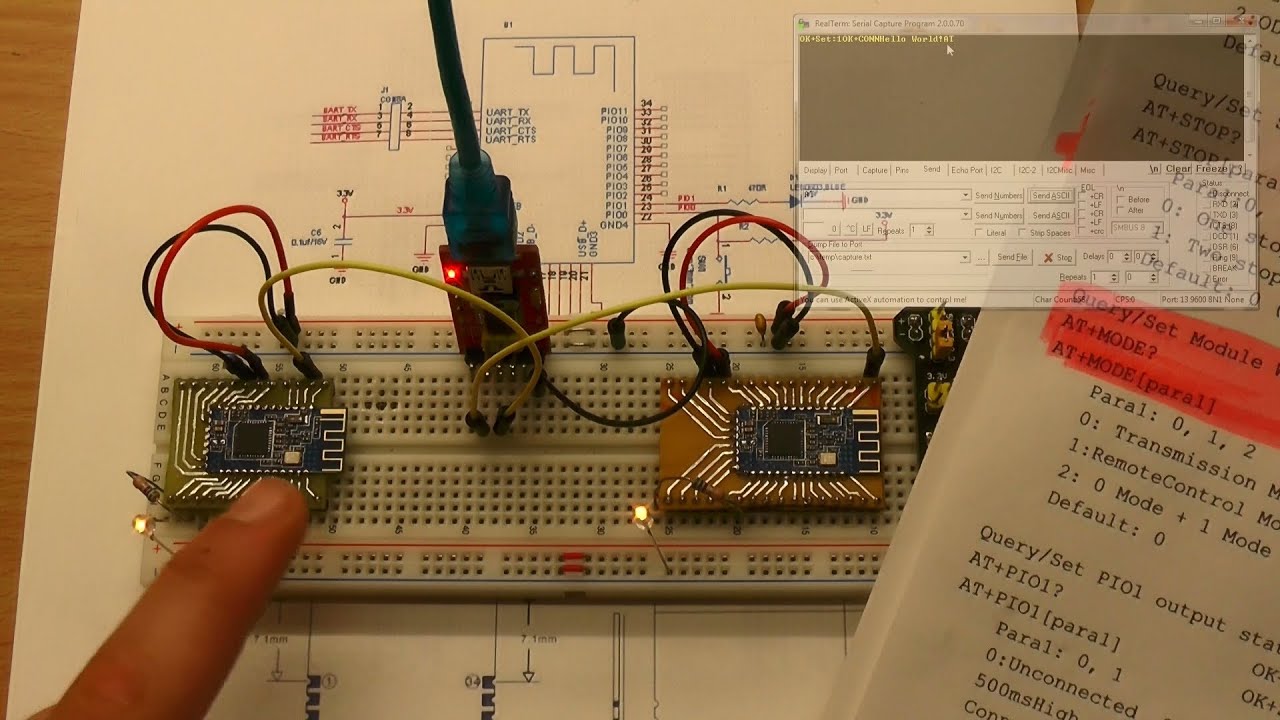
nliVeSmpFgg | 15 Nov 2013
Follow up video how to configure two HM-10 (and higher) modules to communicate over Bluetooth. The two base modes of the HM firmware are explained: 1. Transmission mode sending all incoming UART data to the UART of the other module 2. Remote control mode sensing and controlling the IO pins of the other module IMPORTANT NOTE: You might need to send AT+CLEAR to pair the master to another HM-10 module, once it was paired. Tune in for some practical mini projects using this features and more videos that will spot on implementing own firmware.
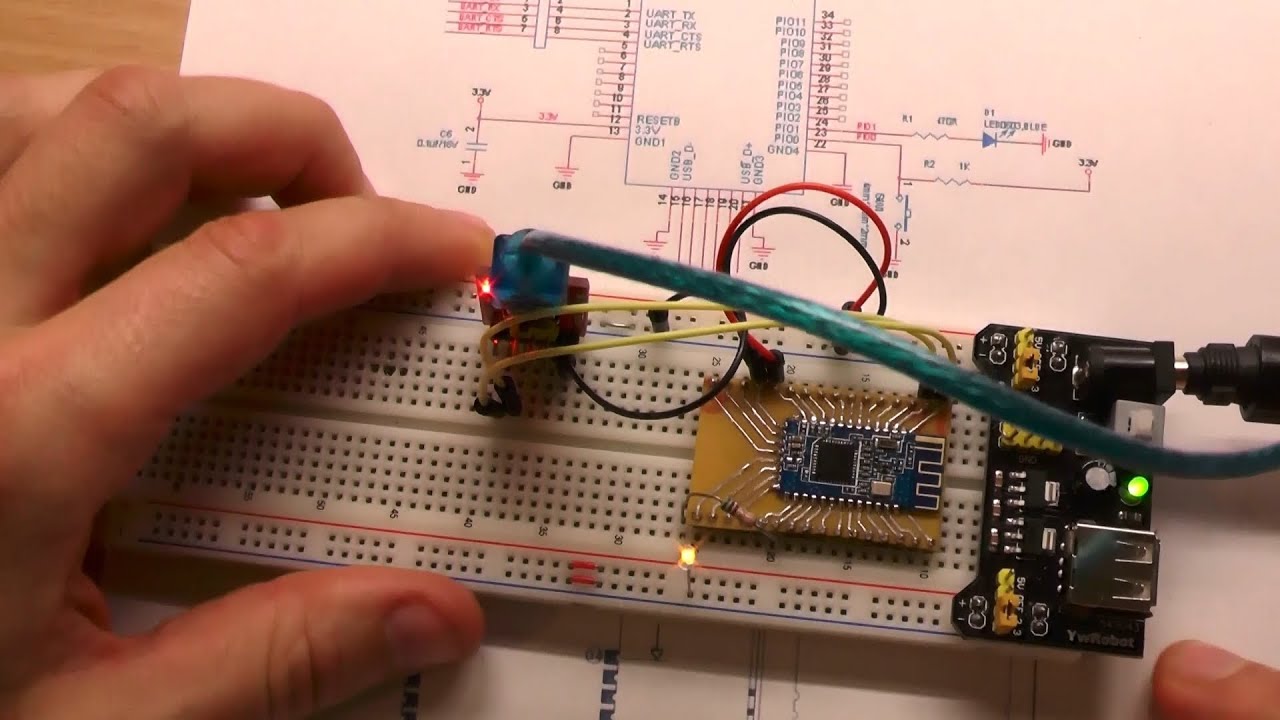
UNETjvmmQx4 | 12 Nov 2013
Finally after two months, the new part where I just concentrate to show you a simple way to accomplish the first serial connection and control with the HM-10. Check out the next part where I show how to communicate between two of them. Download site of the HM-10 manufacturer: http://jnhuamao.cn/index_en.asp?ID=1
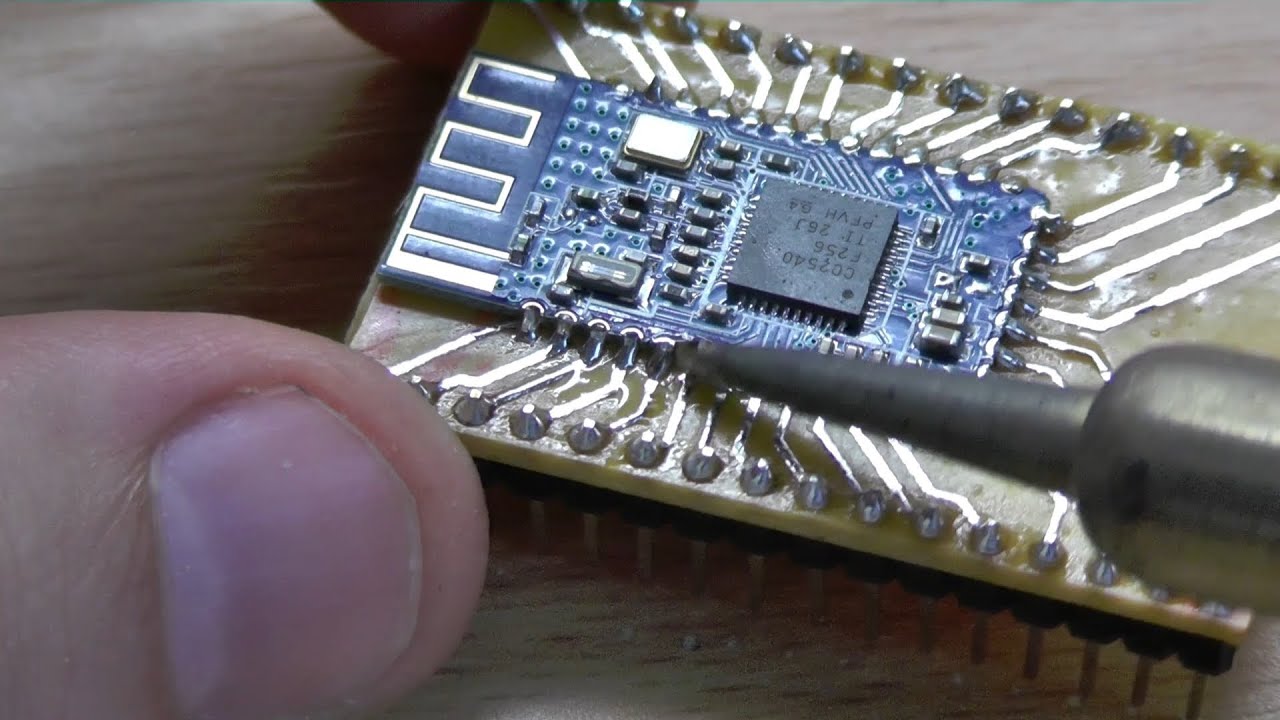
mHX6FapVI1I | 11 Nov 2013
Soldering tutorial of the surface mount module HM-10 (CC2540 Chip) on a self etched breakout board. Enjoy this chill pill... Music cc-by: theDICE - Lookin' for clues http://ccmixter.org/files/TheDICE/40484
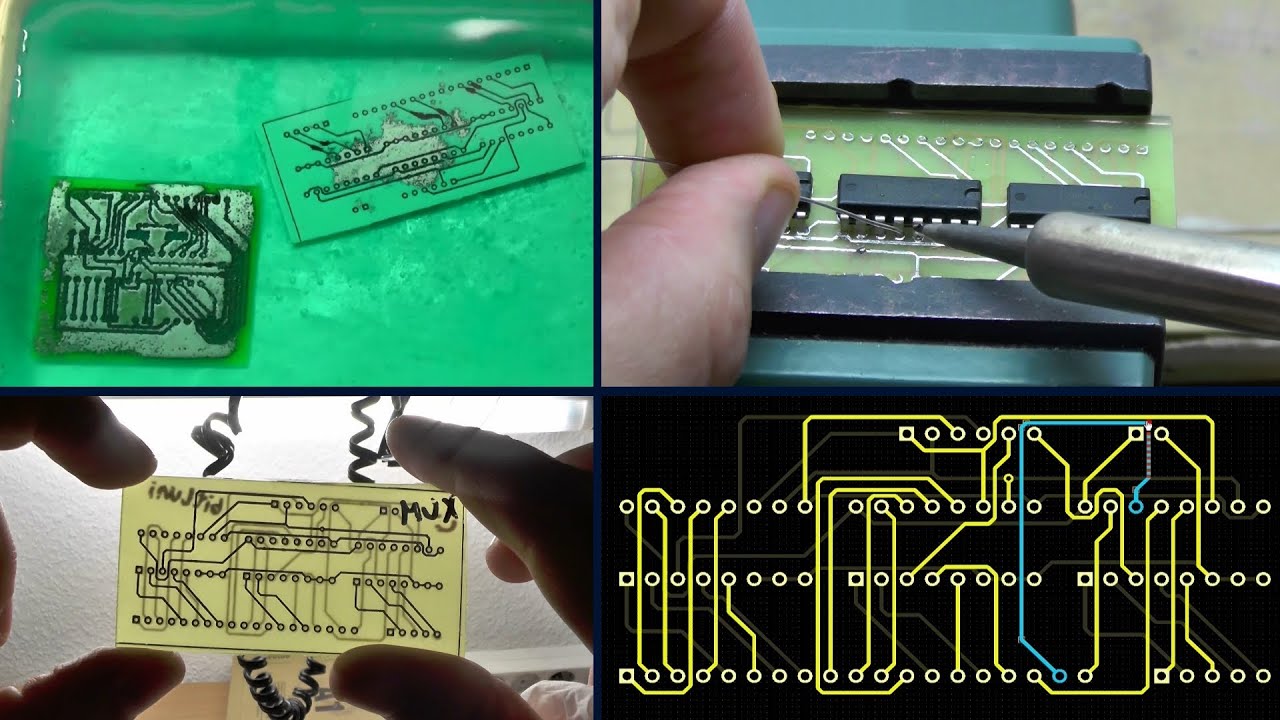
wIU9GGMfwNQ | 27 Oct 2013
This is the summery how I developed the multiplexer board. I failed really often but didn't give up until it was done. It felt like it was cursed. I guess this is how you learn things. Details on the wiring and the software will follow in a separate theoretical video.
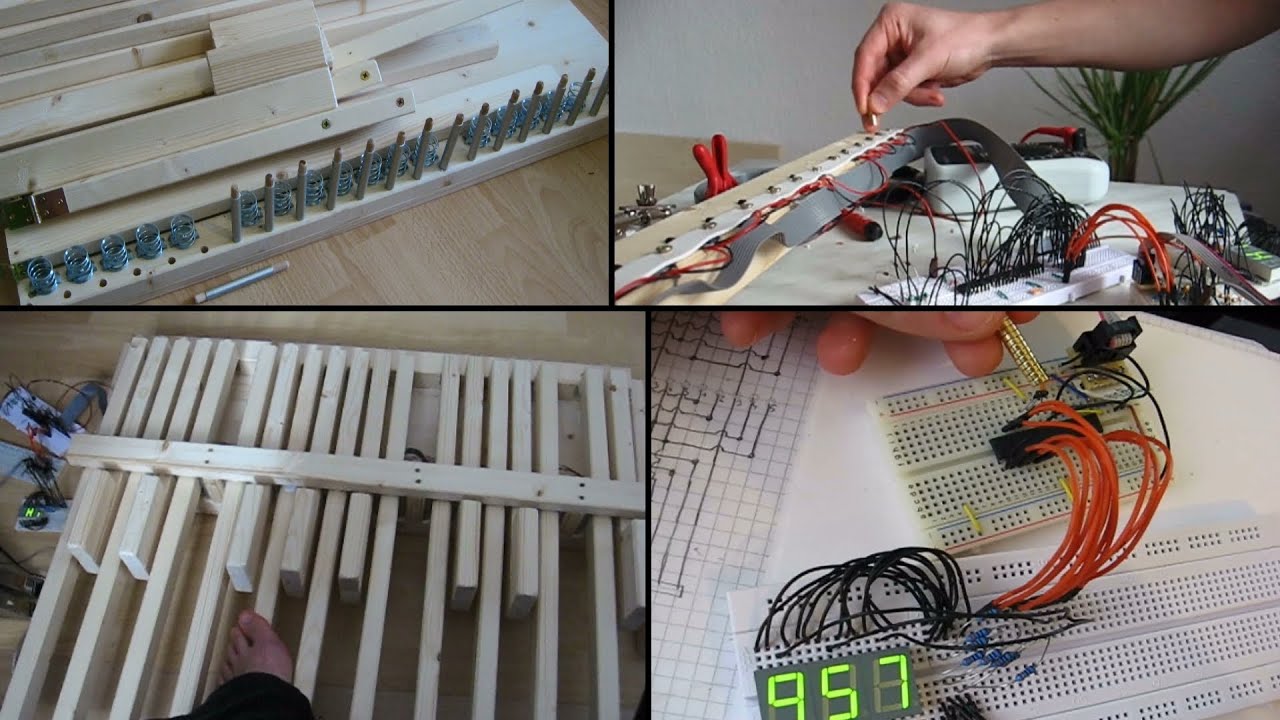
dSay2jvyE_k | 18 Oct 2013
This is an overview of the build process of the device. I will explain the electronics in detail in follow up videos. Get the source code for the microcontroller and a stripped MIDI code version from my hompage http://electro.bitluni.net/midi You have to excuse the low video quality. I didn't have the HD-camcorder yet when I started the project half year ago. Music: CSoul - Dark Helical Circle http://ccmixter.org/files/CSoul/33614
CnhPxPv-yh0 | 18 Oct 2013
The whole background story about this project. If you are just interested in the building process itself skip this part and go directly to http://youtu.be/dSay2jvyE_k References: Geinoh Yamashirogumi - Requiem: http://youtu.be/ocsiEQ1sljA?t=4m17s My MIDI implementation: http://electro.bitluni.net/midi MIDI-OX: http://www.midiox.com/ VirtualMIDISynth homepage: http://coolsoft.altervista.org/en/virtualmidisynth
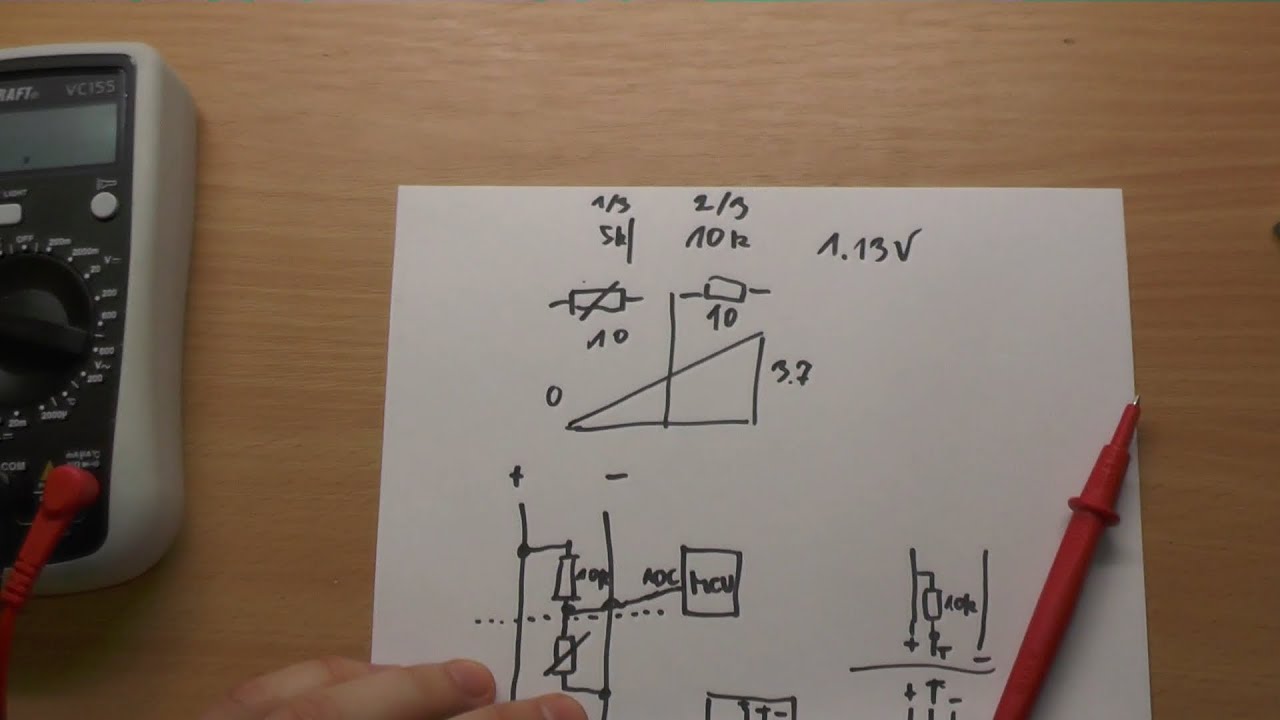
2wbWN-0qttY | 06 Oct 2013
"Short" explanation how the third contact on one cell lithium polymer packs(3.7V) is used for temperature sensing. If your pack has more than 3 contacts it has probably more cells (higher voltage). More contacts are needed to balance the single cells while charging. This video has it's flaws, but it should give you a rough insight of the techniques used there.
WcWN1c1GIjQ | 26 Sep 2013
I hate those leaky NiCd drill batteries! They are always empty! You can just connect to any 12V Source like car battery or bench power supply which are capable to deliver more than 5 Amps. You can put some of the lead-fleece battery in your belt bag and are prepared to drill down a complete hangar. music cc-by: Papa_Zulu - After the War (PZ Doomed Remix) http://ccmixter.org/files/Papa_Zulu/33767
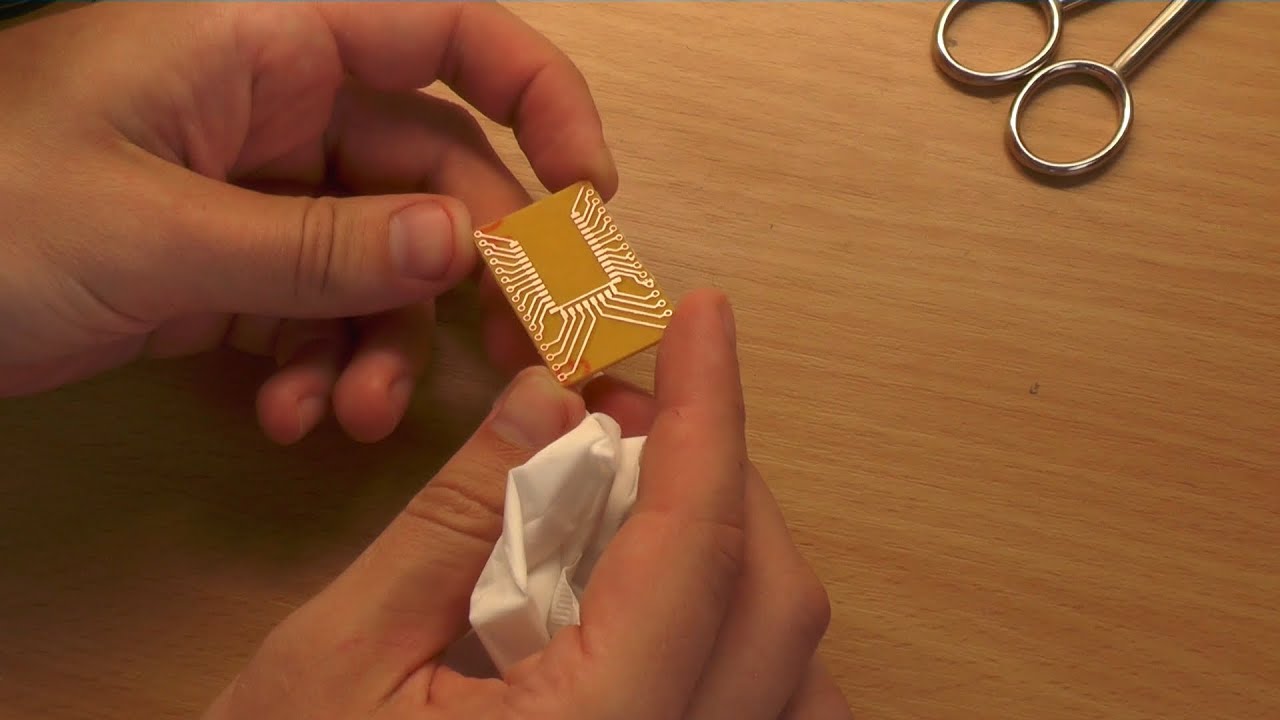
G7xVEpTBbkU | 13 Sep 2013
After a whole day of editing you can finally enjoy my PCB etching tutorial. Etching at home isn't really very difficult. You can even get the chemicals from an online store, since they aren't very dangerous. You might have to give the shop a note, that you are not using it to build a bomb (at least in Germany). Give it thumbs up if you liked it and subscribe if you like more of this. music: _ghost - Cold Theme (Unlimited Bass Edition) http://ccmixter.org/files/_ghost/25388 An etching time lapse of an previous design: http://youtu.be/ely1FYVfE0Q P.S.: If you don't know what I meant by the guy in Robocop just search the interwebs for "robocop acid bath" (caution: I had nightmares as a child from this scene) And also if you don't know Breaking Bad... then... then... seriously?! I wish I could delete my memory and watch this awesome series all over again.
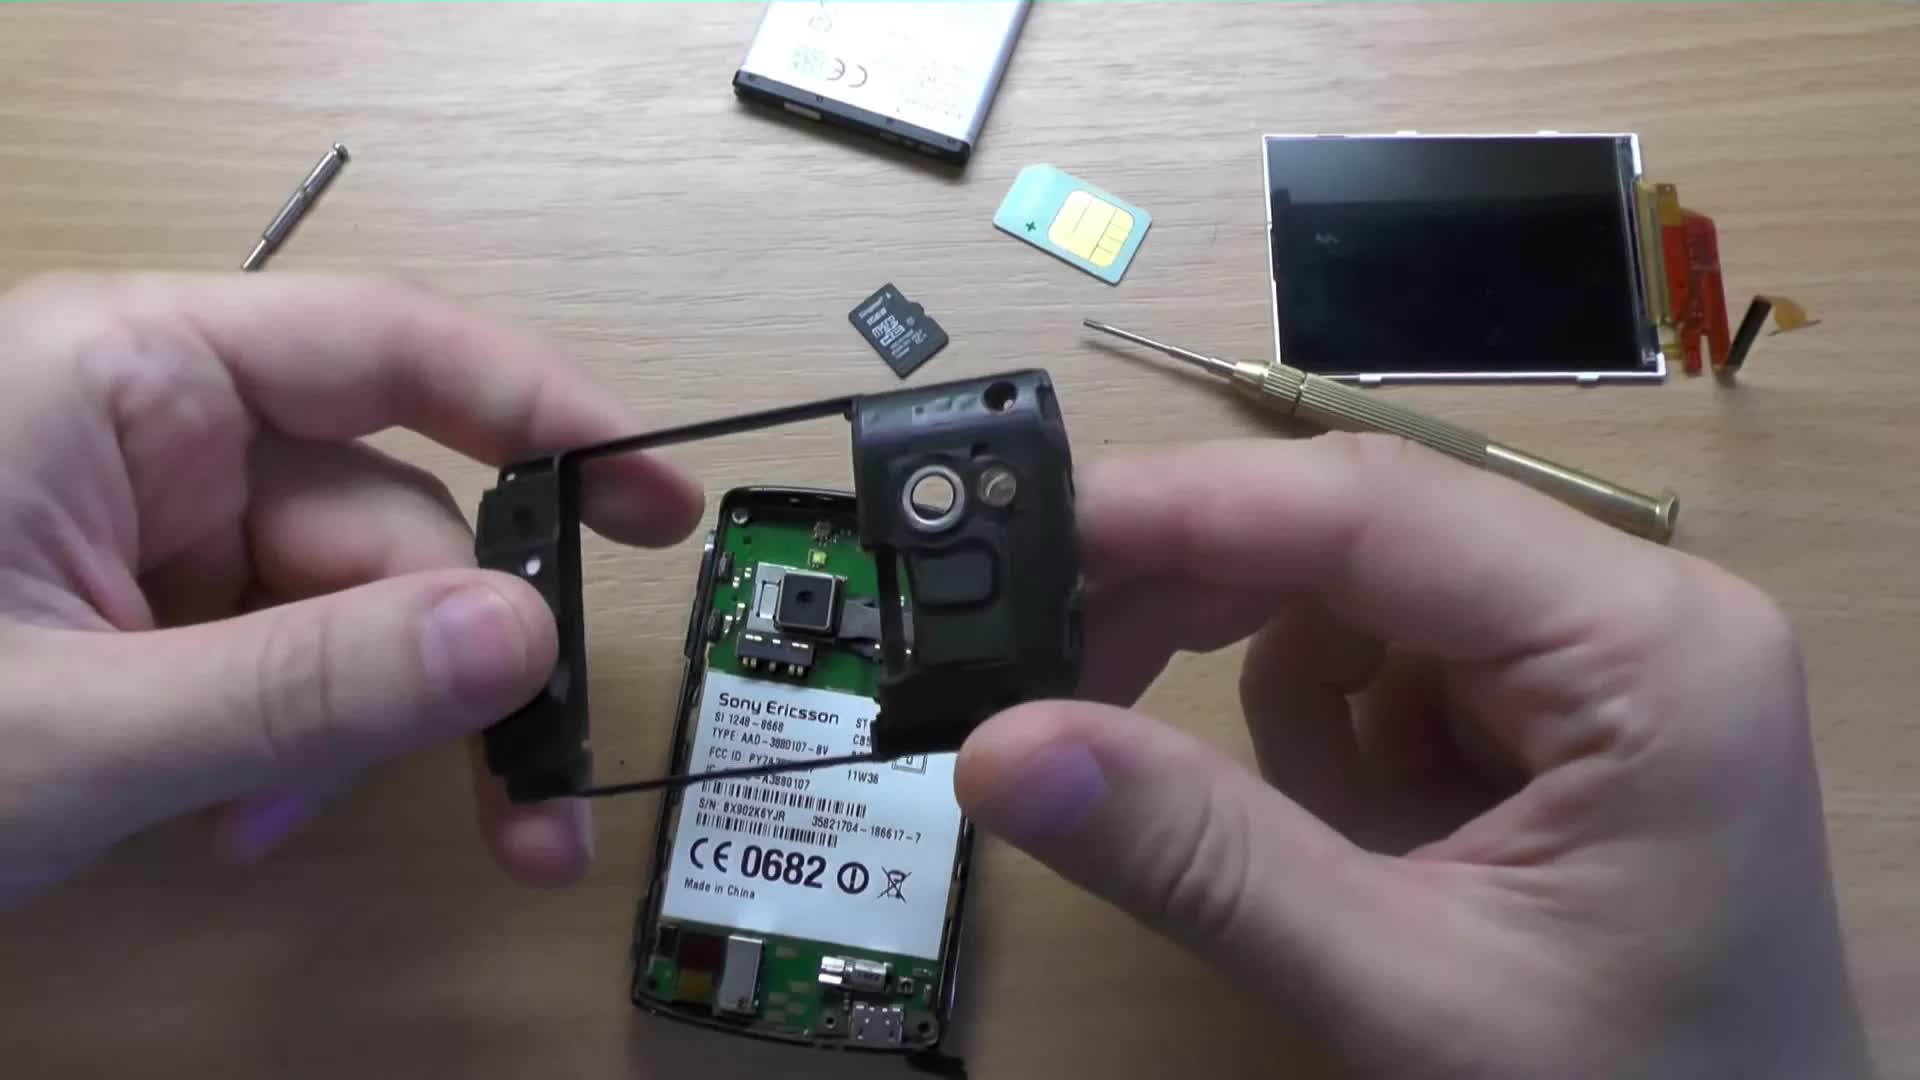
JTfAbWYl-Hc | 10 Sep 2013
This vid shows how easy it is to exchange a broken display of your phone. You can just order the replacement part and do it yourself. In this case i did it with my Sony Xperia Mini. What happened was that it got wet and then I could see the water in the back of the display just before it stopped working. It did the vibration when turned on, but display was black. I assumed, that just the display was broken and I was right. Repair took 20min with explanations as you see and did cost me $15.50 for the part. This is way cheaper than a new phone.
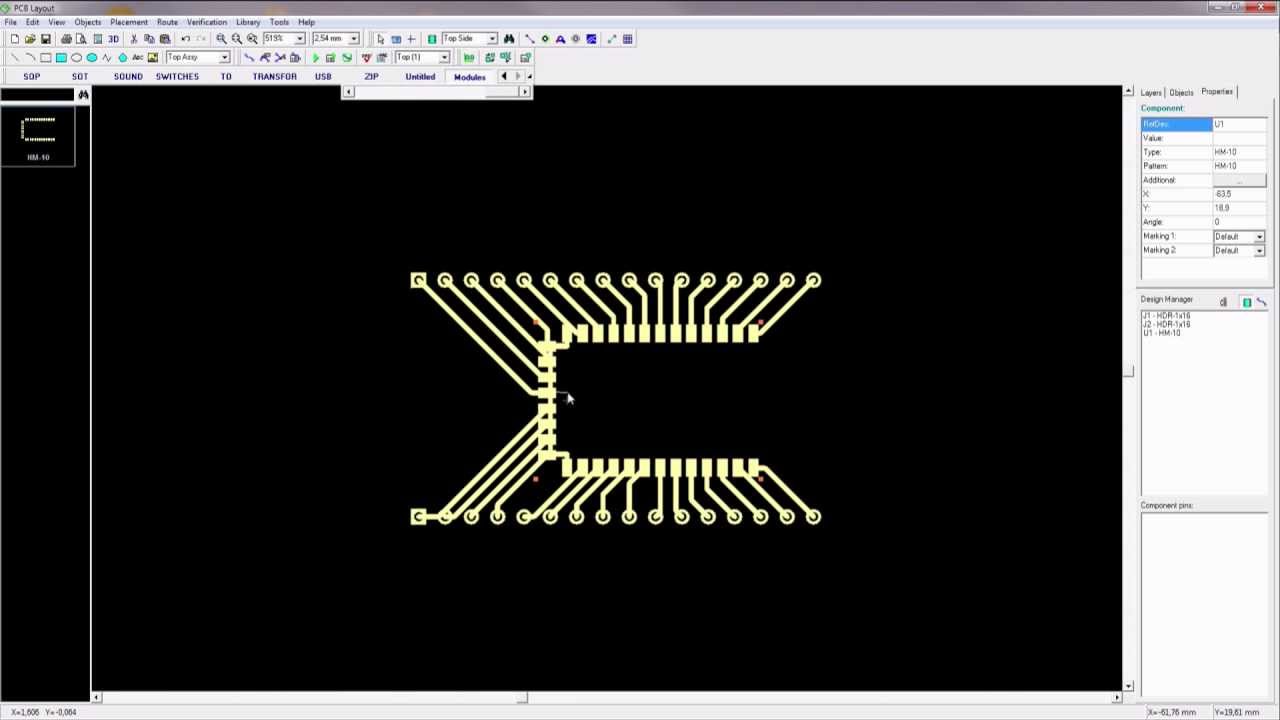
9Mps5-jnR6E | 05 Sep 2013
This is the second part of the PCB design for toner transfer using DipTrace. Quite simple one side solution fanning out the HM-10 pins to standard 2.54mm headers fitting on a breadboard. Music (cc-by): Two Swords by _ghost http://ccmixter.org/files/_ghost/26146
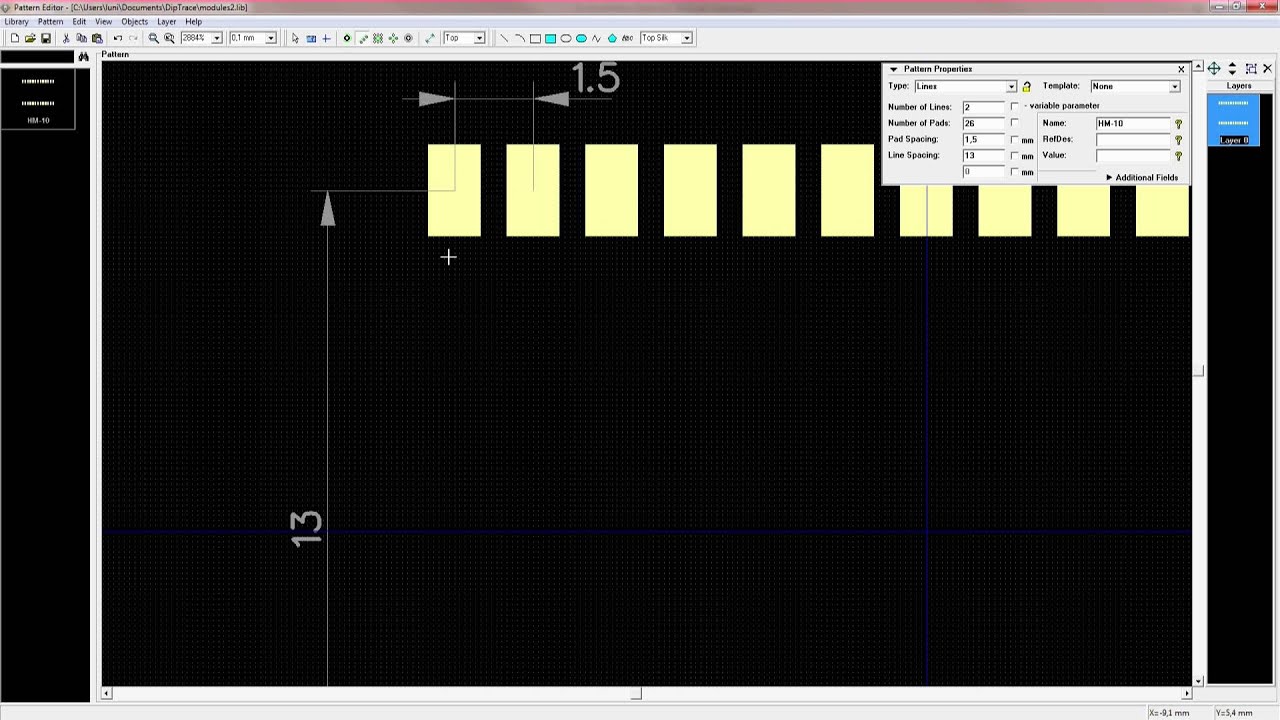
JCiavh2qfw4 | 04 Sep 2013
Creating a pattern for a component is a step has to be done once if it does have a non standard pattern like for the U-shaped HM-10. Since this part already had 13 minutes I had to split the video into two parts. See it like a tutorial.. it's quite useful.
mMiuXuZH2_o | 29 Aug 2013
My first intention was to report about my experience ordering parts in china, but since it's so much fun and I receive mail almost every day I started to record it and will show the unpacking and maybe a first short test of the parts I get. Happened to be some fail in this video, but I corrected it with text... please flame me in the comments
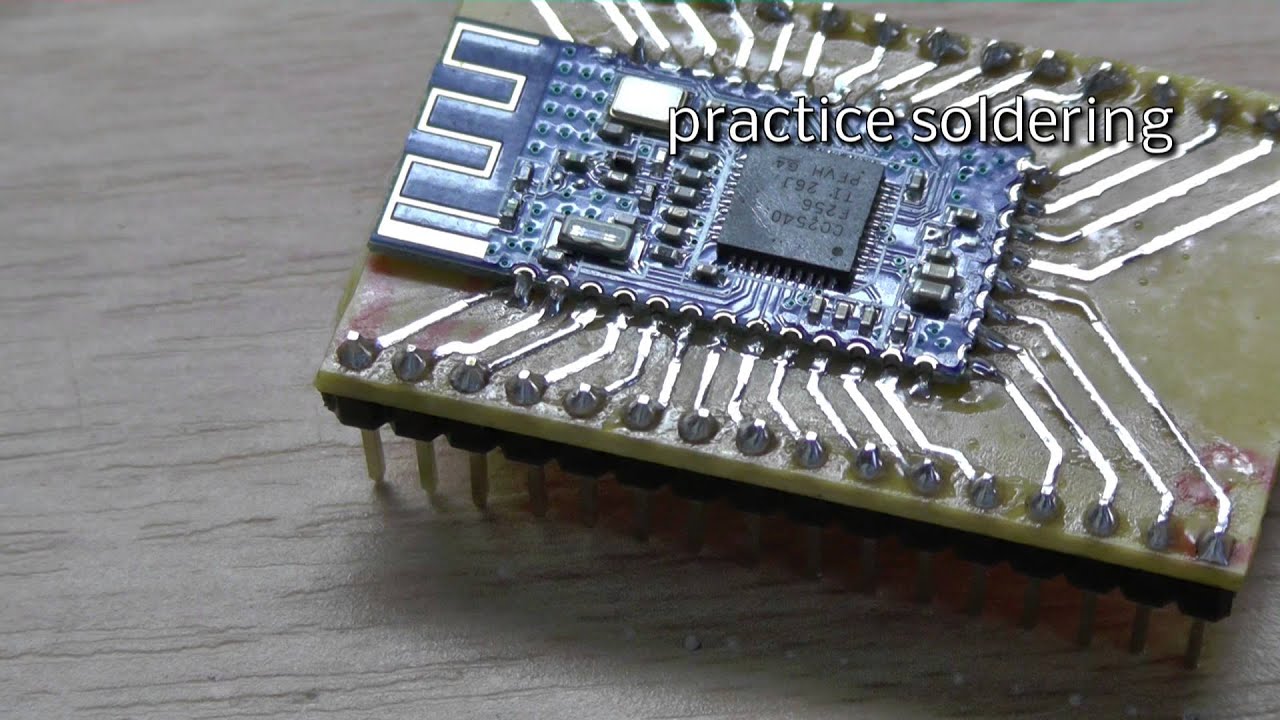
S3hcFsLCyzY | 20 Aug 2013
This is the intro to this new series where I do my best to master some Bluetooth hardware with my limited skills in hardware design. Just check this playlist from time to time to get the latest updates and have some fun! If you aren't interested in design, etch and solder tutorials skip to part 06: http://youtu.be/UNETjvmmQx4
BgAzNxrSfp8 | 15 Aug 2013
Vid to watch if you can't fall asleep. Let me bore you to death with my Ouya controllers unboxing and thoughts on them. People which were waiting for their console and controllers will understand why I needed to do a 14min video on this. See this follow up for sticking button fix http://www.youtube.com/watch?v=S8NONPw86Is Place your flames in the comments.
S8NONPw86Is | 15 Aug 2013
See a quick solution I came up after was annoyed by the sticking buttons of the Ouya controller. 3 minutes including explanation what is happening. If you want more, see this loooong unpacking and comments on the controllers: http://youtu.be/BgAzNxrSfp8 Subscribe for future game development tutorials (Just started this channel)
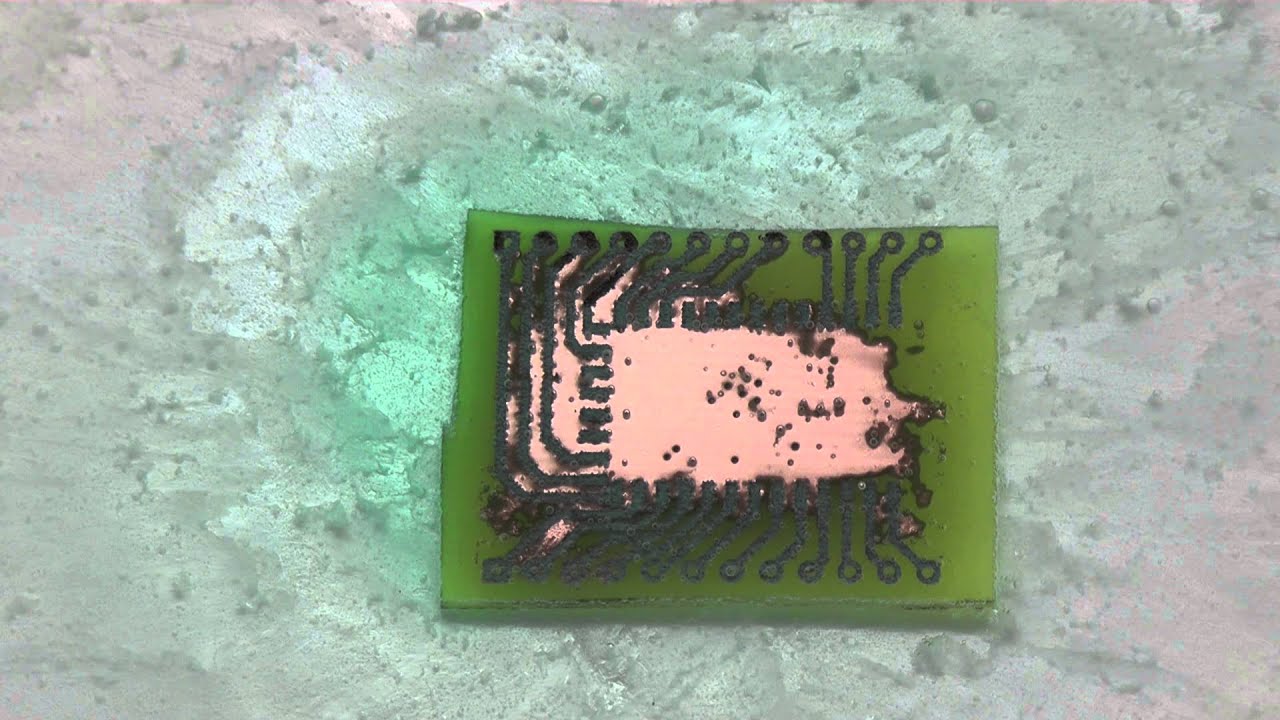
ely1FYVfE0Q | 15 Aug 2013
Music: Drops of H2O ( The Filtered Water Treatment ) by J.Lang (CC BY 3.0) http://ccmixter.org/files/djlang59/37792 This is 32x time lapse of etching a PCB using sodium persulfate (Natriumpersulfat). 50g Na2S2O8 + 250g hot water. It was kind of slow this time. I guess the water could be hotter. Recommendation is 50°C. I got once faster results using almost boiling water. I used toner transfer and supported some thin parts using a marker. The PCB is a breadboard fanout for the HM-10 BLE module with TI CC2540 chip. Subscribe my channel to see some applications using Bluetooth in future.
FOrrH6FEFGU | 14 Aug 2013
Clip why you should stop deliver firmware on CD/DVD. Please leave it where it belongs: the last century. Correction: there are no drivers. Just the additional manual and the software I used to create this clip. The camcorder itself is really great, I might do a separate review after using it a while. Please flame me in the comments about how this one shot clip sucks... but don't forget to subscribe for upcoming nerdy vids.
